BLOG CATEGORIES

Page 12 - turbo

  1. Stiffen Your 'Stang! 2015 Mustang Strut Tower Brace R&D, Part 4: Testing Rig Fabrication Continued

    Stiffen Your 'Stang! 2015 Mustang Strut Tower Brace R&D, Part 4: Testing Rig Fabrication Continued

    Last time we wrapped up our first attempt at creating an accurate gauge for measuring strut tower flex. Our initial tests showed some inconsistencies, which have been attributed to the method by which we mounted our gauge.

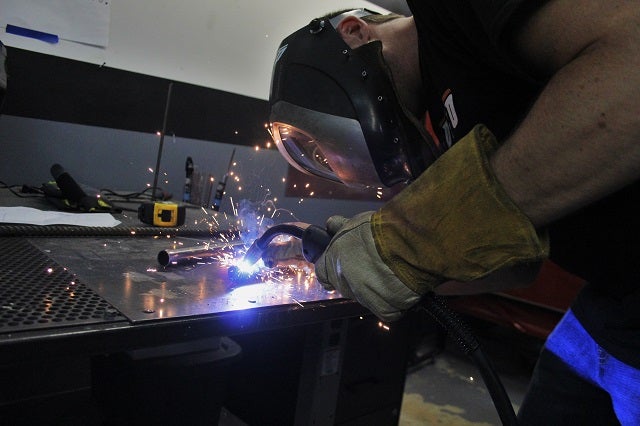
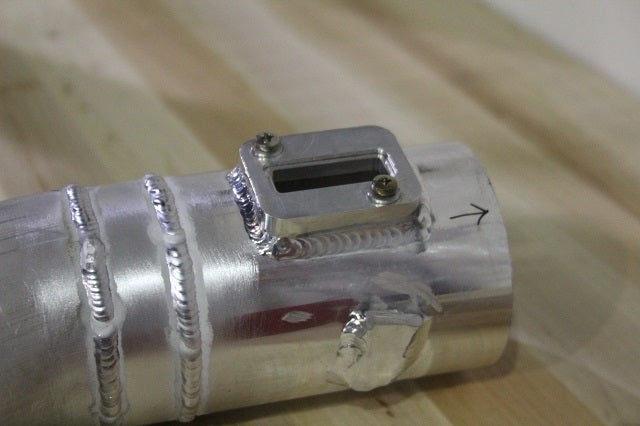
    These inconsistencies occurred most likely because of the difference in materials. Our strut bar is steel, whereas the gauge assembly is aluminum. Welding these materials together is not possible, so we used alternate methods.

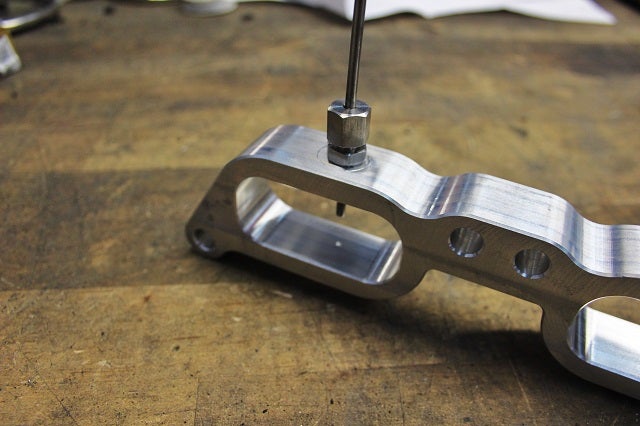
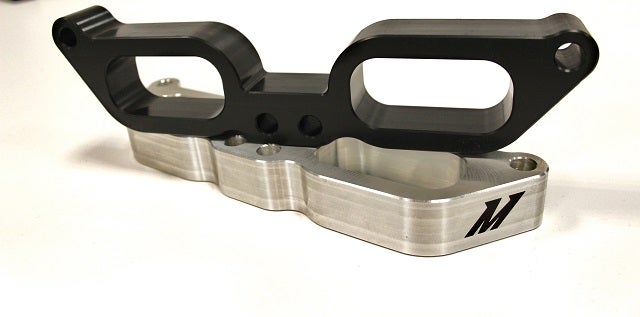
    We need to eliminate any adverse variables for this test. Measurements of movement are small, so even a seemingly insignificant issue could cause skewed data. We decided to work up a full aluminum prototype modeled after our first design.

    All-Aluminum Strut Bar Testing Prototype

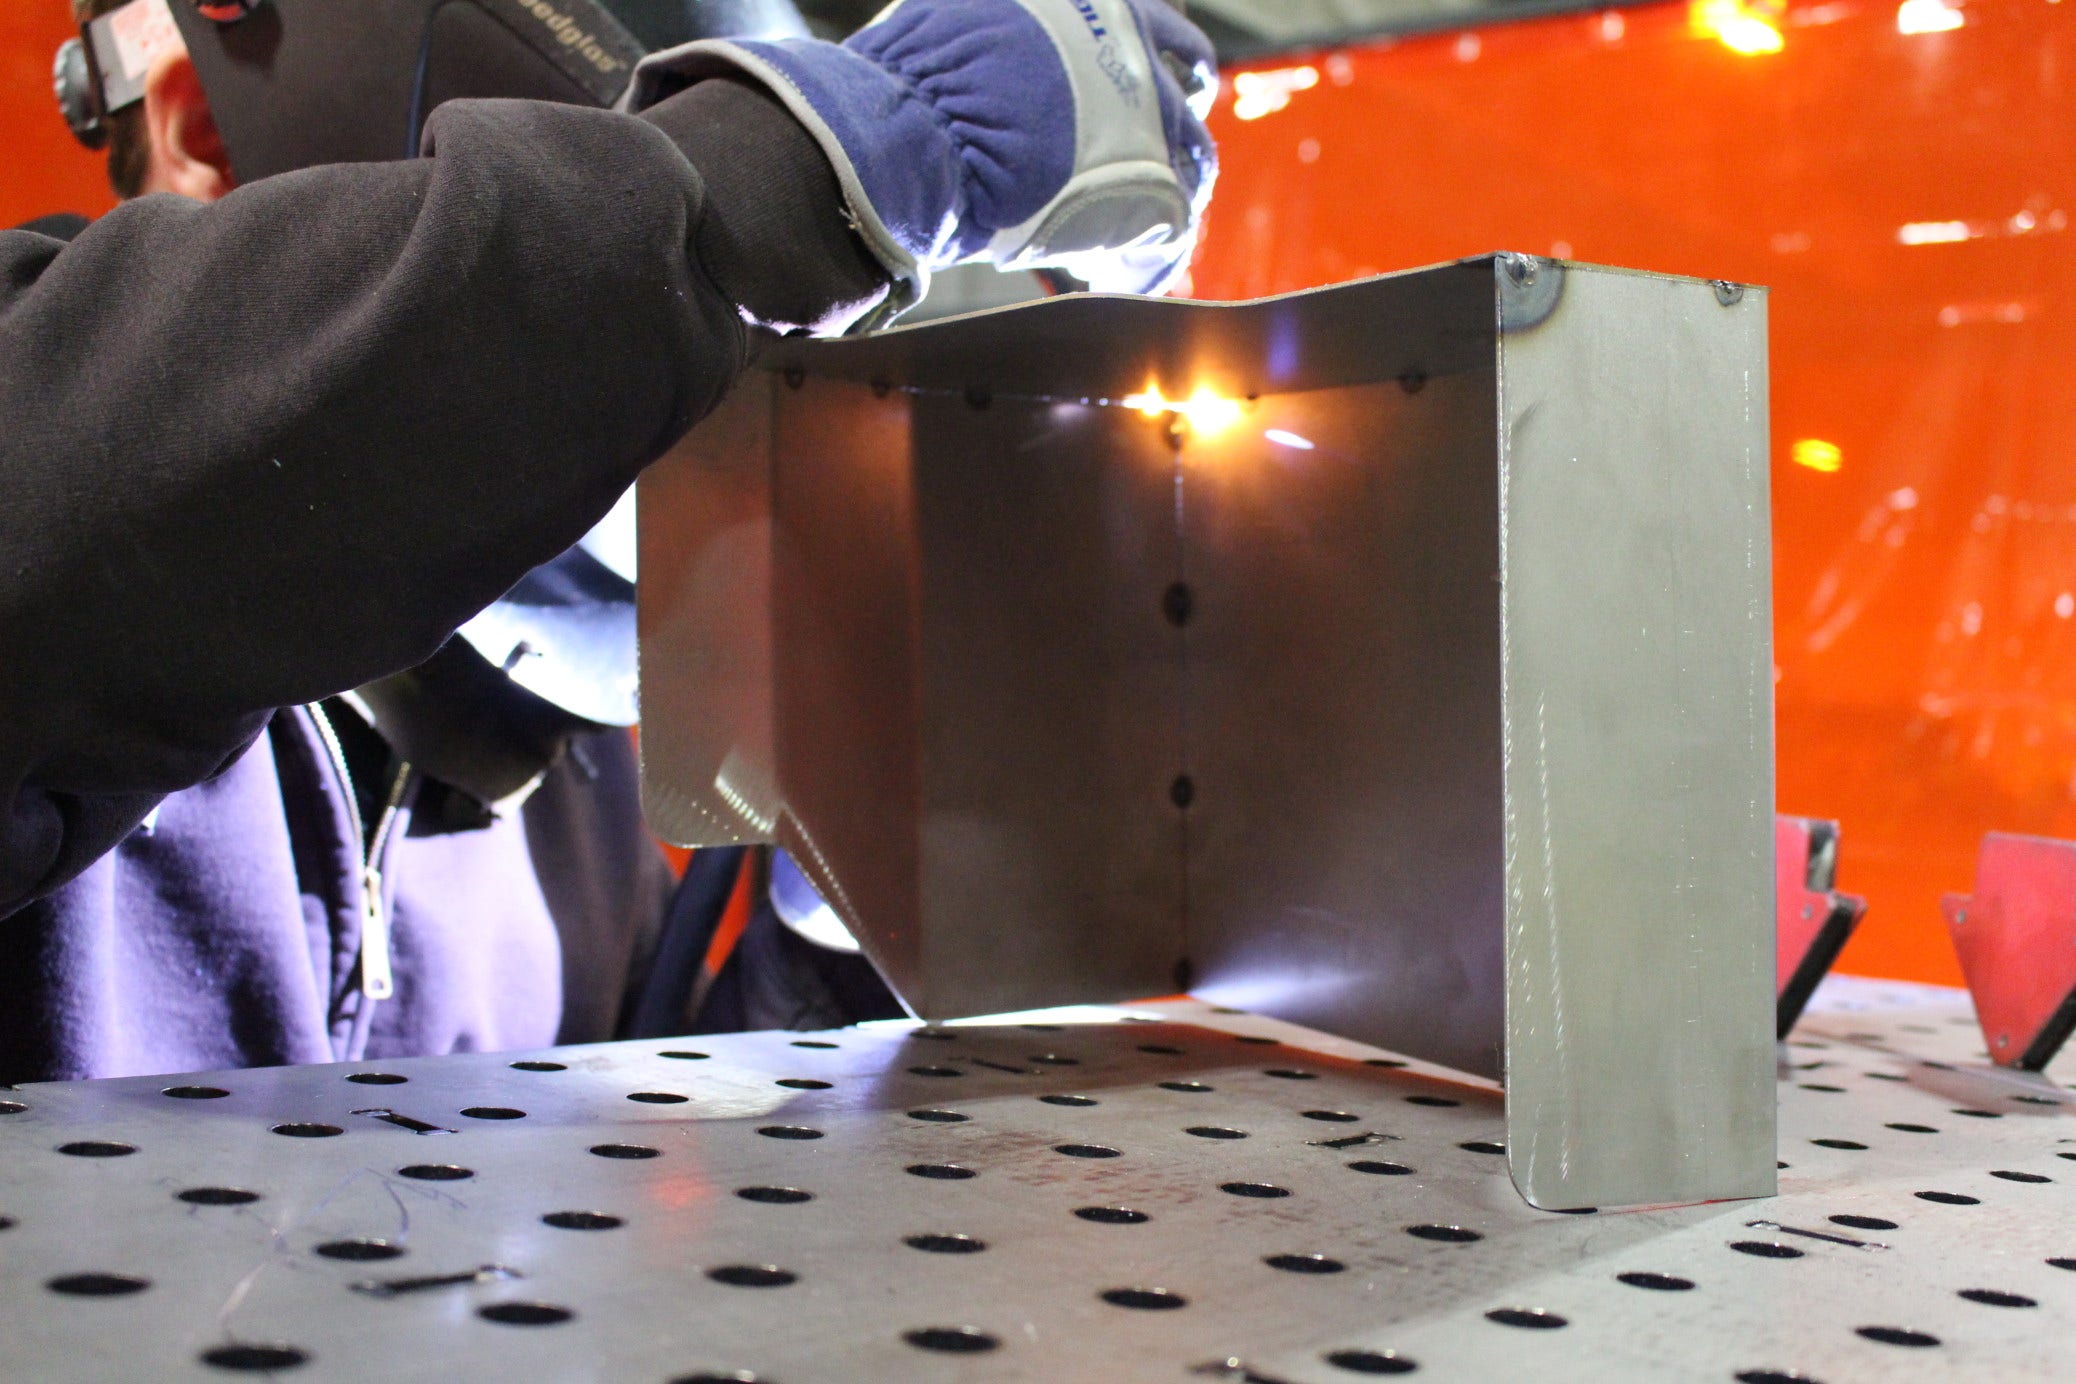
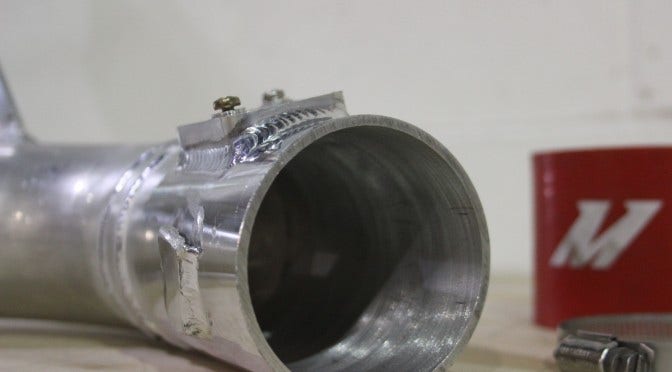
    In addition to new machining tools, we have a new high-pressure Waterjet cutter here at Mishimoto. We decided to flex its muscles a bit and use it to cut out our strut bar brackets. These were then welded to the bar itself

    Continue Reading »
  2. Pipe Down! Mishimoto Fiesta ST Charge Pipe R&D, Part 4: Prototype Test Fit

    Pipe Down! Mishimoto Fiesta ST Charge Pipe R&D, Part 4: Prototype Test Fit

    A few weeks ago we completed our first set of prototype pipes. After a quick evaluation by our team, it was time for a vehicle test fit. Last week we set our Fiesta ST (FIST) up on a lift and began swapping the stock piping for our components.

    First, the hot-side pipe was bolted into place.

    Mishimoto Fiesta ST performance parts installed
    Mishimoto Fiesta ST performance parts installed

    The hot-side pipe slid into place perfectly. Our mounting bracket lined up, and the hardware properly secured the pipe into place.

    The cold-side pipe was a bit more challenging to install, but soon we had it in place as well.

    Continue Reading »
  3. Prototype Fabrication and Fitment - The FXT Intake, Part 2

    Prototype Fabrication and Fitment - The FXT Intake, Part 2

    The progress on our intake system is coming along nicely for this Forester XT. We have created a pipe that will fit well with our airbox design and filter selection. Remember, our pipe is within the acceptable pipe diameter to run this system with a stock tune.

    The Fabricated Prototype

    Below are some shots of the system we plan to put on an FXT for testing. The routing for this tube will follow a more direct path from filter to turbo. This is especially helpful for when the car is sitting at idle with ambient air around the box. With a shorter pipe distance, it will take less time for fresher, cooler air to get to the engine upon acceleration over stock. Check out images of the initial design below!

    IMG_9244r 
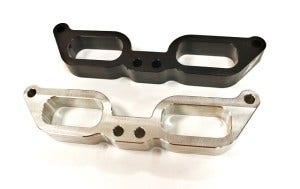
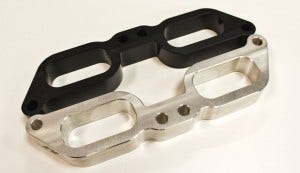
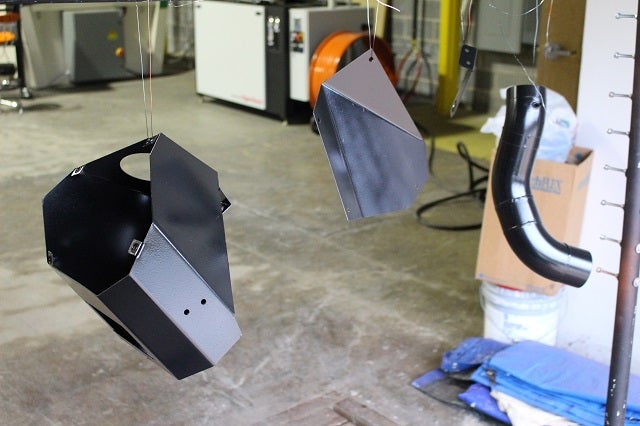
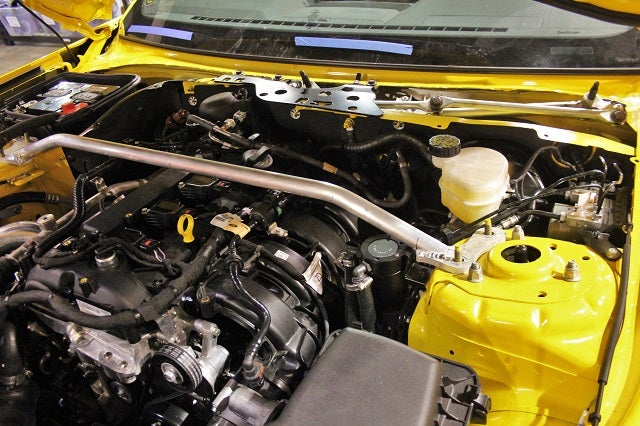
Prototype Subaru Forester parts
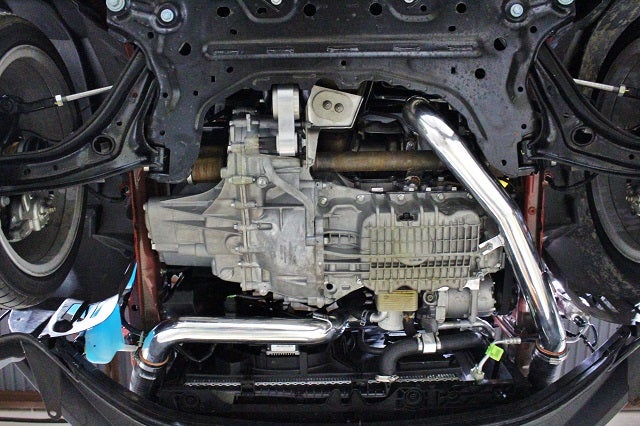
    Continue Reading »
  4. Stiffen Your 'Stang! 2015 Mustang Strut Tower Brace R and D, Part 3: Testing Rig Fabrication

    Stiffen Your 'Stang! 2015 Mustang Strut Tower Brace R and D, Part 3: Testing Rig Fabrication

    It has been quite some time since our last update on this project, but for good reason. Our engineering team has immersed themselves into suspension research and determining the impact of stiffening on handling. Chassis bracing is a new market for our team, and we want to ensure we provide ideal solutions. In addition, we needed to develop a method for testing our components properly.

    Not much information is available about the effectiveness of strut bracing. Would bracing have an impact on handling or on chassis flex? Do only sloppy, old chassis benefit from bracing? The Mustang is a great first test subject because it has a new chassis and an option for additional chassis stiffening. Let's get to work!

    Pressure Gauge Fabrication

    The first testing device we wanted to explore was a pressure gauge. Ideally, this would be installed within the strut brace to measure any pressure occurring as the strut towers flex toward each other.

    With some

    Continue Reading »
  5. Power through Deletion. 2015 WRX TGV Delete Kit, Part 4: Product Testing

    Power through Deletion. 2015 WRX TGV Delete Kit, Part 4: Product Testing

    We've got some interesting plans to evaluate the performance benefits of our TGV delete kit. In addition, we want to evaluate any appreciable differences in terms of air temperature between the two materials (aluminum and Delrin) we have selected for our prototypes.

    Test Preparation

    For our first assessment, we will evaluate airflow temperatures in both materials during dyno testing. The goal here is to determine whether the different heat transfer properties of the two materials have an impact on the airflow within the TGV unit. Ideally we would use pre-TGV and post-TGV sensors to evaluate this, but for our initial test a single sensor will be used.

    We started by drilling and tapping each prototype.

    Initial Data

    We put together several plots to help analyze the data from our dyno pulls so we could reach a conclusion regarding appreciable temperature differences. First, a look at our initial runs with each material on

    Continue Reading »
  6. Prototype Fabrication and Fitment - Mini Cooper Intake Development, Part 2

    Prototype Fabrication and Fitment - Mini Cooper Intake Development, Part 2

    In our last post for this project, we went through the stock system and left you with a teaser look at our initial design plans for the filter's heat shield. We now have a functional prototype fabricated, which will soon be ready for testing. Let's go through the interesting process of how we were able to make the heat shield and pipe.

    Parts Fabrication

    Usually, when it comes to creating the pieces to a heat shield, our process involved measuring twice and cutting once with the use of a band-saw, shears and a bender. It was laborious and time-consuming.

    With this project, we took a slightly different approach during the design and prototyping phase of our heat shield R&D. After capturing the dimensions we needed from the vehicle, a prototype design was drawn in 3D modeling software. Once completed, we used our waterjet machine to cut the shapes out of the steel metal sheets.

    If you don't know about the waterjet, it is an apparatus for

    Continue Reading »
  7. A More Durable Degas. Ford Powerstroke 6.0L Aluminum Degas Bottle R&D, Part 1: Factory Bottle Evaluation

    A More Durable Degas. Ford Powerstroke 6.0L Aluminum Degas Bottle R&D, Part 1: Factory Bottle Evaluation

    We're back for some new 6.0L product development! It has been a few months since the release of our recent intake elbow and thermostat housing, and our team is itching to start a new project on our 6.0L Powerstroke shop truck. This time, we're aiming to create an aluminum degas bottle that would provide additional cooling system reliability. Within the past year, we've increased our focus on development of aluminum expansion tanks, and we've brought to market some unique tanks that provide improved durability and style.

    One of our recent projects was a tank for the 2015+ Ford Mustang, which features some unique internal baffling to emulate the functionality of the stock tank.

    Mishimoto's 2015+ Mustang aluminum expansion tank
    Mishimoto's 2015+ Mustang
    Continue Reading »
  8. Pipe Down! Mishimoto Fiesta ST Charge Pipe R&D, Part 3: First Prototype Evaluation

    Pipe Down! Mishimoto Fiesta ST Charge Pipe R&D, Part 3: First Prototype Evaluation

    Good news! Our first prototype intercooler pipe kit is complete. We can now evaluate both fitment and functionality on our Fiesta. Let's take a look at each pipe we created.

    Prototype Cold-Side

    First we have the more complex pipe of the pair, the cold-side.

    Fiesta ST charge pipe prototype
    Fiesta ST charge pipe prototype

    Complexity comes in the way of multiple bends combined with numerous pipe-mounted features. To the right side of the pipe, you can see the flat flange that serves as a mounting point for the factory pressure sensor. This flange is CNC-machined to provide a proper seal.

    Continue Reading »
  9. Power through Deletion. 2015 WRX TGV Delete Kit, Part 3: First Prototypes

    Power through Deletion. 2015 WRX TGV Delete Kit, Part 3: First Prototypes

    We're back with another quick update on our TGV delete project for the 2015+ WRX. After designing our initial models and then 3D-printing a prototype for test fitting, we worked up a couple functional prototypes for on-car testing.

    First Prototype Images

    Check out a few images of our functional prototype deletes!

    Mishimoto's 2015 WRX TGV delete prototypes

    Mishimoto's 2015 WRX TGV delete prototypes

    Mishimoto's 2015 WRX TGV delete prototypes

    Mishimoto's 2015 WRX TGV delete
    Continue Reading »
  10. The Final Product - MK7 GTI Induction, Part 4

    The Final Product - MK7 GTI Induction, Part 4

    Great news from the Mishimoto garage! We have tested and fitted the final iteration of our airbox design for this prototype MK7 intake. We made some minor adjustments for fitment and ease of installation, but more on that later. This has been an interesting project from the start because of the uniqueness of this box design - check it out!

    Final Intake System

    Once this prototype system was ready to go, we prepared it for final fitting into the MK7. The next step is paint! The final products will be powder coated, with the intake pipe color options ranging from wrinkle black/red powdercoat or chrome polish. So the painted parts below are just for visualization purposes.

    IMG_0969r
    Prototype MK7 parts drying from paint

    Continue Reading »