Posted:
October 25, 2016
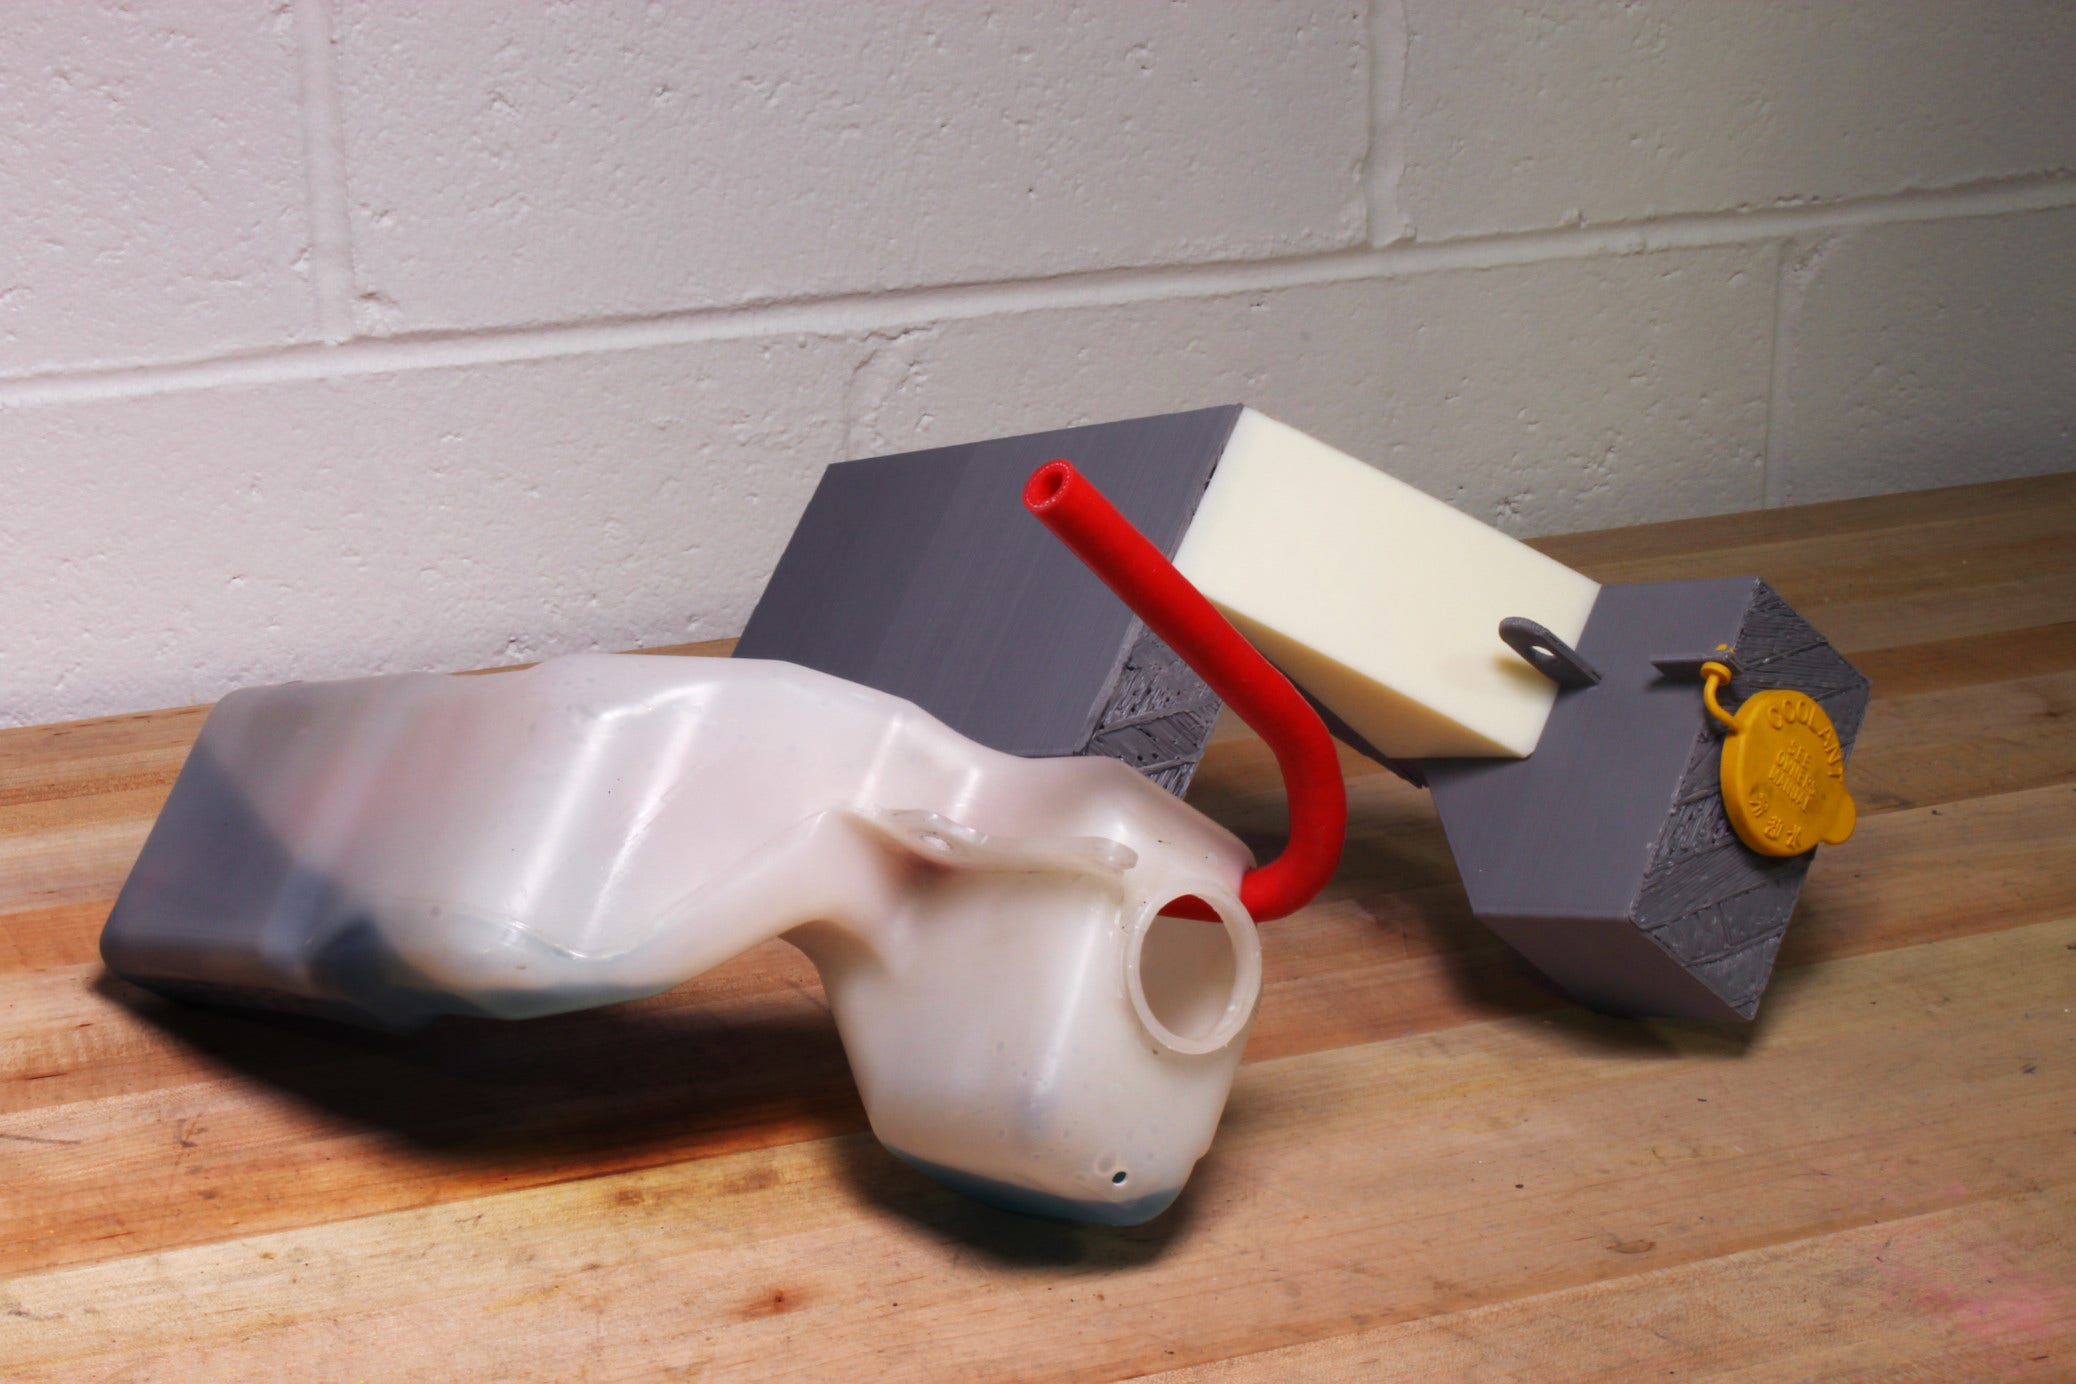
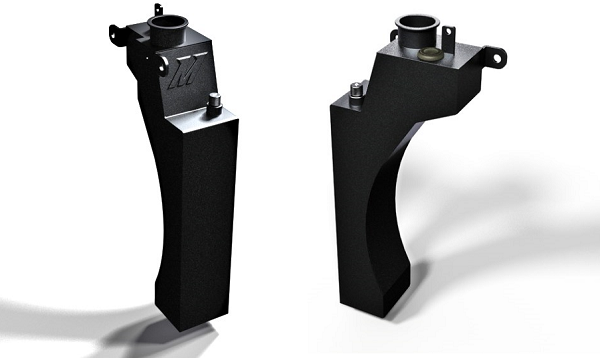
Hello everyone, and welcome to the long-awaited second chapter in the saga of the Mishimoto BRZ expansion tank! I know it's been a little while since our first update, and you all have waited patiently, so I am excited to share some good news about these BRZ parts (or FR-S parts).
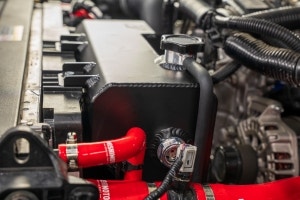
Mishimoto's 2013+ BRZ Expansion Tank Pre-sale
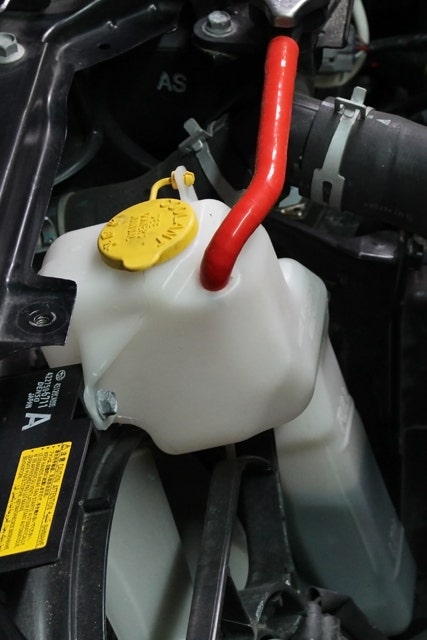
You might remember from my last update that the stock, ghostly-looking overflow tank that haunts the engine bay of your BRZ, GT86, or FR-S really spooked us. So much so, in fact, that we felt obligated to provide you with an alternative - a way to absolve the BRZ of negative energy and transform your engine bay into something inspiring, rather than terrifying.
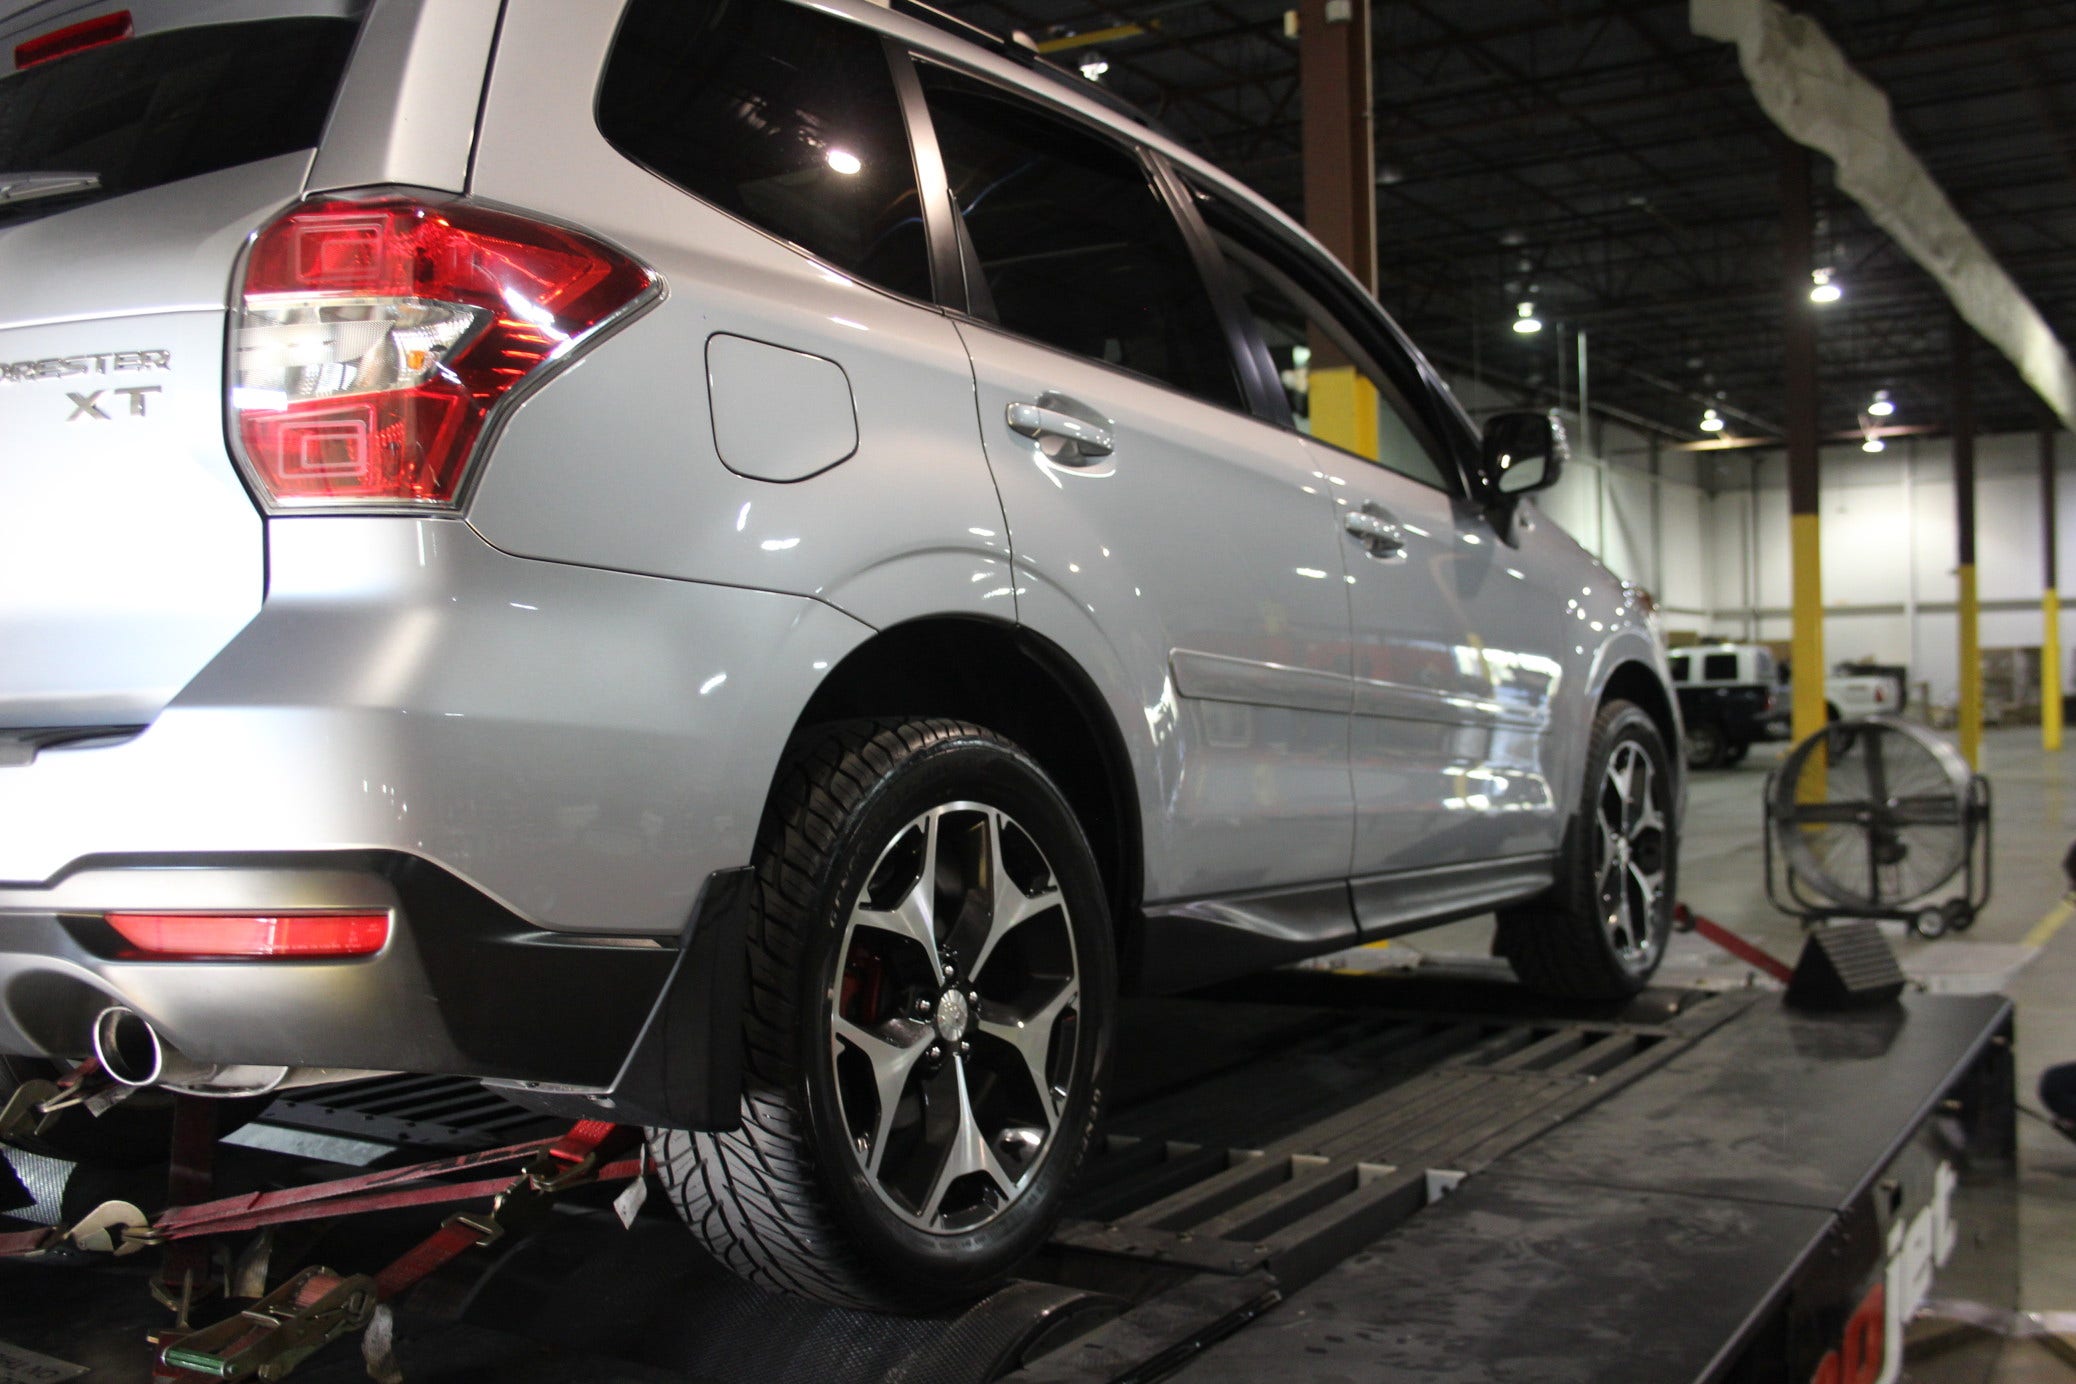
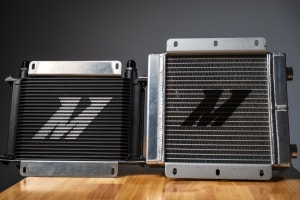
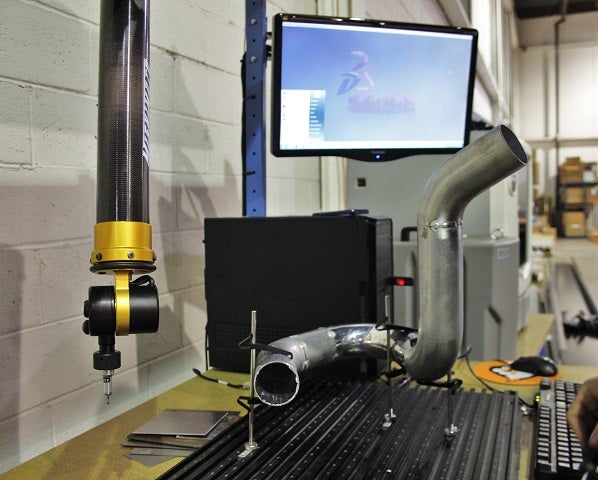
 Subaru Forester XT performance parts up for testing
 " width="300" height="180">
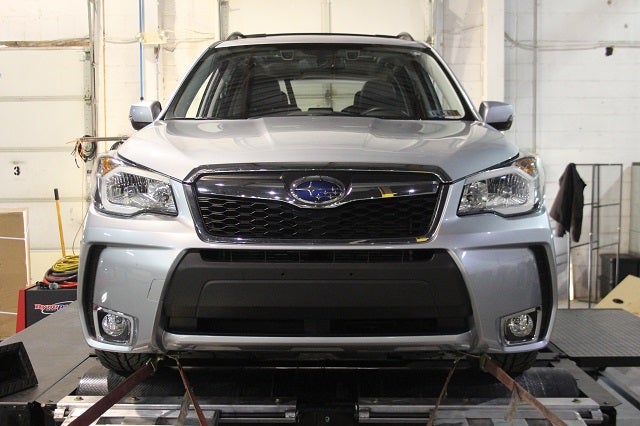
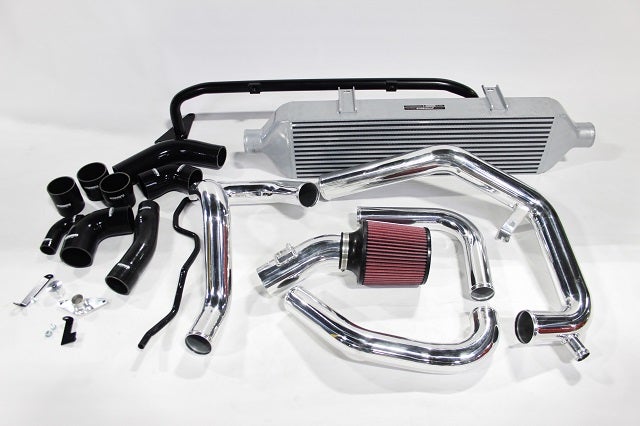
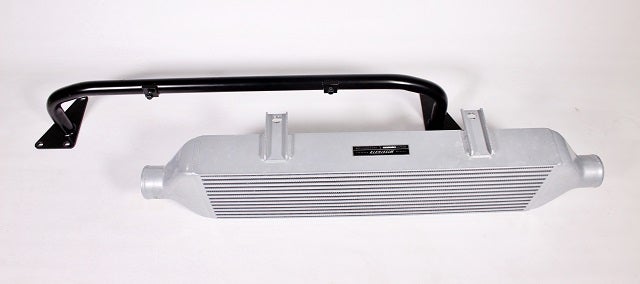
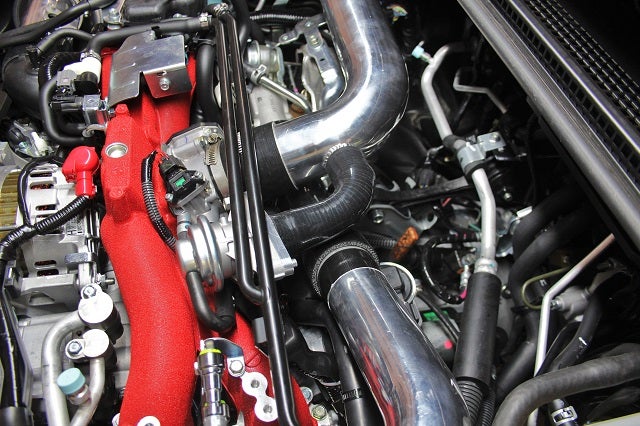
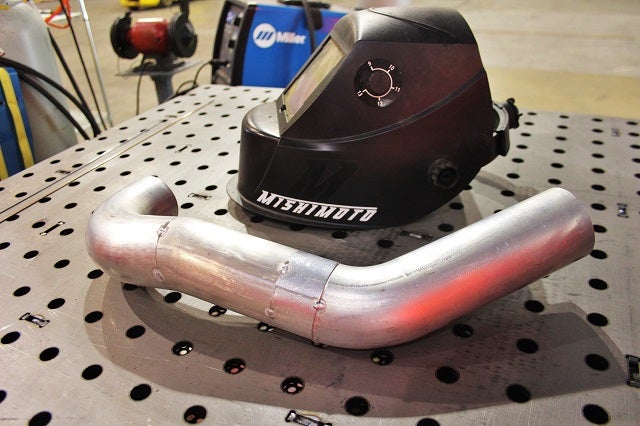
 Prototype Subaru Forester parts