BLOG CATEGORIES

top-mount

  1. Power through Deletion. 2015 WRX TGV Delete Kit, Part 4: Product Testing

    Power through Deletion. 2015 WRX TGV Delete Kit, Part 4: Product Testing

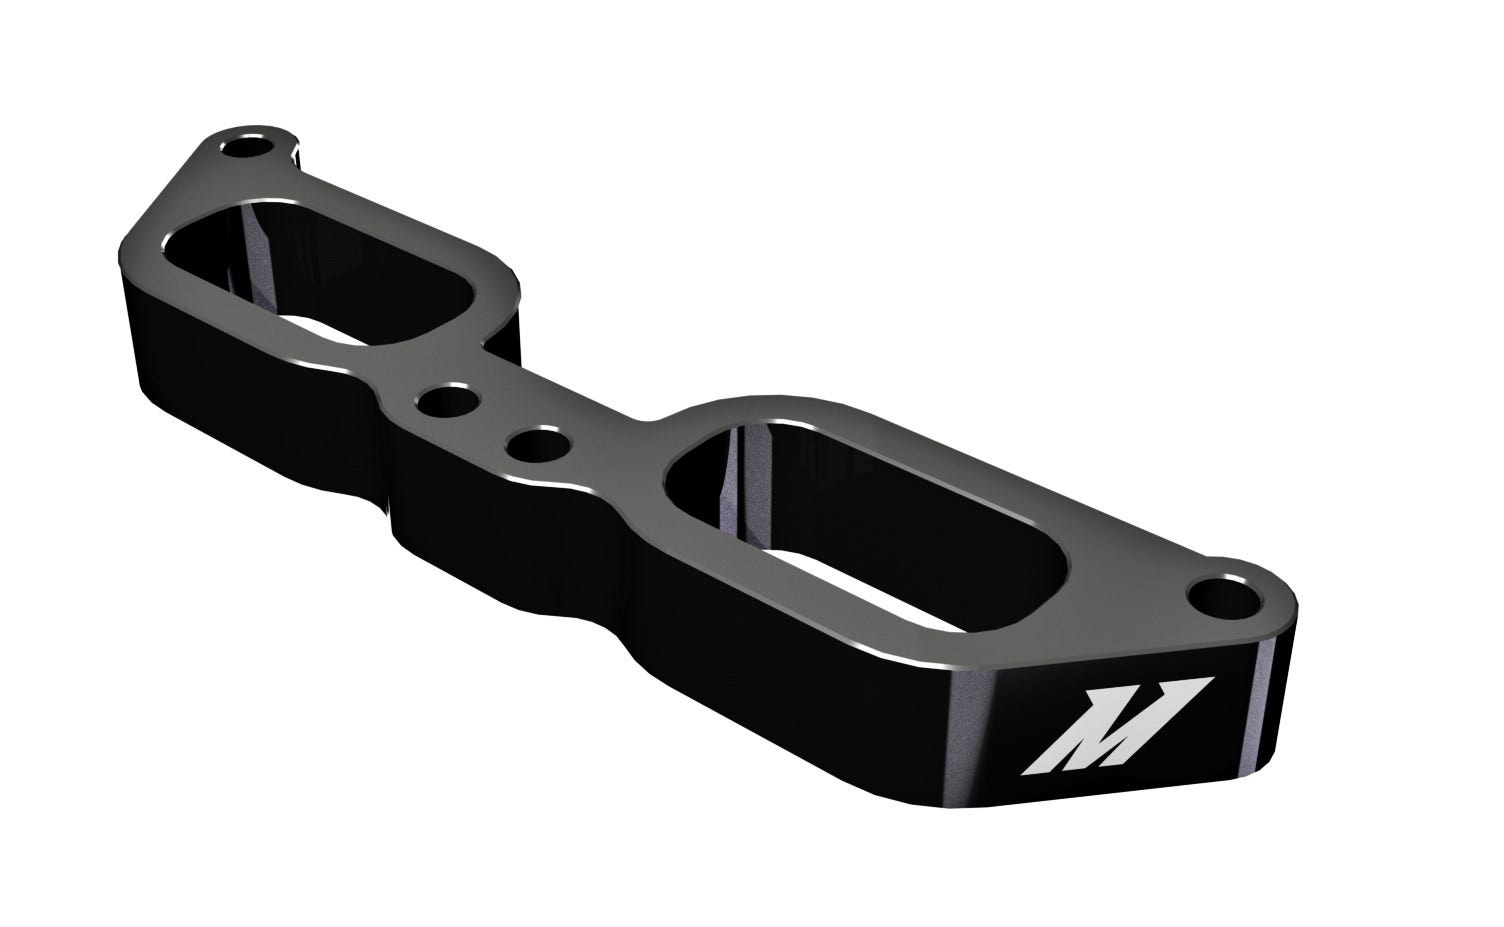
    We've got some interesting plans to evaluate the performance benefits of our TGV delete kit. In addition, we want to evaluate any appreciable differences in terms of air temperature between the two materials (aluminum and Delrin) we have selected for our prototypes.

    Test Preparation

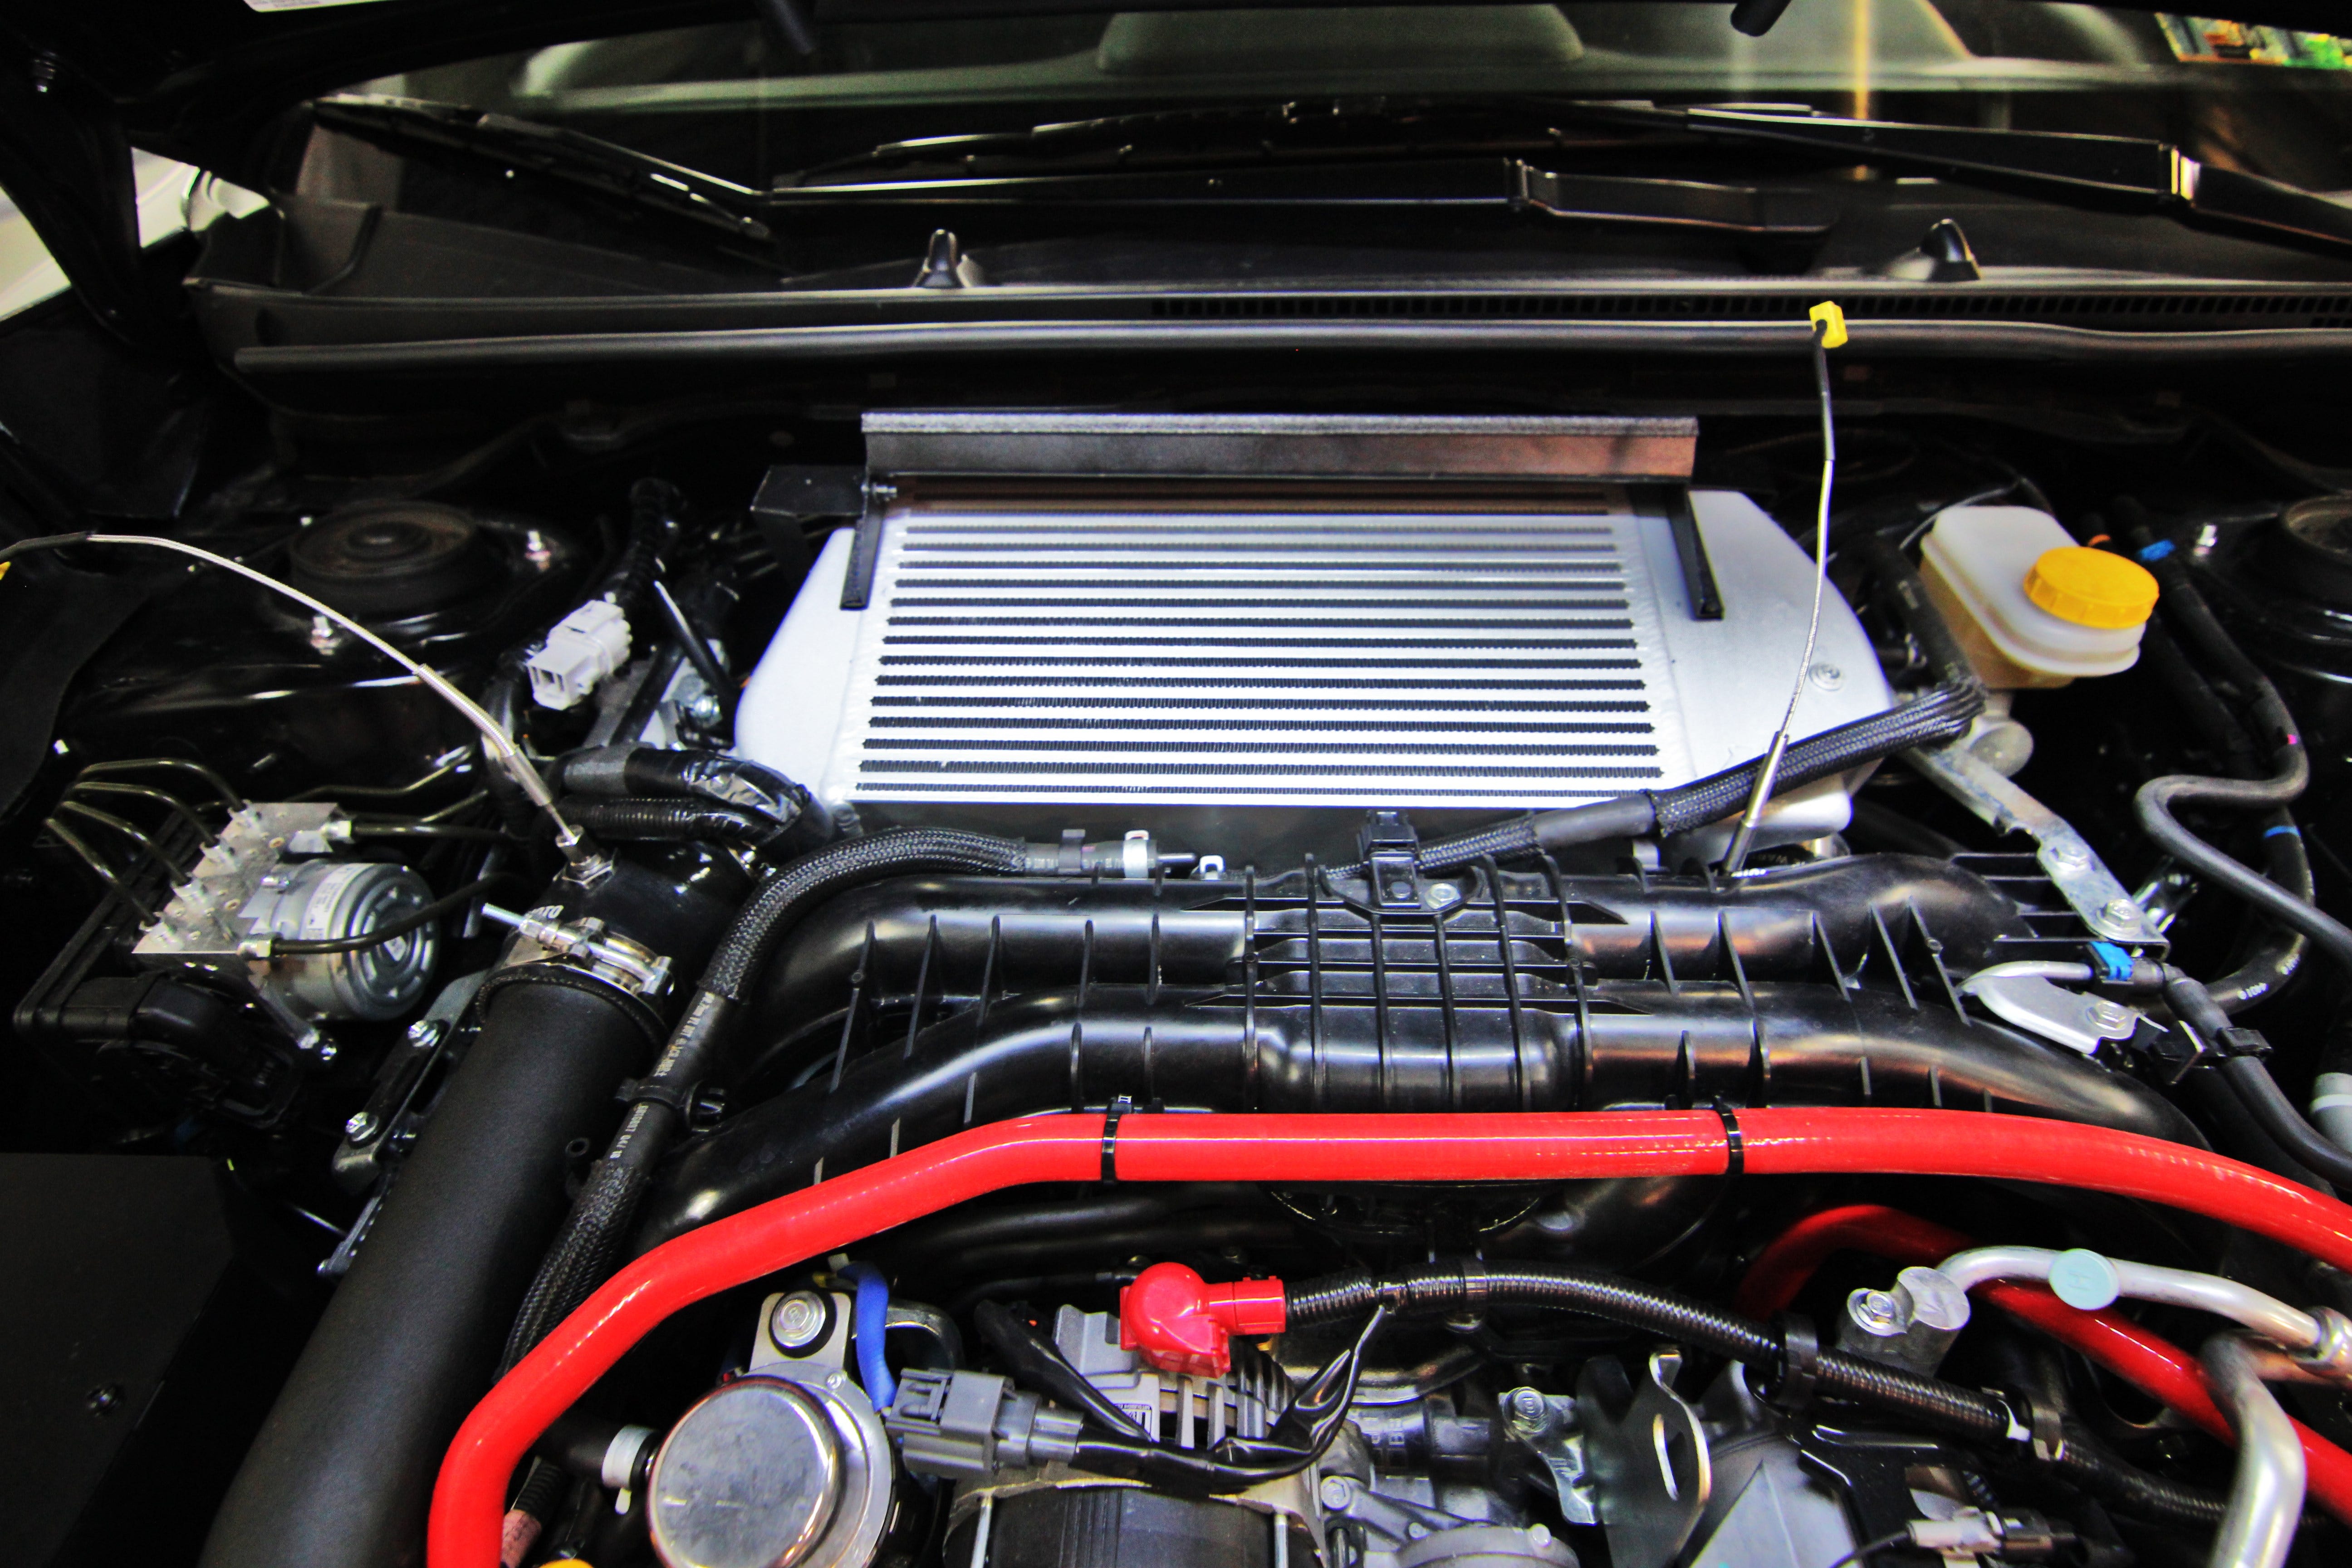
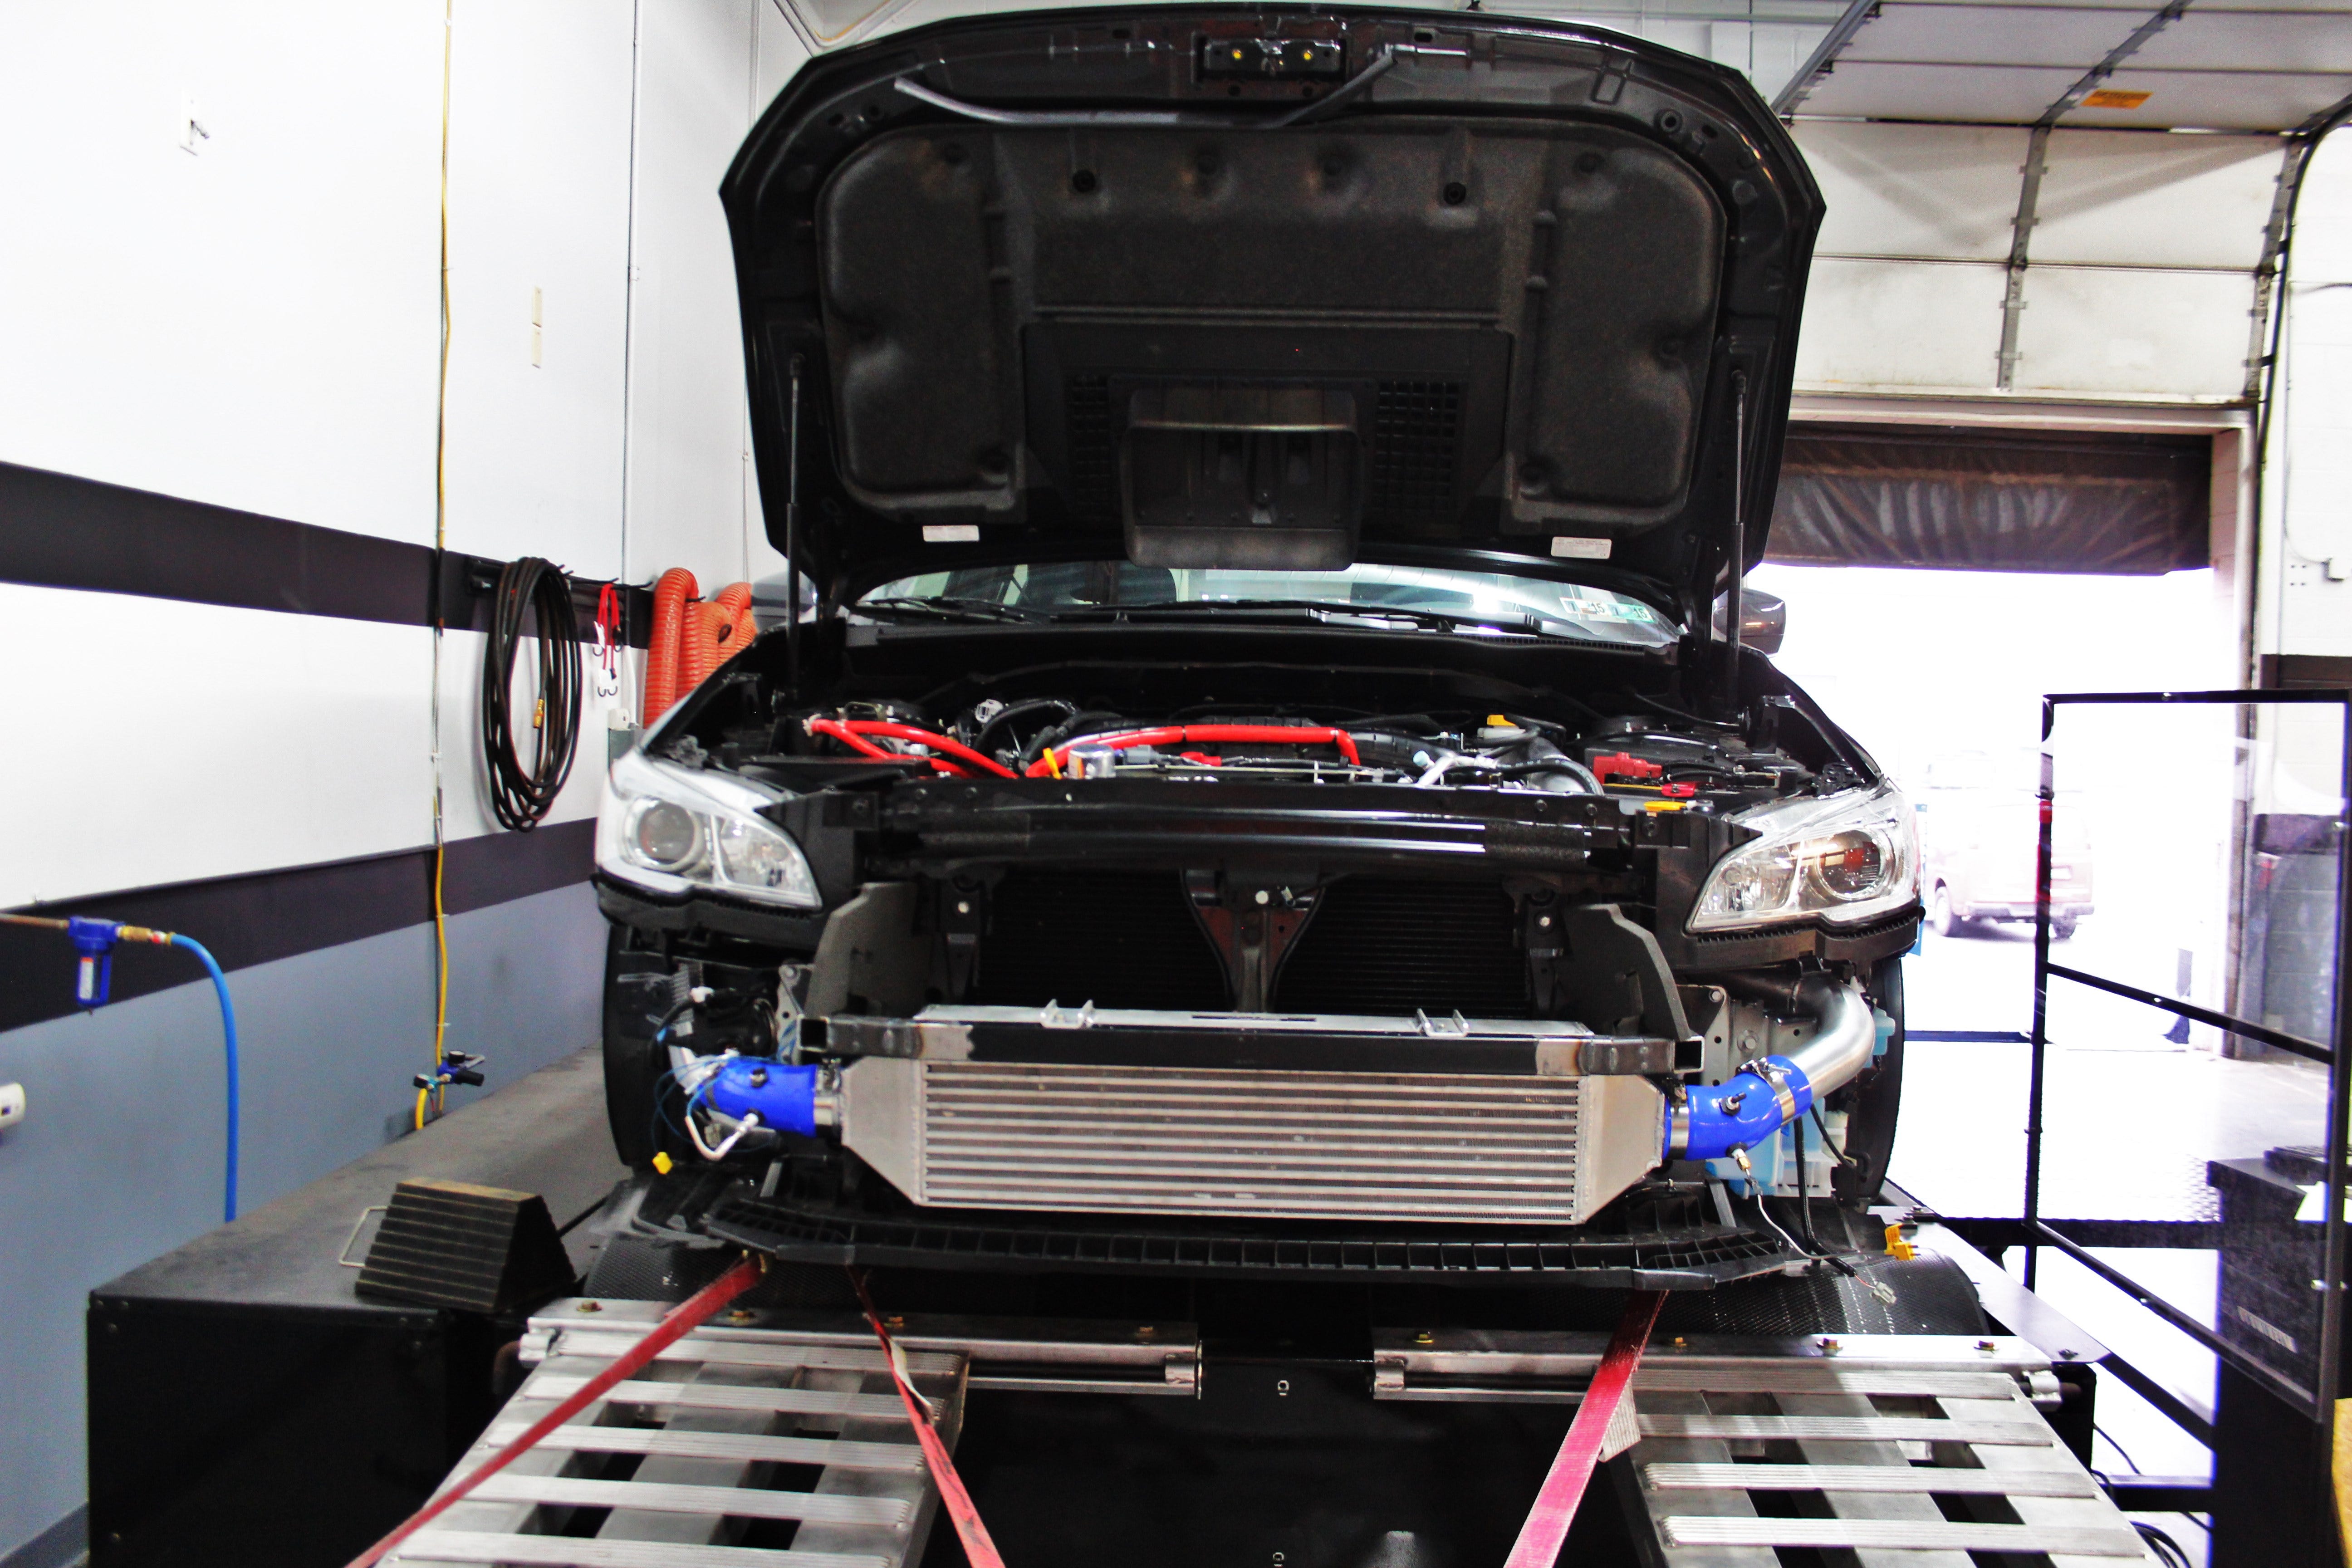
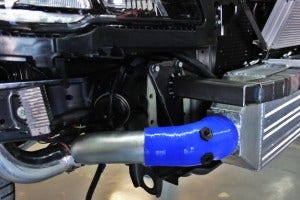
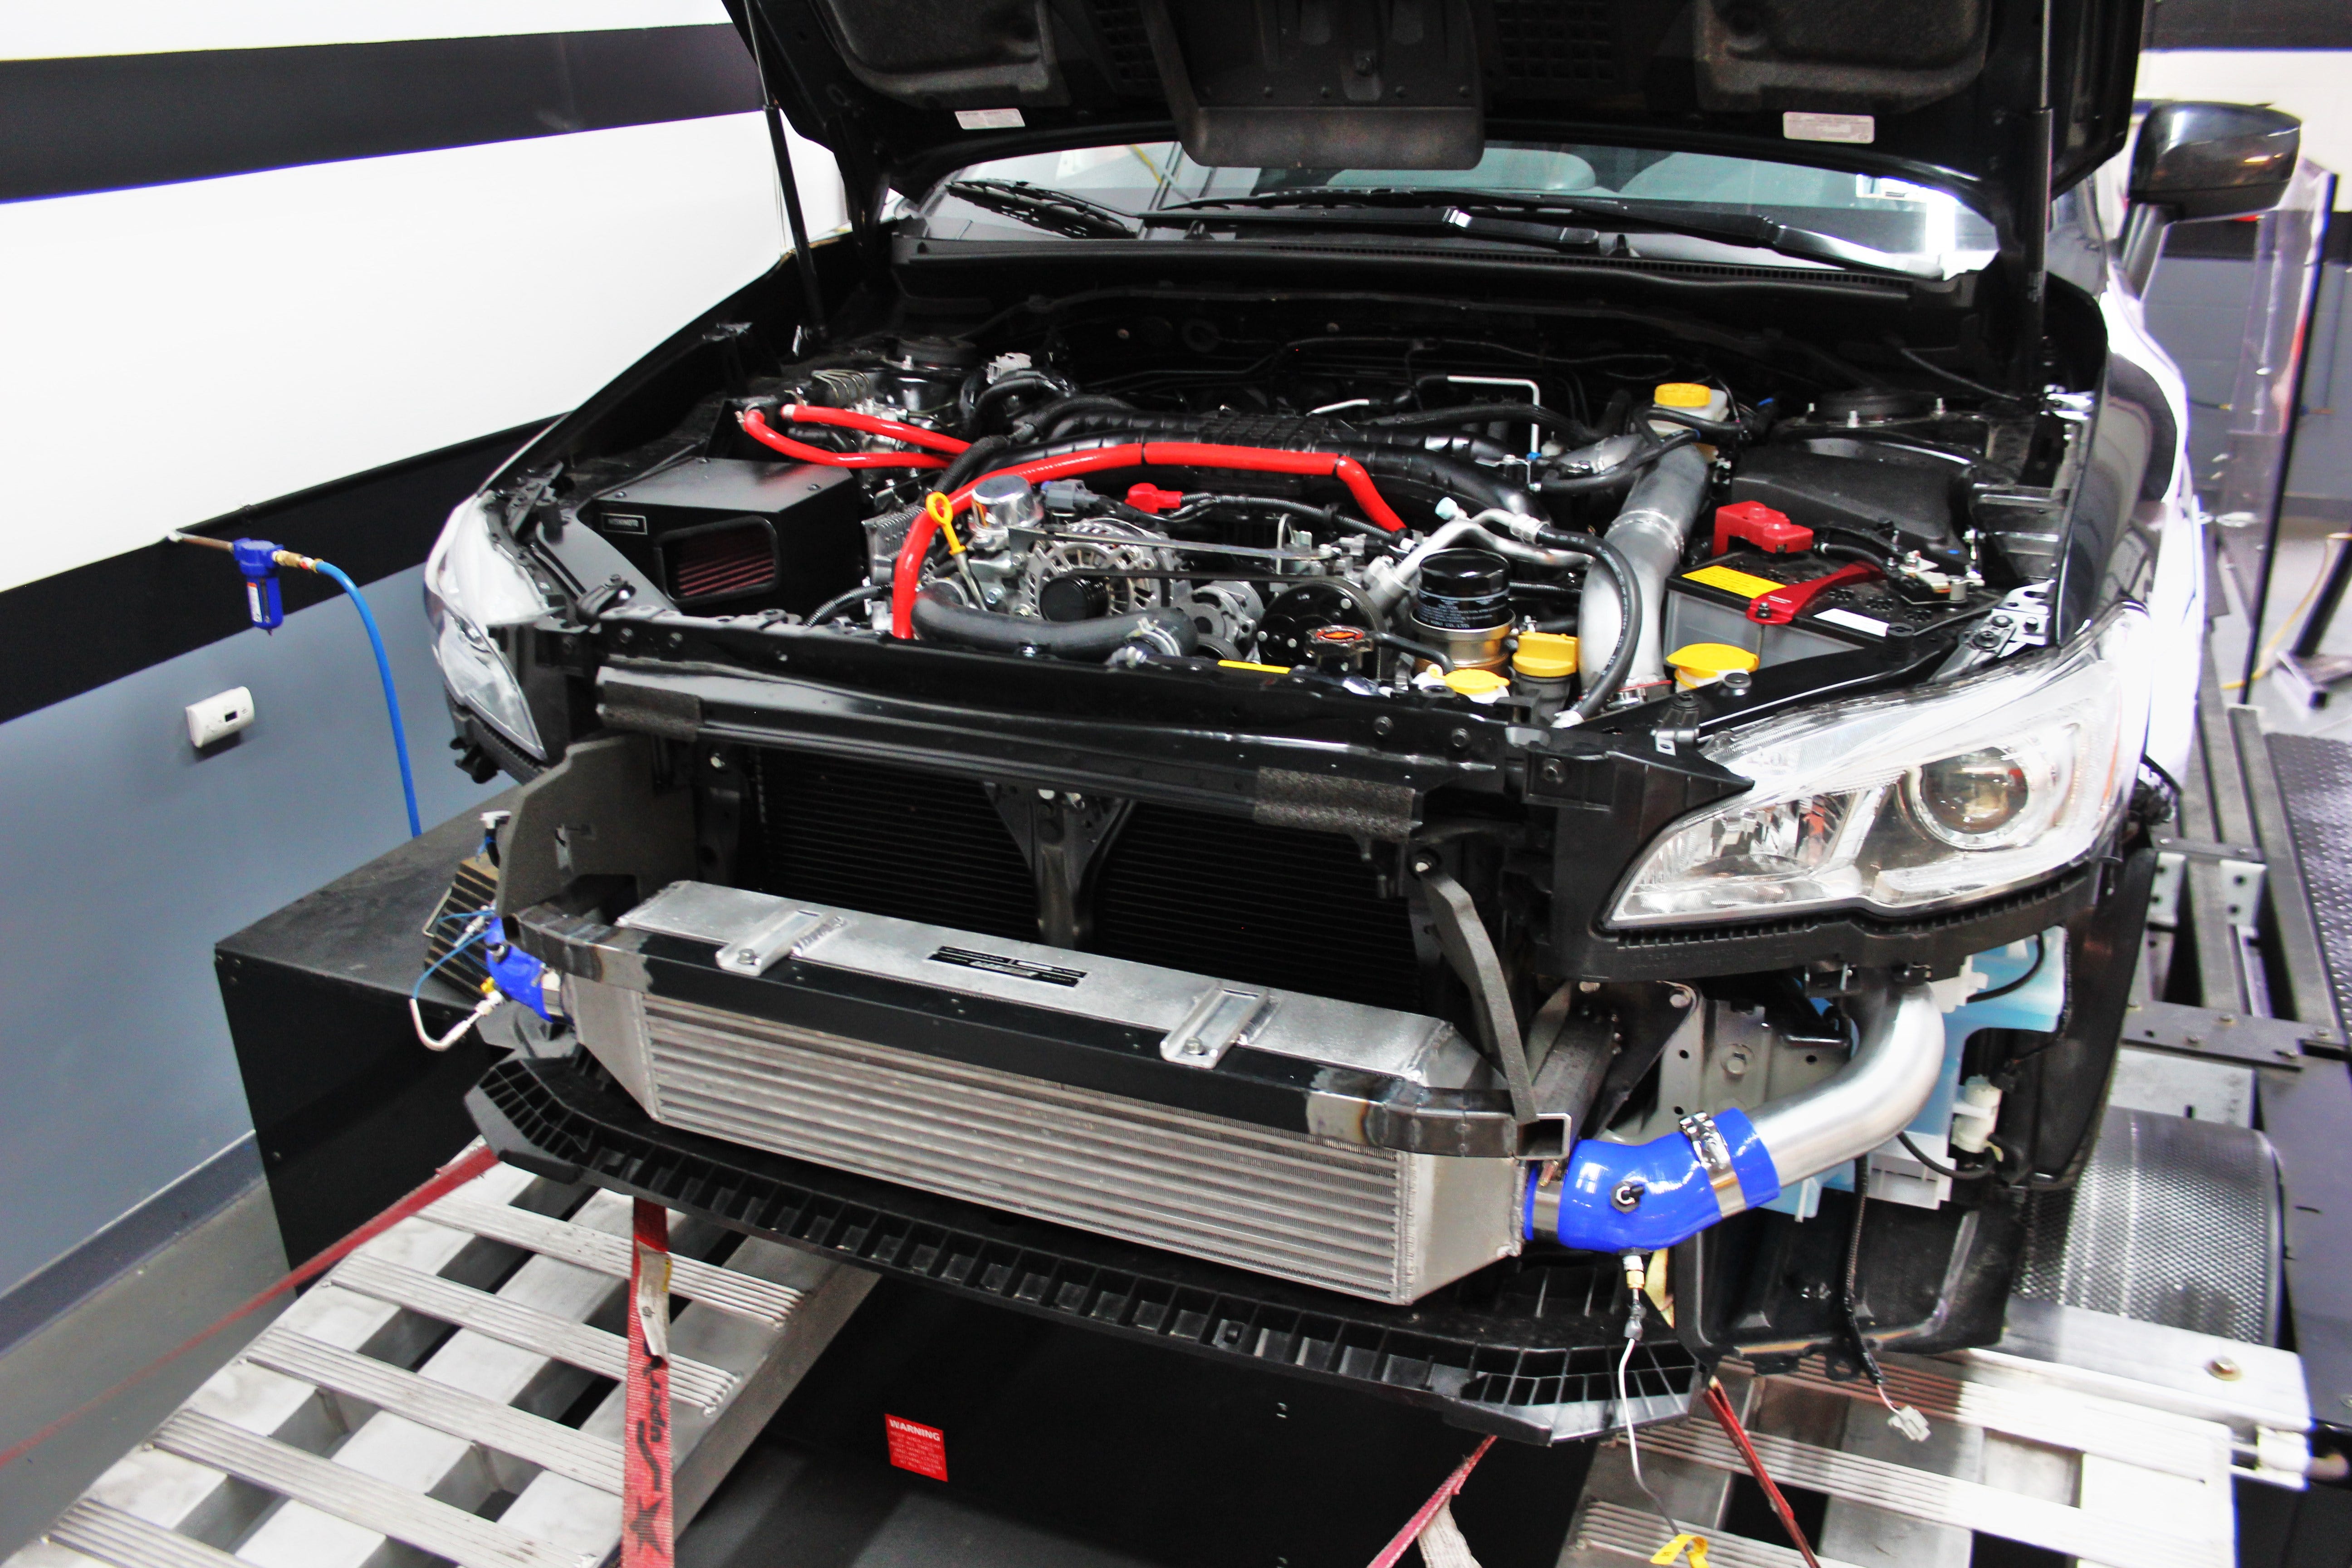
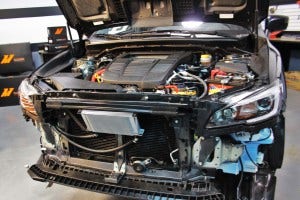
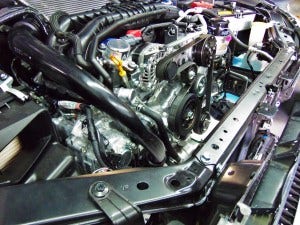
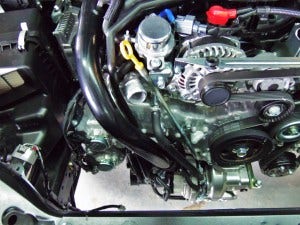
    For our first assessment, we will evaluate airflow temperatures in both materials during dyno testing. The goal here is to determine whether the different heat transfer properties of the two materials have an impact on the airflow within the TGV unit. Ideally we would use pre-TGV and post-TGV sensors to evaluate this, but for our initial test a single sensor will be used.

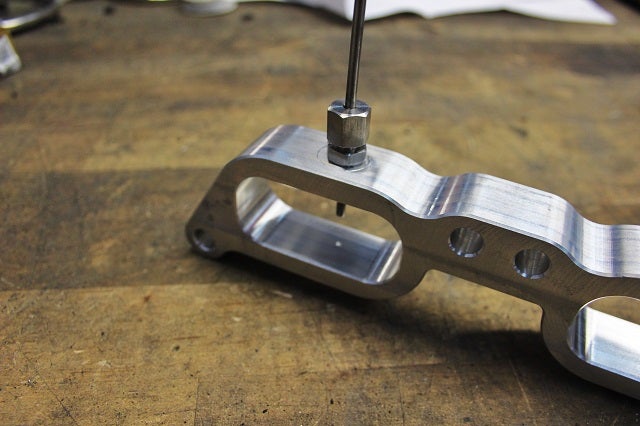
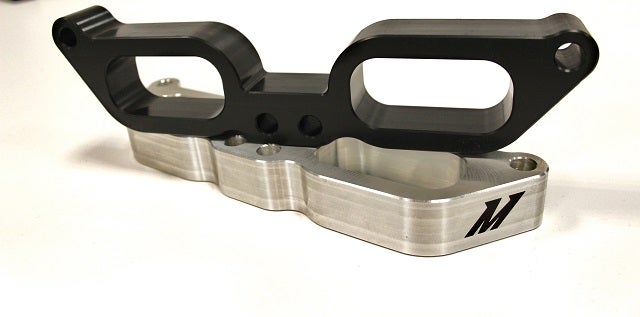
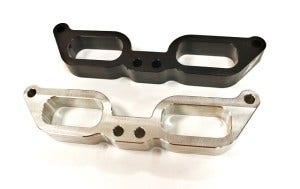
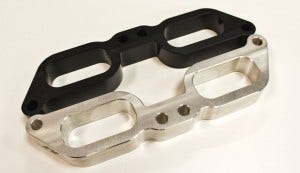
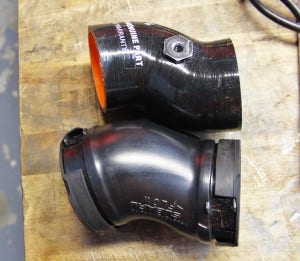
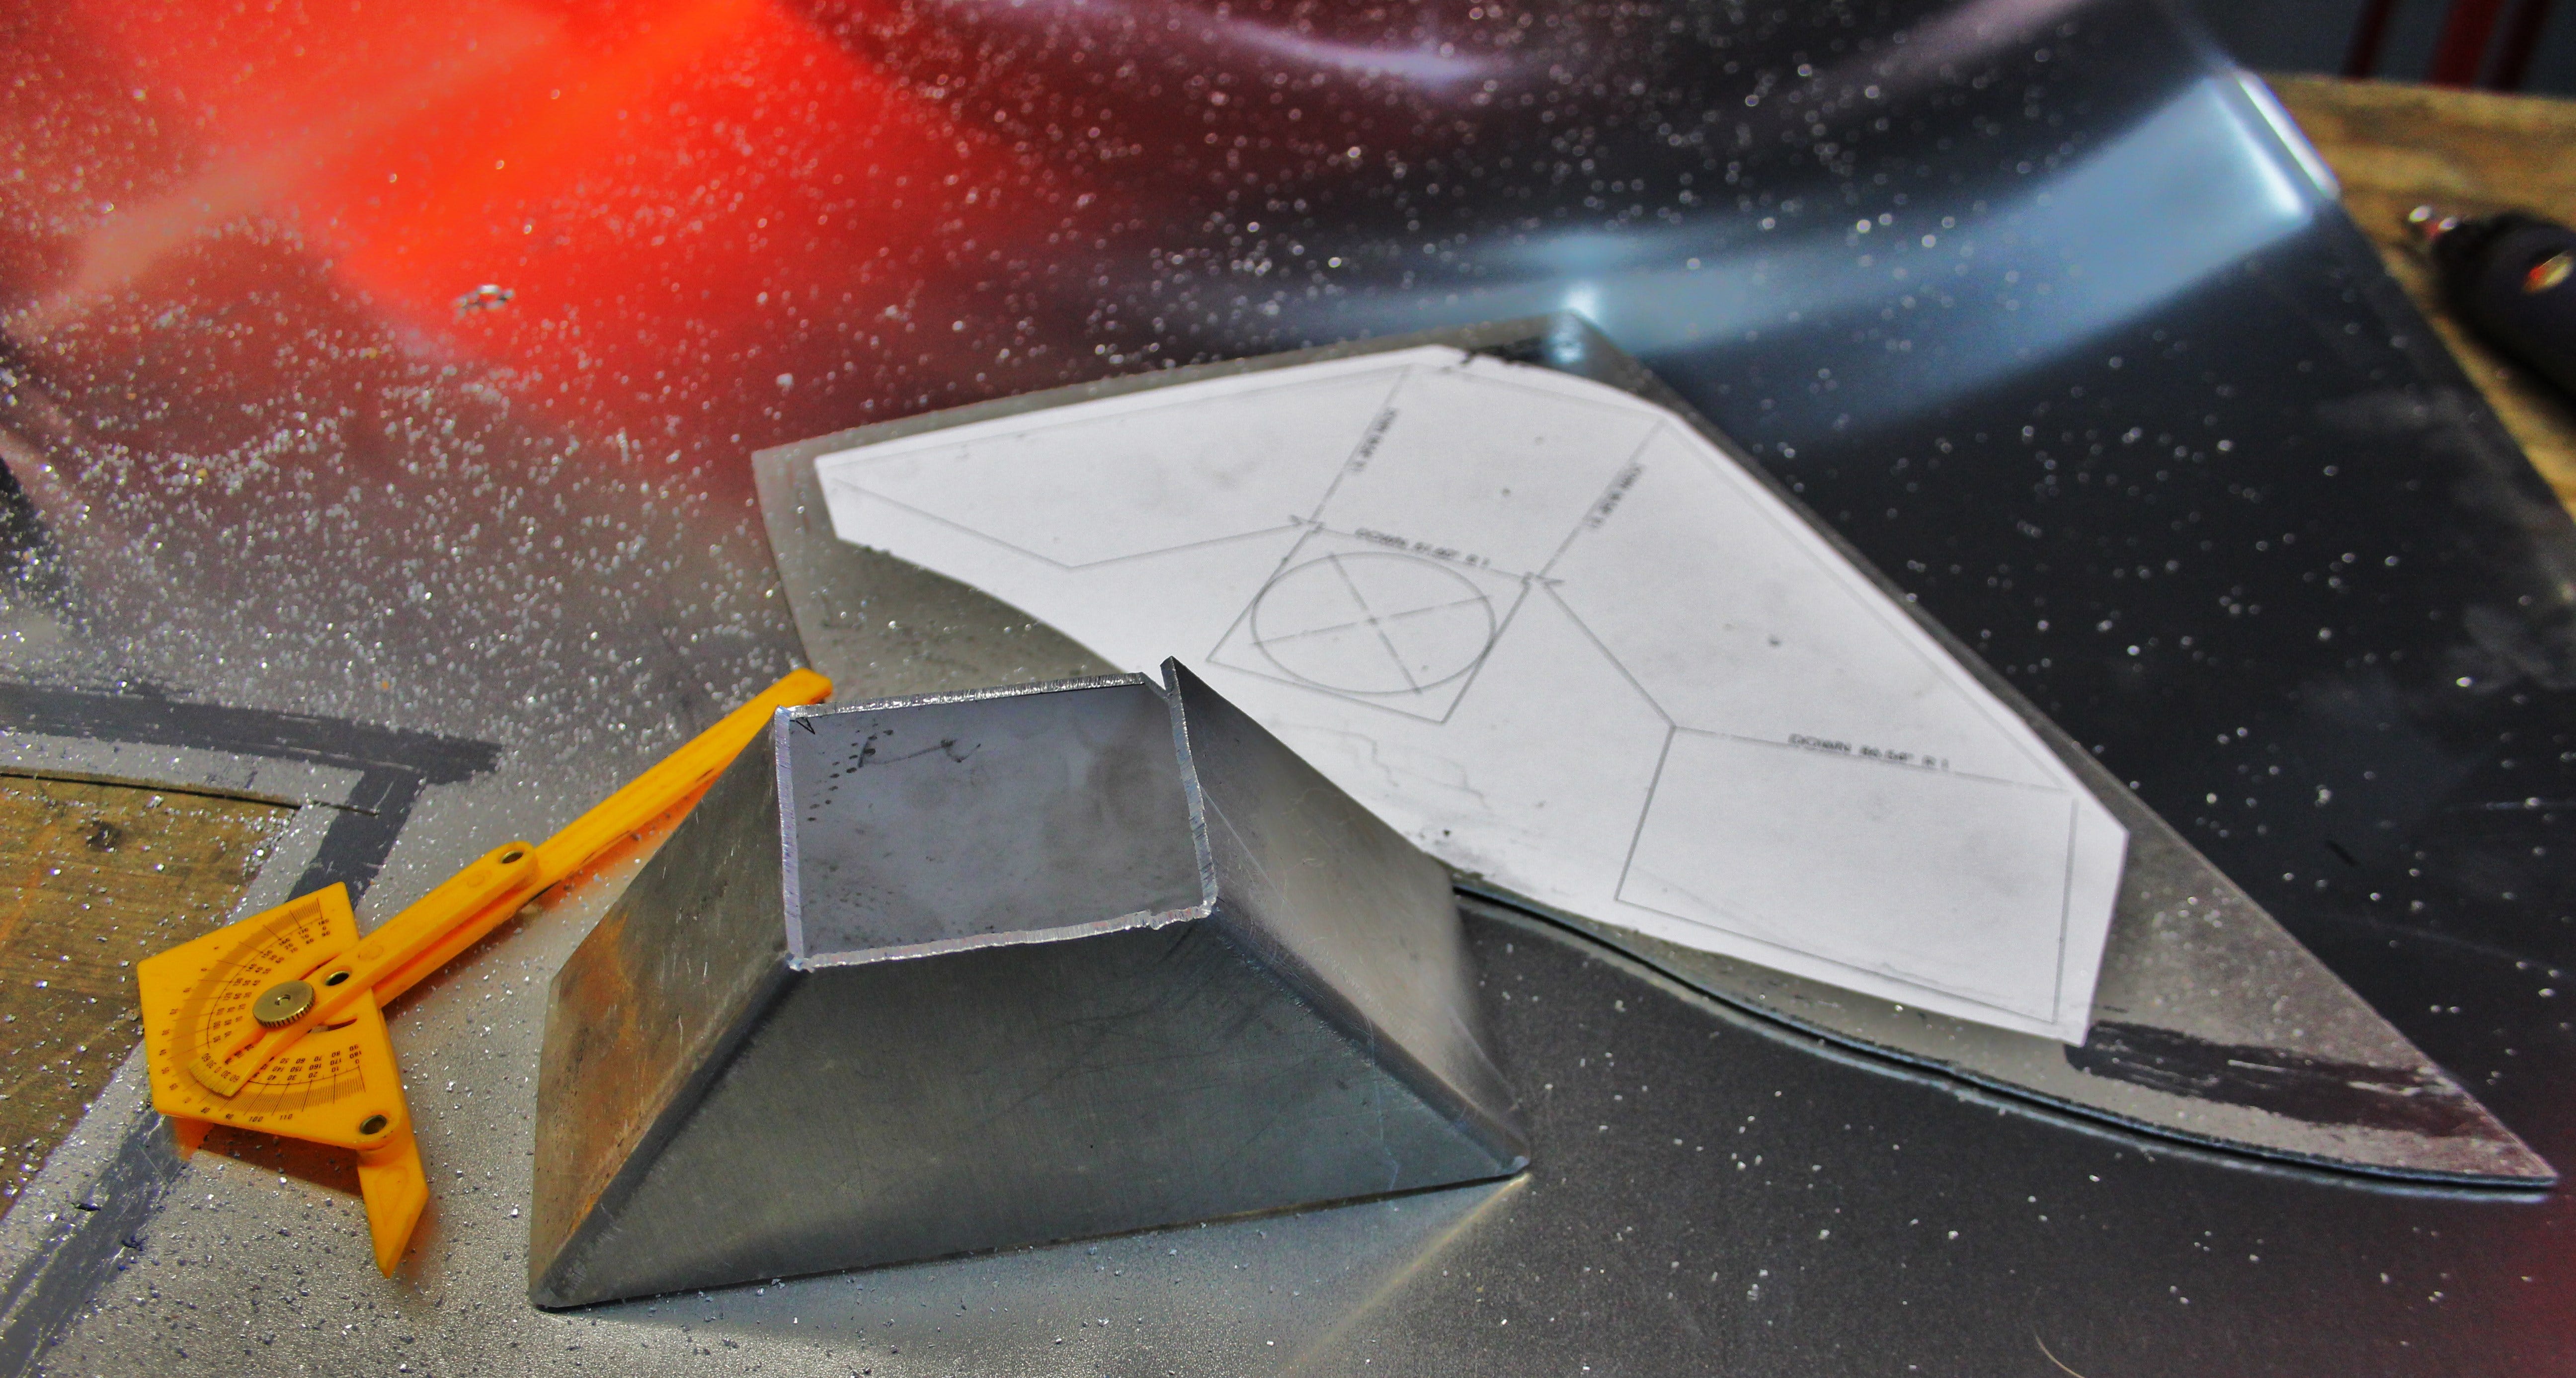
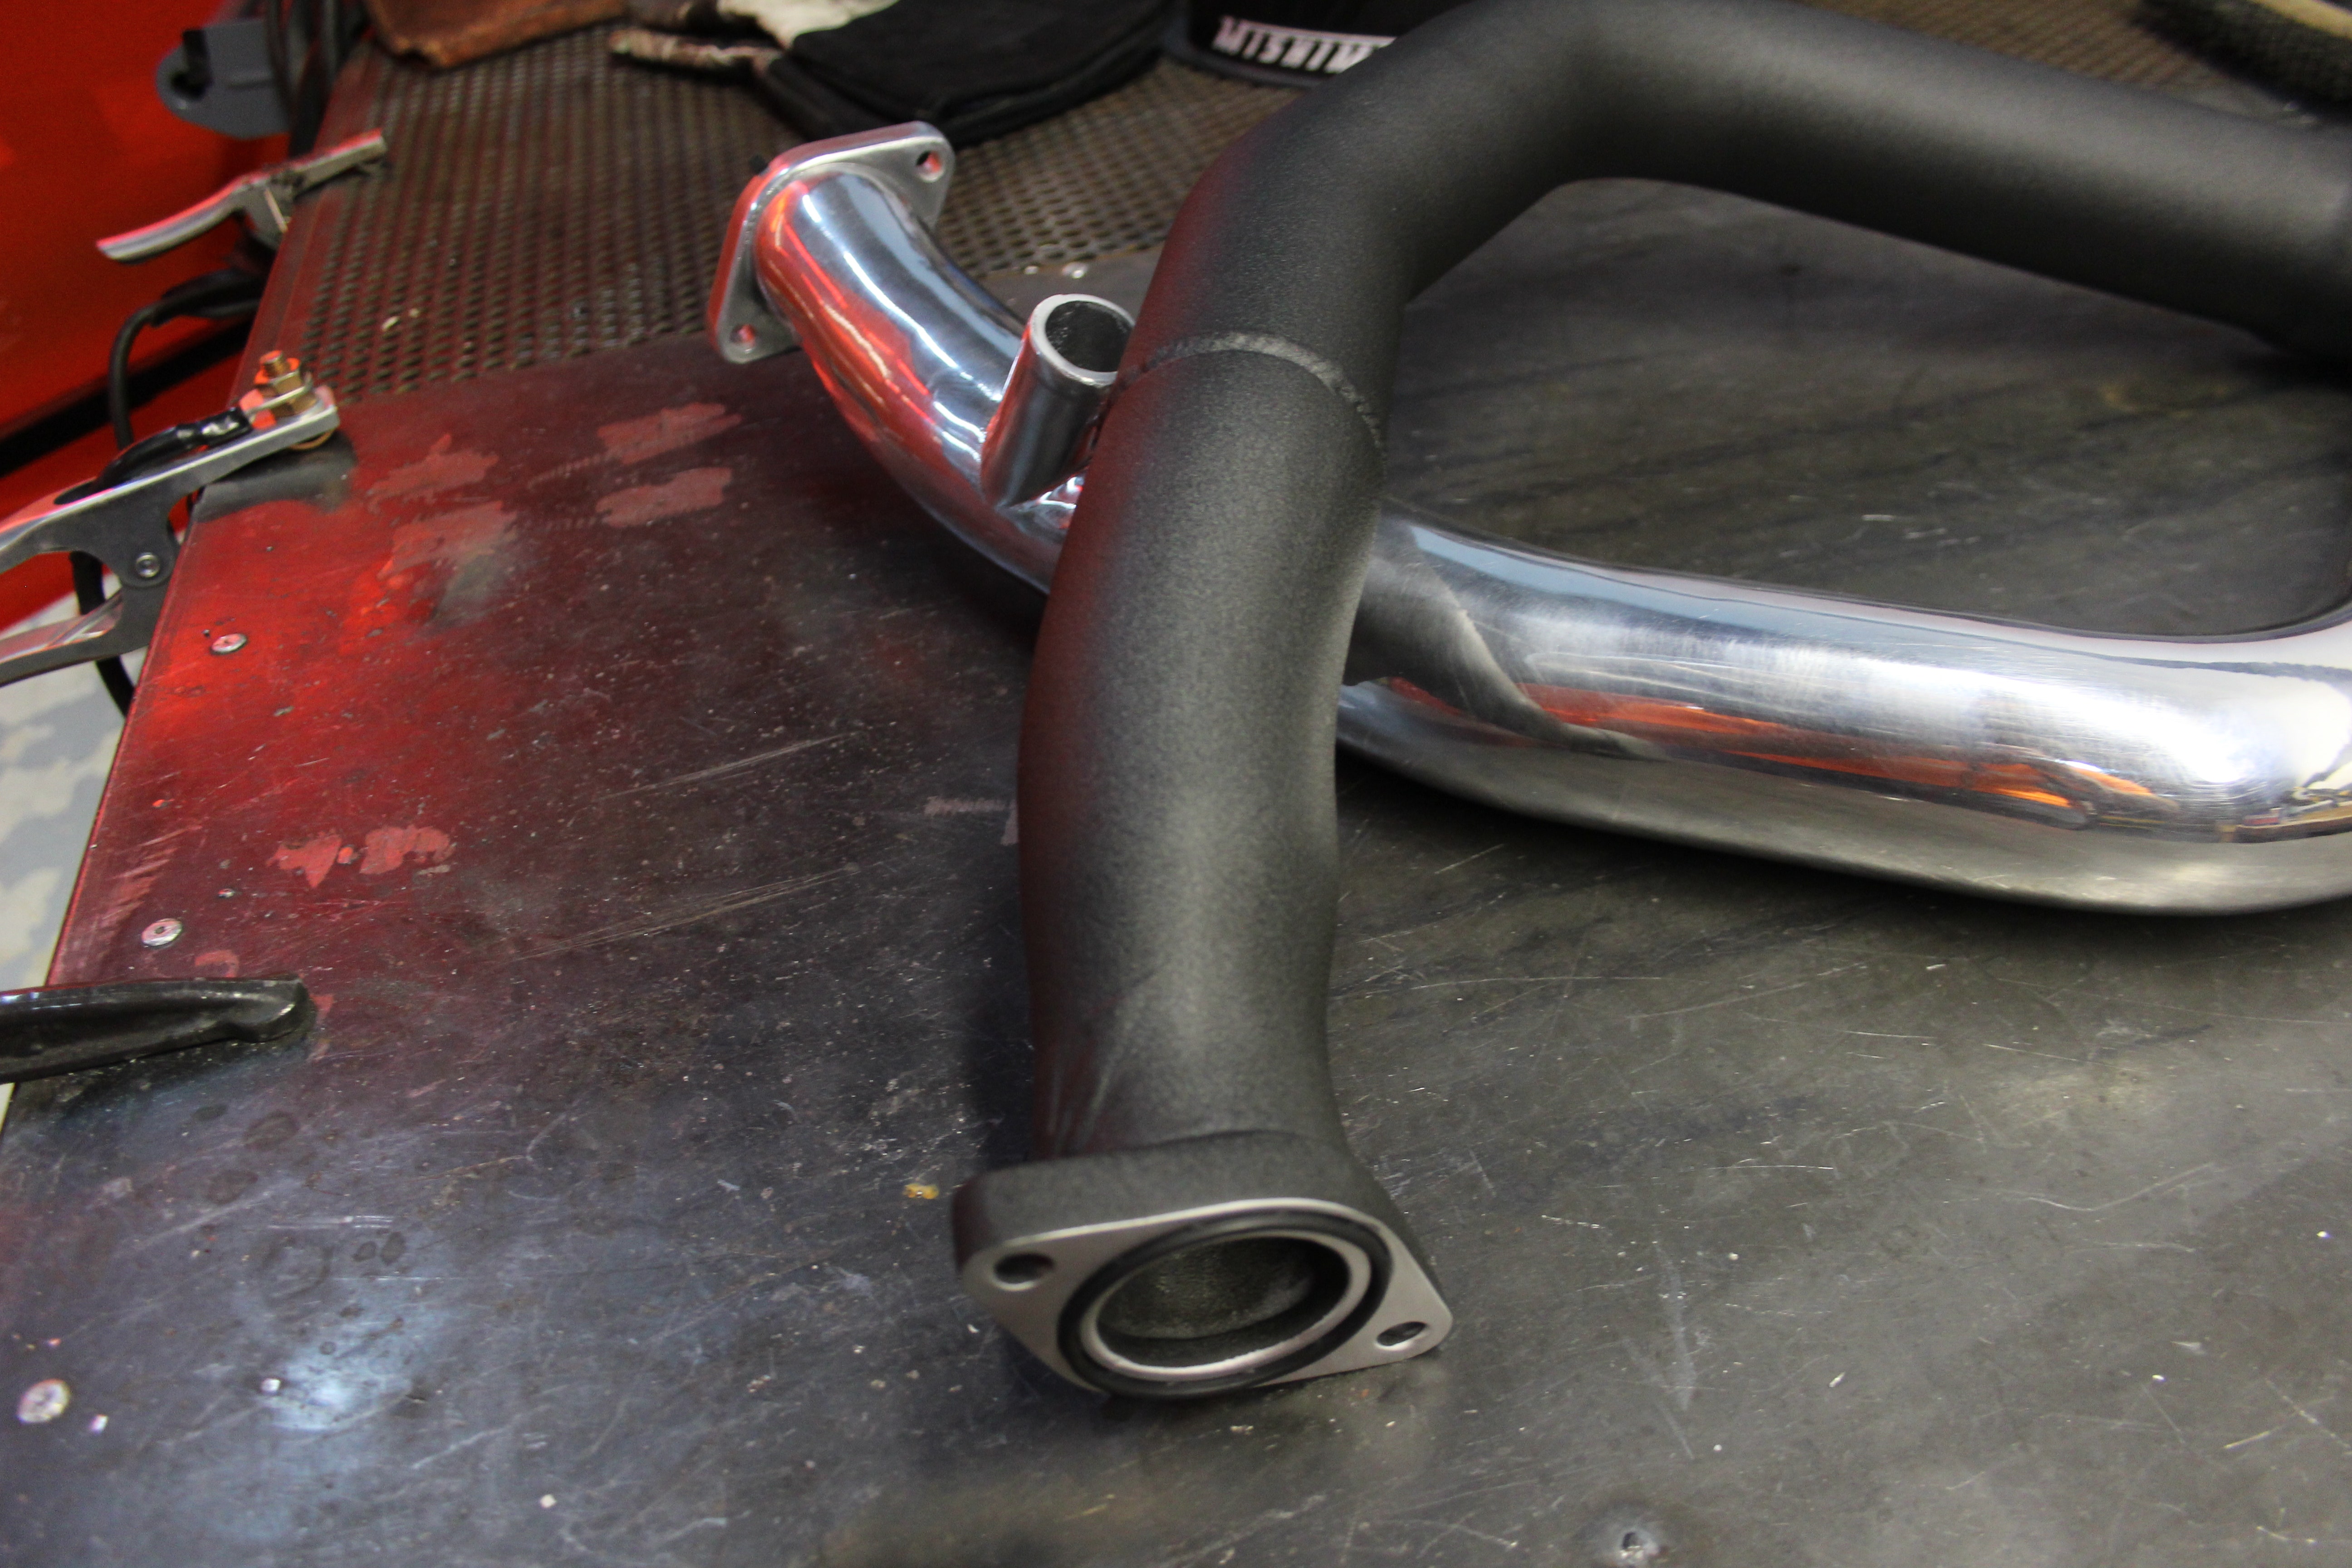
    We started by drilling and tapping each prototype.

    Initial Data

    We put together several plots to help analyze the data from our dyno pulls so we could reach a conclusion regarding appreciable temperature differences. First, a look at our initial runs with each material on

    Continue Reading »
  2. Power through Deletion. 2015 WRX TGV Delete Kit, Part 3: First Prototypes

    Power through Deletion. 2015 WRX TGV Delete Kit, Part 3: First Prototypes

    We're back with another quick update on our TGV delete project for the 2015+ WRX. After designing our initial models and then 3D-printing a prototype for test fitting, we worked up a couple functional prototypes for on-car testing.

    First Prototype Images

    Check out a few images of our functional prototype deletes!

    Mishimoto's 2015 WRX TGV delete prototypes

    Mishimoto's 2015 WRX TGV delete prototypes

    Mishimoto's 2015 WRX TGV delete prototypes

    Mishimoto's 2015 WRX TGV delete
    Continue Reading »
  3. Power Through Deletion. 2015 WRX TGV Delete Kit, Part 2: 3D-Printed Prototype Test Fit

    Power Through Deletion. 2015 WRX TGV Delete Kit, Part 2: 3D-Printed Prototype Test Fit

    3D-Printed Prototypes

    To confirm the dimensions and design of our prototype, we decided to utilize some of our rapid prototyping tools. We fired up our 3D printer and loaded the model. Check out a couple images showing the progress of the print.

    3D-printing 2015 WRX parts
    3D-printing 2015 WRX parts

    3D-printing 2015 WRX parts
    3D-printing 2015 WRX parts

    Once the printing process was complete, we cleaned up the prototypes and installed them on our 2015 WRX to verify fitment.

    Continue Reading »
  4. Power Through Deletion. 2015 WRX TGV Delete Kit, Part 1: Design and 3D Prototypes

    Power Through Deletion. 2015 WRX TGV Delete Kit, Part 1: Design and 3D Prototypes

    It's been nearly two years since our first 2015 WRX development vehicle rolled into the shop. We've had a lot of fun with the car, and our team has developed a multitude of awesome components to aid in cooling, elevate power, and improve styling. Our product line is essentially complete, meaning we are done wrenching on our WRX. This is bitter sweet, as we will be picking up another vehicle to start the process once again. Before shipping out the WRX, we had one more project up our sleeves to extract a touch more power.

    With our existing modifications, including our downpipe, intake, and cat-back exhaust system, most customers are making in the neighborhood of 290 whp and 310 wtq. Not bad for some simple bolt-on modifications and ECU tuning. We've been eyeing TGV modifications and have seen the impressive effects on Subarus from previous model years. We decided to open up the intake system on our 2015 to see if we could design a delete system that would deliver a few extra ponies.

    Continue Reading »
  5. Does The WRX Need An Upgraded Intercooler? Part 6: Air Shroud Design and Testing

    Does The WRX Need An Upgraded Intercooler? Part 6: Air Shroud Design and Testing

    Interested in purchasing our 2015 WRX top-mount intercooler kit? Check out more details on our product page linked below!

    Mishimoto Subaru WRX Performance Top-Mount Intercooler and Charge-Pipe System

    As noted in our previous post, we decided to design a shroud that would channel airflow more efficiently through the core of our intercooler. Because our cooler features a larger footprint, the stock air shroud directs flow to only a portion of the core. Opening up this airflow to the entire core should result in even greater temperature reductions than we saw during our first round of testing.

    Stock Intercooler Shroud

    First, let's take a look at the stock shroud as Steve removes it from our test vehicle. Here is what you will see under the hood of your WRX.

    Continue Reading »
  6. Cool Your Charge! The 2015 WRX Front-Mount Intercooler Build, Part 4: Dyno Testing

    Cool Your Charge! The 2015 WRX Front-Mount Intercooler Build, Part 4: Dyno Testing

    Interested in picking up our 2015 WRX FMIC kit? Check out more details on our product page linked below!

    Mishimoto Subaru WRX Front-Mount Intercooler Kit

    Time for the fun part of development, product testing! Since this is an intercooler, we would certainly need to put the WRX on the dyno for some pulls and data collection. It would be interesting to see how the installation of a front-mount system has an impact on turbo spool, intake temperatures, and perhaps even power output.

    Testing Preparation

    The first step toward data collection is to prepare our sensor bungs and install our pressure and temperature sensors. We installed our bungs within the inlet and outlet intercooler couplers.

    Continue Reading »
  7. Cool Your Charge! The 2015 WRX Front-Mount Intercooler Build, Part 3: Pipe Routing and Fabrication

    Cool Your Charge! The 2015 WRX Front-Mount Intercooler Build, Part 3: Pipe Routing and Fabrication

    Interested in picking up our 2015 WRX FMIC kit? Check out more details on our product page linked below!

    Mishimoto Subaru WRX Front-Mount Intercooler Kit

    Front-mount intercooler installed
    Front-mount intercooler installed

    In the last portion of this series we completed the fabrication of our prototype intercooler core and tanks, as well as our new bumper beam. We now had everything in place to construct a piping kit that would route air from the turbocharger to the intercooler and back to the engine.

    Hot-Side Piping

    We started our piping with the hot-side of the intercooler system. The stock compressor

    Continue Reading »
  8. Does the 2015 WRX Need an Upgraded Intercooler? Part 5: Testing and Results

    Does the 2015 WRX Need an Upgraded Intercooler? Part 5: Testing and Results

    Interested in purchasing our 2015 WRX top-mount intercooler kit? Check out more details on our product page linked below!

    Mishimoto Subaru WRX Performance Top-Mount Intercooler and Charge-Pipe System

    Dyno Preparation

    Time to finally answer the question we have been discussing for months. Would the 2015 WRX benefit from an upgraded intercooler?

    To test both the stock unit and the Mishimoto prototype unit, we would need to drill and tap the coolers to accept our temperature and pressure sensors.

    First, we installed a sensor bung in our silicone throttle-body hose. This would capture post intercooler data for all three coolers.

    Mishimoto throttle-body hose with sensor</body> " width="300" height="261">
    Continue Reading »
  9. Cool Your Charge!  The 15' WRX Front-Mount Intercooler Build, Part 2: Core and Support Fabrication

    Cool Your Charge! The 15' WRX Front-Mount Intercooler Build, Part 2: Core and Support Fabrication

    Interested in picking up our 2015 WRX FMIC kit? Check out more details on our product page linked below!

    Mishimoto Subaru WRX Front-Mount Intercooler Kit

    Crash Beam Fabrication

    After an unsuccessful test fit of our existing bumper beam on the 15', we started from scratch to create a beam specific for the 15' chassis. First we hacked off the end tanks of our cooler so we were left with a bare core. This would provide some freedom to design our crash beam and later work on the end tank direction. Next we cut out some new mounting plates and fit them into position.

    Intercooler crash beam mounting plates
    Intercooler
    Continue Reading »
  10. Does the 2015 WRX Need an Upgraded Intercooler? Part 4: Charge Pipe Development

    Does the 2015 WRX Need an Upgraded Intercooler? Part 4: Charge Pipe Development

    Interested in purchasing our 2015 WRX top-mount intercooler kit? Check out more details on our product page linked below!

    Mishimoto Subaru WRX Performance Top-Mount Intercooler and Charge-Pipe System

    We've shared a ton of teasers that show our awesome charge-pipe design for the 2015 WRX. Now it is time to show you how this component came to life.

    First, take a look at the factory-equipped charge pipe.

    Stock 15' WRX charge pipe
    Stock 15' WRX charge pipe

    Stock 15'</body> " width="300" height="225">
    Continue Reading »
Page