Posted:
March 31, 2015
Categories:
BMW 3-Series E46 Intake 1999-2006
Interested in picking up our E46 intake system? Check out our product page for more information!
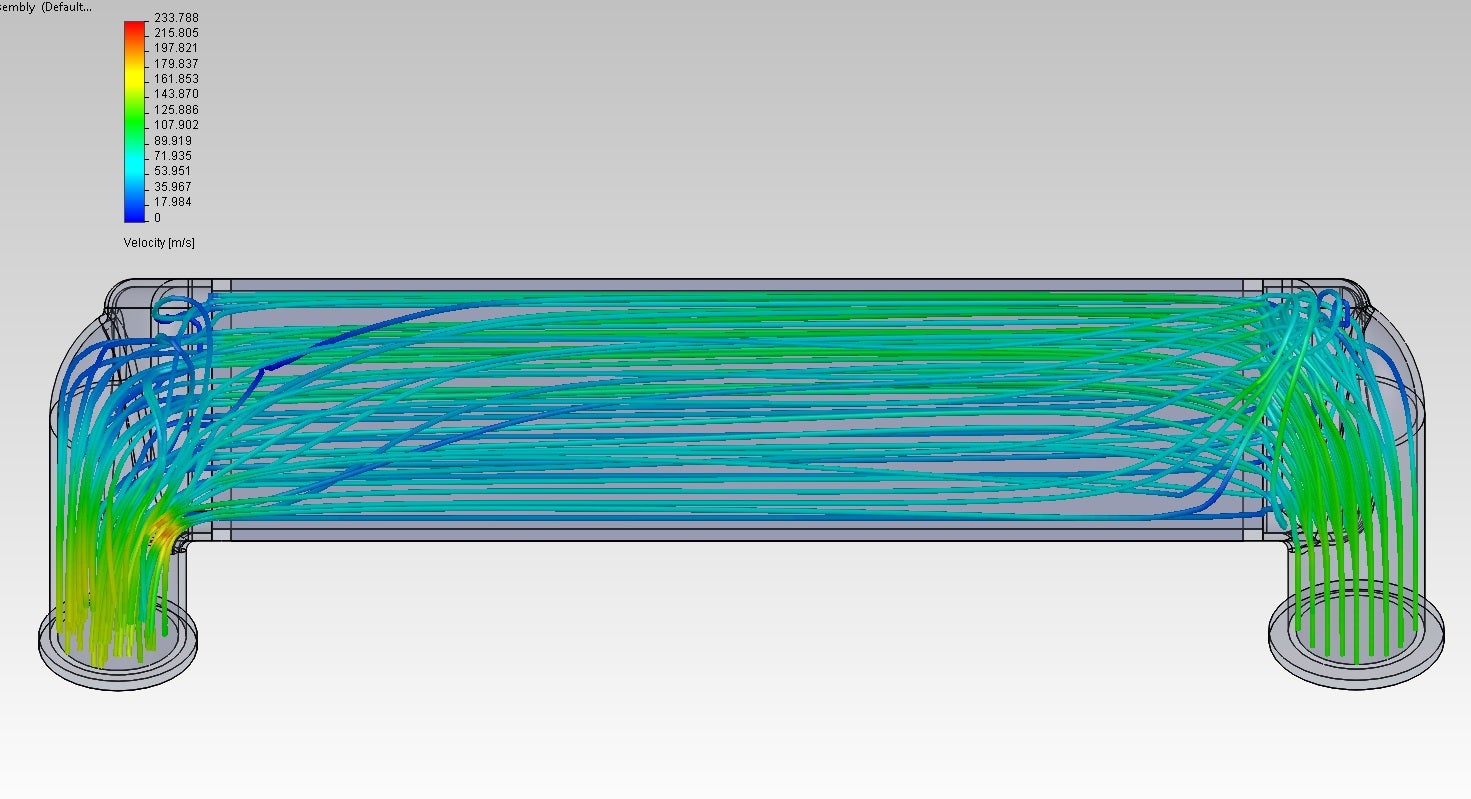
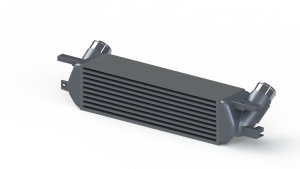
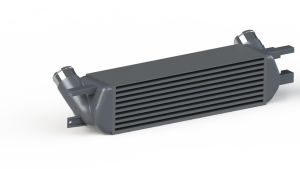
Mishimoto BMW E46 Performance Air Intake

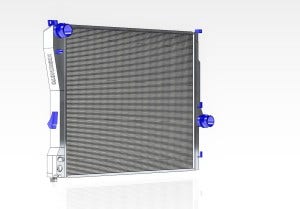
Stock E46 intake system
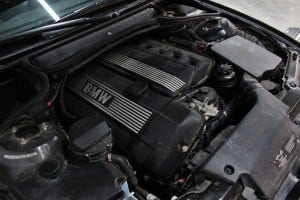
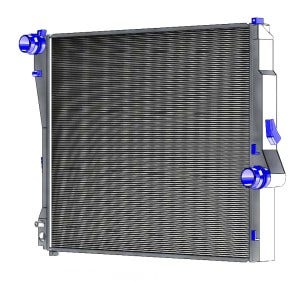
Stock E46 intake system
 " width="300" height="200">
 " width="300" height="283">