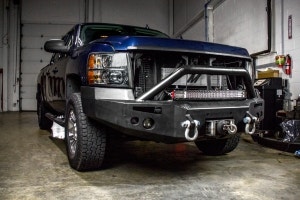
Does The WRX Need An Upgraded Intercooler? Part 6: Air Shroud Design and Testing
Interested in purchasing our 2015 WRX top-mount intercooler kit? Check out more details on our product page linked below!
Mishimoto Subaru WRX Performance Top-Mount Intercooler and Charge-Pipe System
As noted in our previous post, we decided to design a shroud that would channel airflow more efficiently through the core of our intercooler. Because our cooler features a larger footprint, the stock air shroud directs flow to only a portion of the core. Opening up this airflow to the entire core should result in even greater temperature reductions than we saw during our first round of testing.
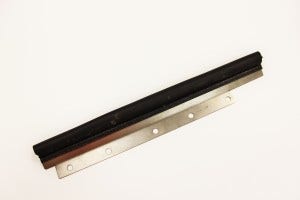
Stock Intercooler Shroud
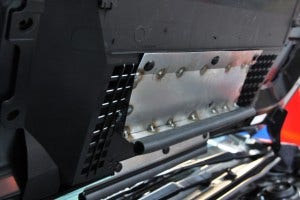
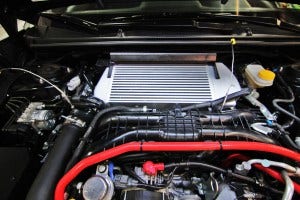
First, let's take a look at the stock shroud as Steve removes it from our test vehicle. Here is what you will see under the hood of your WRX.
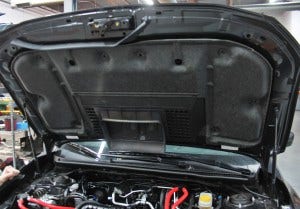
Stock intercooler shroud
The stock setup features a large center scoop that directs airflow through the intercooler core. This rubber unit flexes to seal against the intercooler. Next, we removed the hood insulation, destroying several frail pop clips in the process.
Stock hood insulation
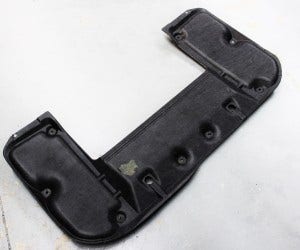
The stock shroud assembly was then removed for evaluation.

Stock intercooler scoop
As noted before, the center channel provides a path for air to pass through the core of the intercooler. You can also see that this unit features air passages on both sides of the center portion. These air passages enable not only circulation within the engine compartment, but they also provide some additional cooling for engine bay electronics.
Our next shot shows the bare hood with the shroud removed.
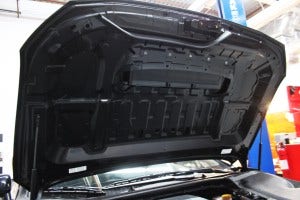
Stock intercooler shroud removed
Prototype Fabrication
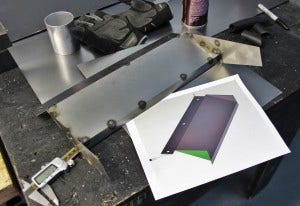
With the stock unit out of the way we began fabricating our larger shroud. The actual rubber scoop portion of the stock shroud can be removed from the scoop assembly, leaving us with more space for a larger footprint. Fabrication started here.
Prototype shroud fabrication
Prototype shroud fabrication
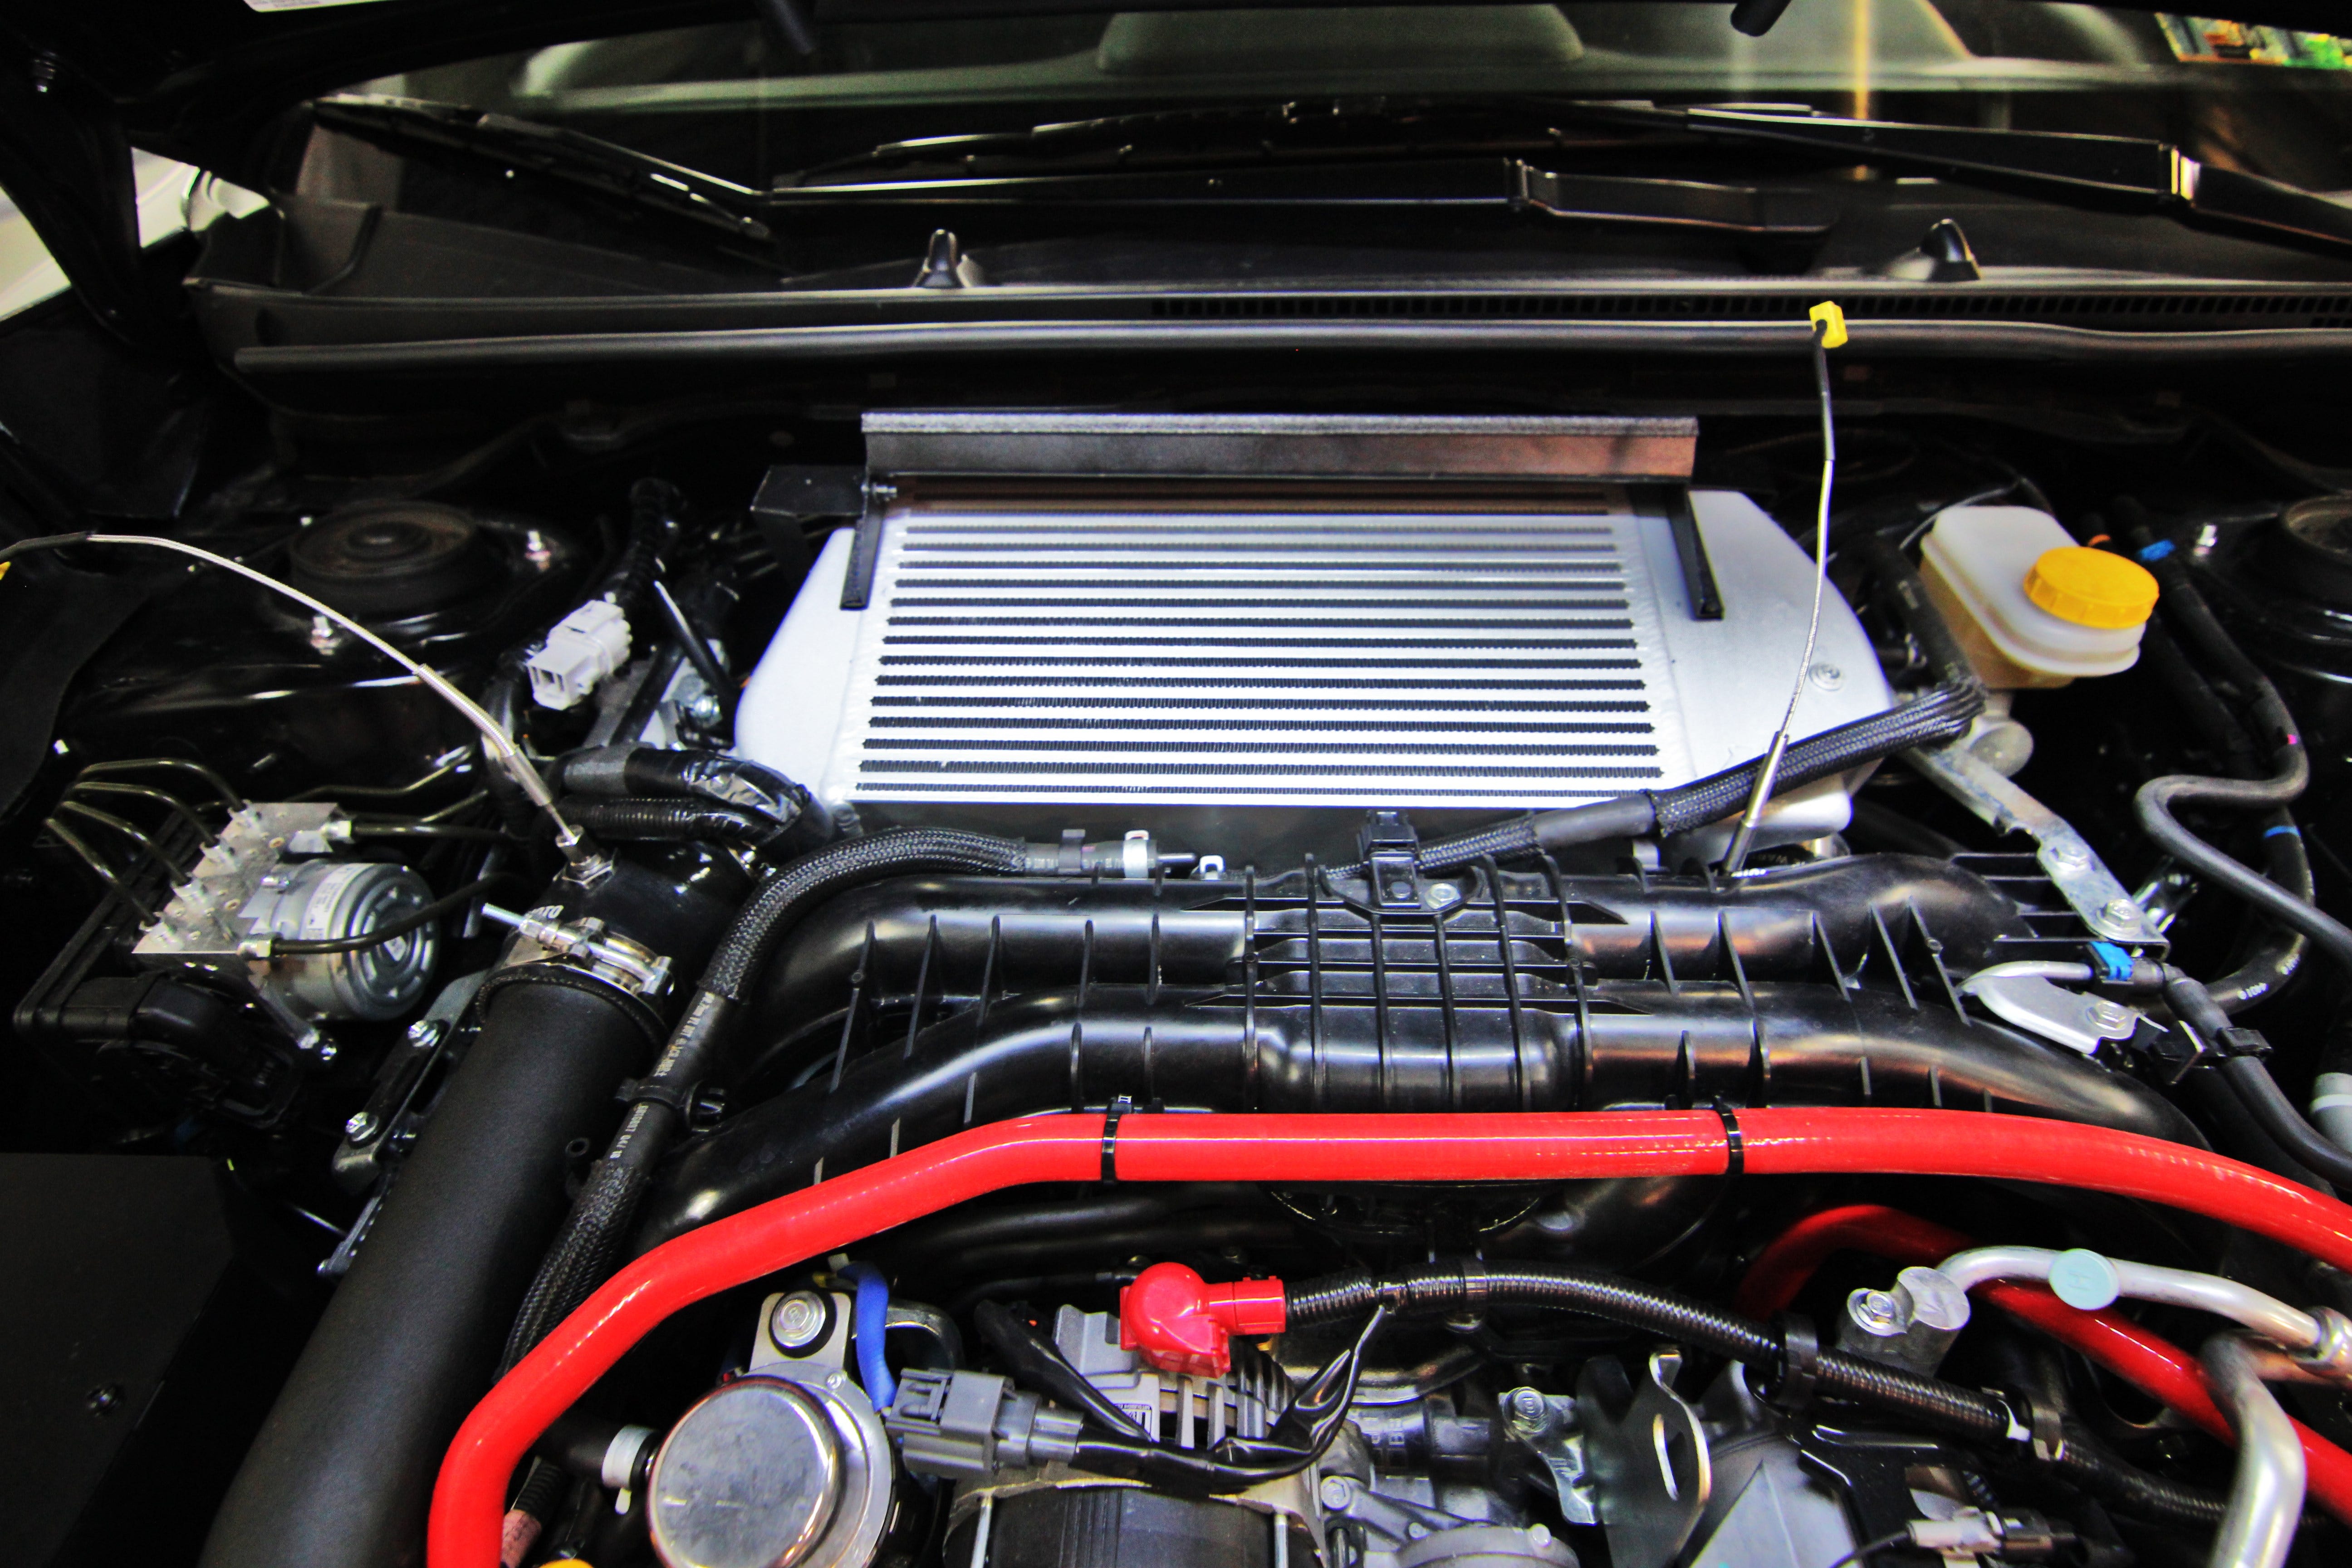
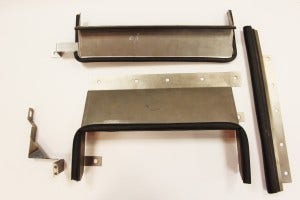
A portion of our core is actually under the cowl. We would need an additional shroud to move air into this location. These parts would then seal together to properly route air to the entire height of the core.

Prototype shroud fabrication
Once we confirmed perfect fitment of these shrouds, sides were added to the upper unit to fully enclose it. Rubber trim was added to provide an appropriate seal.
Prototype shroud fabrication
Prototype shroud fabrication
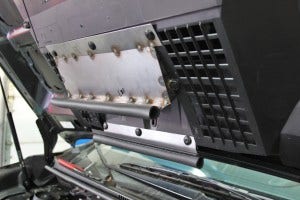
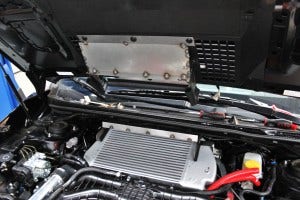
Once complete, we installed both shrouds to ensure fitment.
Prototype shroud fabrication
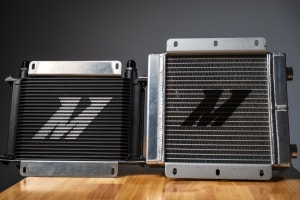
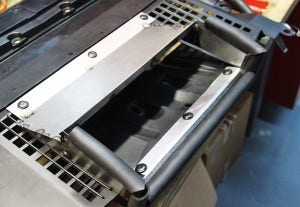
Our final uncoated prototype is shown below!
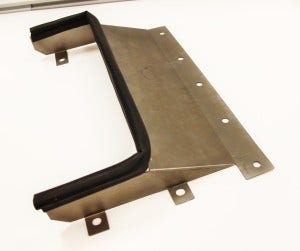
Final shroud prototype
Final shroud prototype
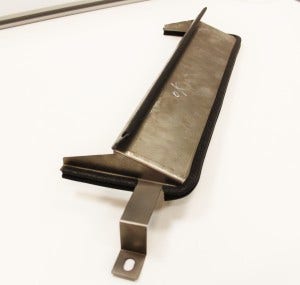
Final shroud prototype
Final shroud prototype
Shroud Testing
Our initial intercooler testing data points were compiled on dyno runs. This meant that we were using our top-mount intercooler (TMIC) fan, which can produce wind speeds of around 30-40 mph. Although these results can be used for apples-to-apples comparisons with the stock cooler, they still do not accurately demonstrate the temperatures achieved during street driving.
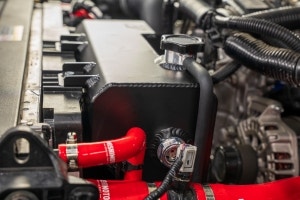
So, we hooked up our pressure and temperature sensors (from American Engine Management, AEM) and hit the road to test the efficiency of our full kit, including our shroud.
Sensors installed for testing
Testing Conditions
- Pull from 1st to 3rd, up to redline for each gear
- 60°F (15.6°C) ambient temperature
- 20% humidity
- Mishimoto 6-speed WRX with downpipe, intake, and tune (265 whp, 295 wtq)
Here's a screenshot of our data on the AEM software!
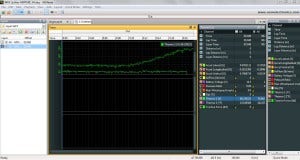
AEM software screenshot
Once the testing was complete, we compiled the data in an easier-to-read chart.
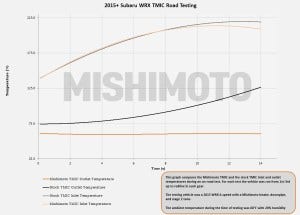
Splitter and TMIC testing results
From the results above you can see that providing the intercooler with adequate wind speeds reduces temperatures even more significantly than what we saw with our initial dyno testing.
If you recall from our last test, we ended up with the results below.
![]()
We were extremely pleased with these initial results, but as noted above we wanted to run some additional on-road tests to see the impact of actual airflow on temperature, as well as the effect of our shroud designed specifically for the core of our TMIC. We ended up with the results below.
![]()
Yes, you are reading that correctly. We are essentially dropping intake temperatures to near ambient on the road! These results are probably the best we have ever seen with any of our existing TMIC offerings.
For those who have joined the presale for these coolers, I think you will be very pleased with the performance and efficiency!
Thanks again for following our development progress!
-John