Posted:
February 05, 2015
Interested in purchasing our 6.4L coolant filter kit? Check out our product page for more information!
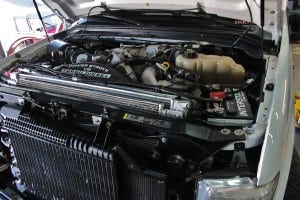
Mishimoto Ford 6.4L Powerstroke Coolant Filter Kit
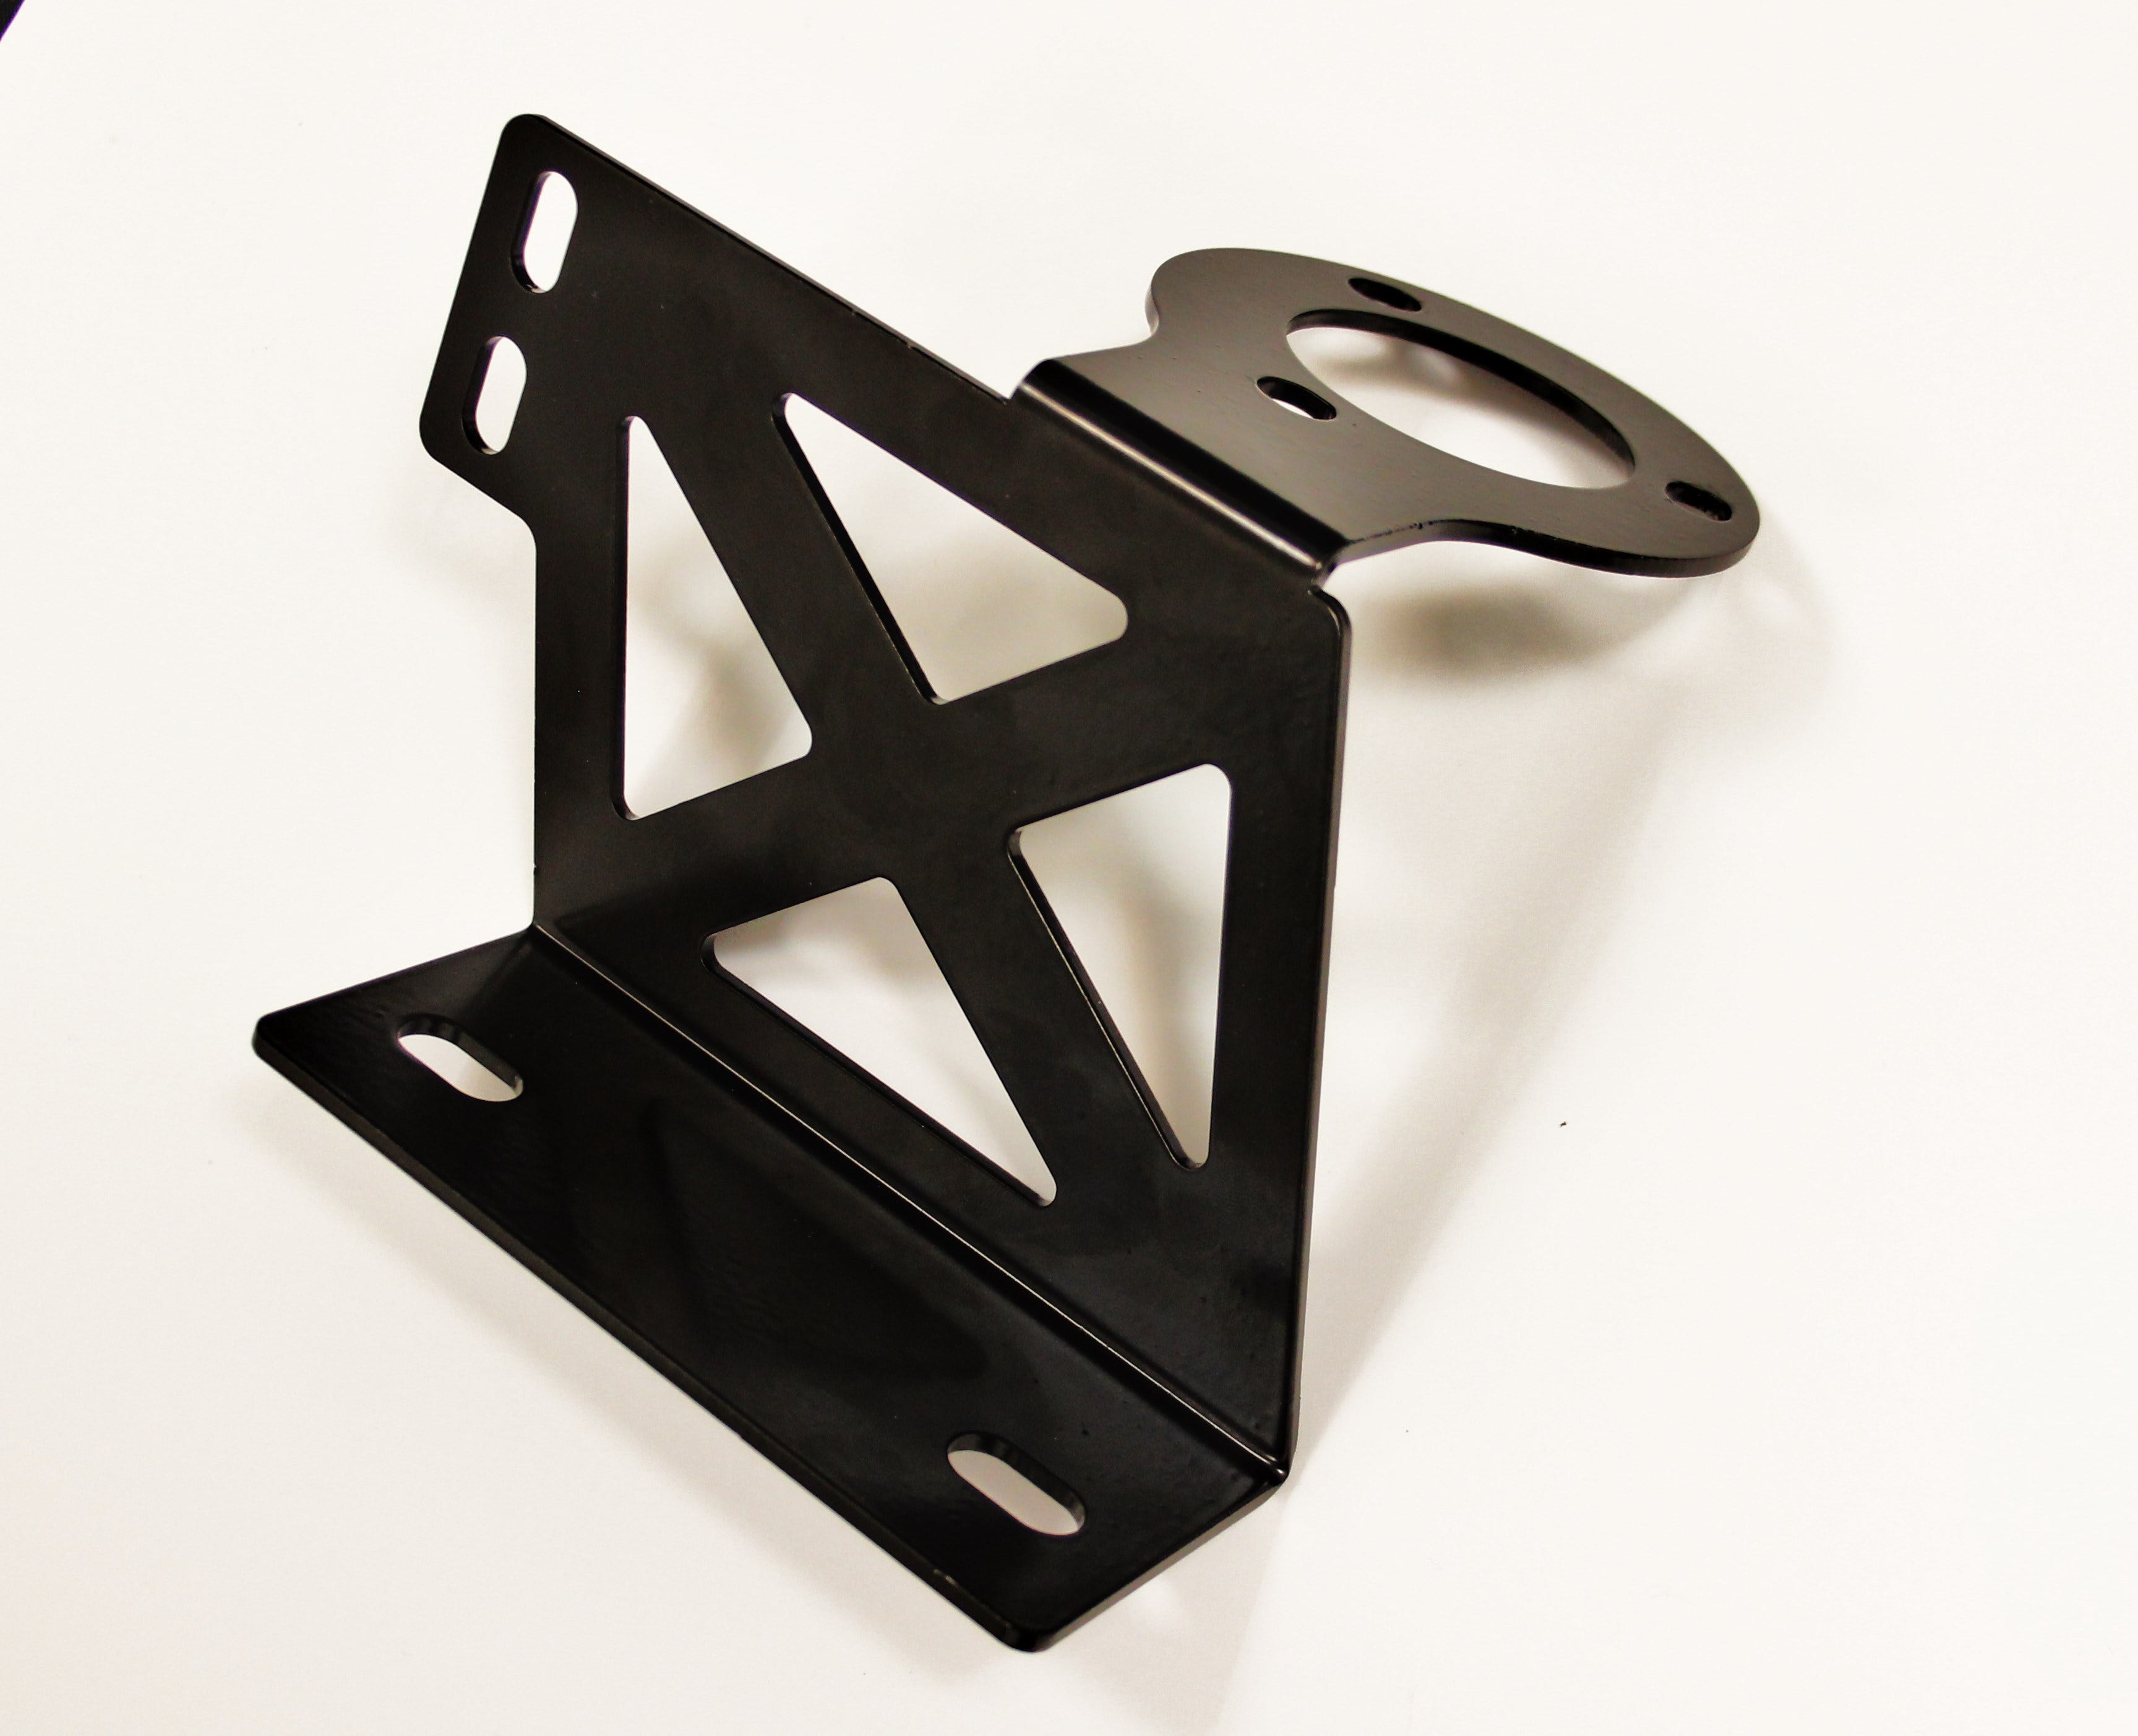
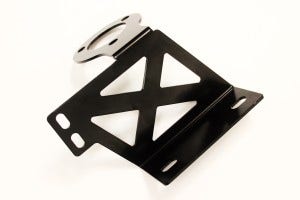
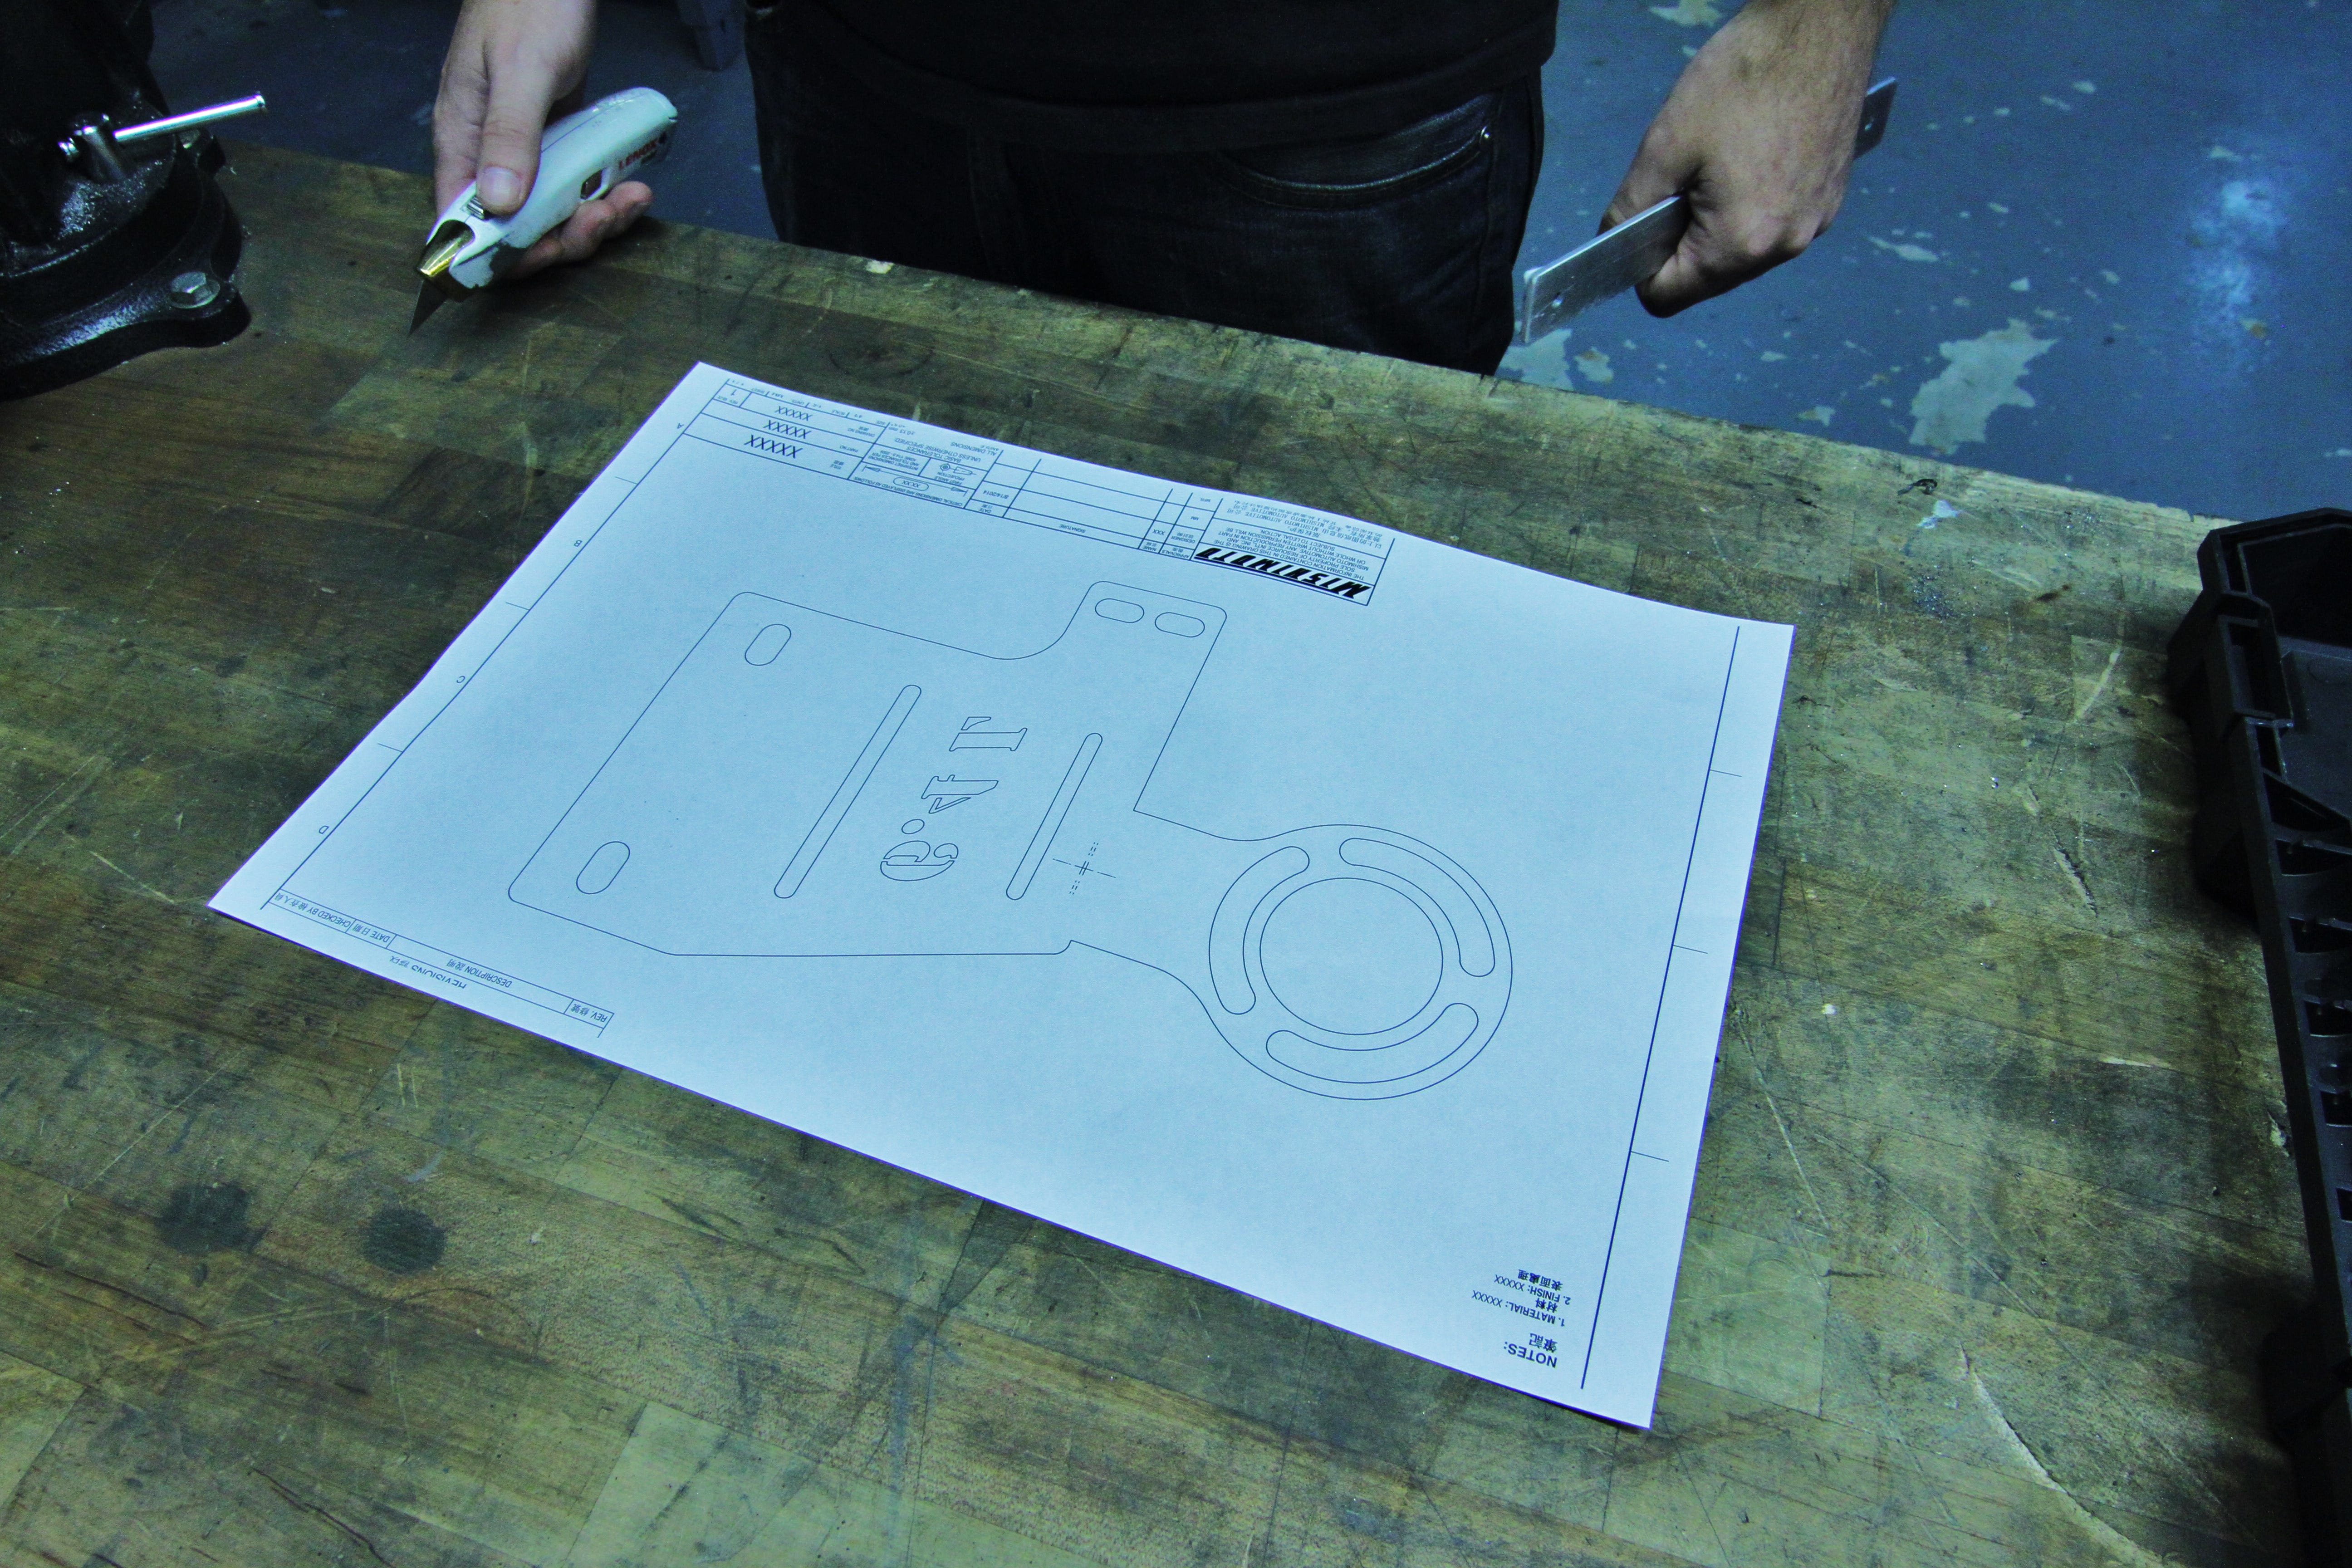
Final Prototype Bracket
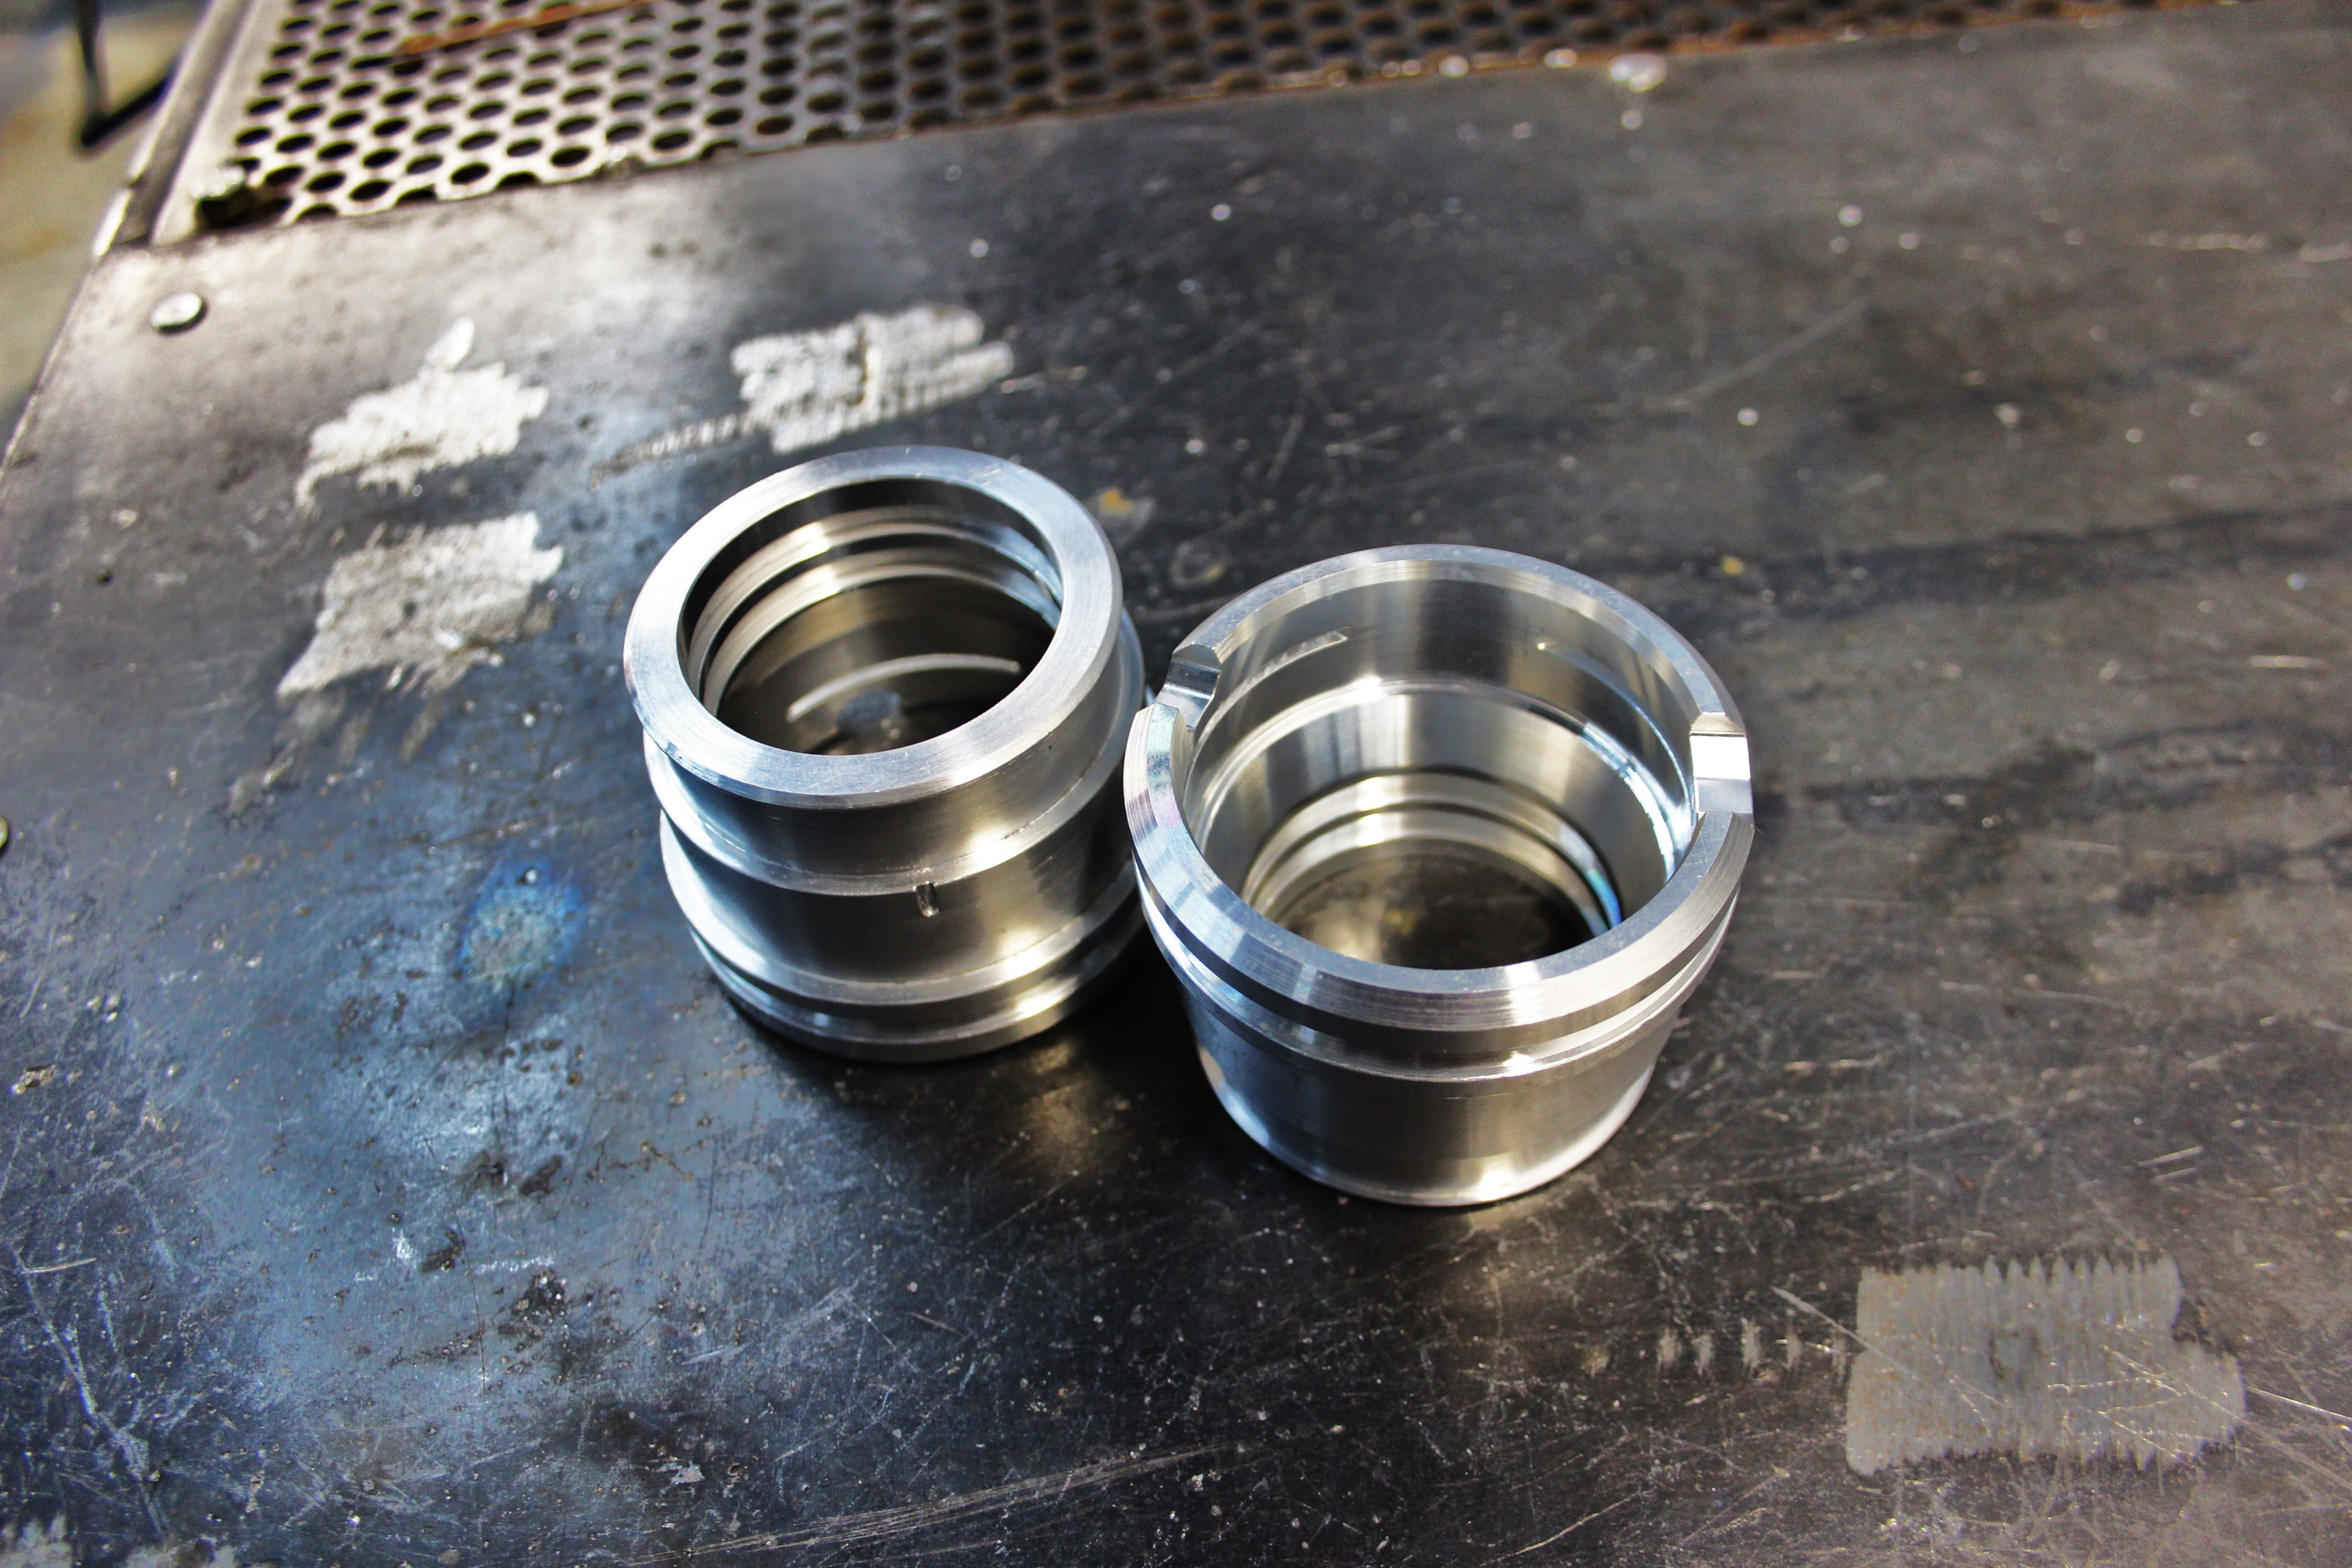
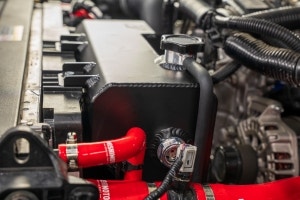
Welcome back! Our final bracket prototype is in and ready for installation. Check it out!
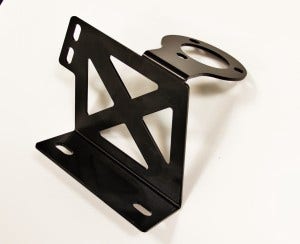
Mishimoto 6.4L coolant filter bracket
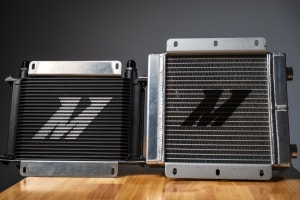
Mishimoto 6.4L coolant
 " width="300" height="163">