BLOG CATEGORIES

Page 2 - WRX/STi

  1. Top Contender - Street Performance Top-Mount Intercooler R&D, Part 1 - Concept and Design

    Top Contender - Street Performance Top-Mount Intercooler R&D, Part 1 - Concept and Design

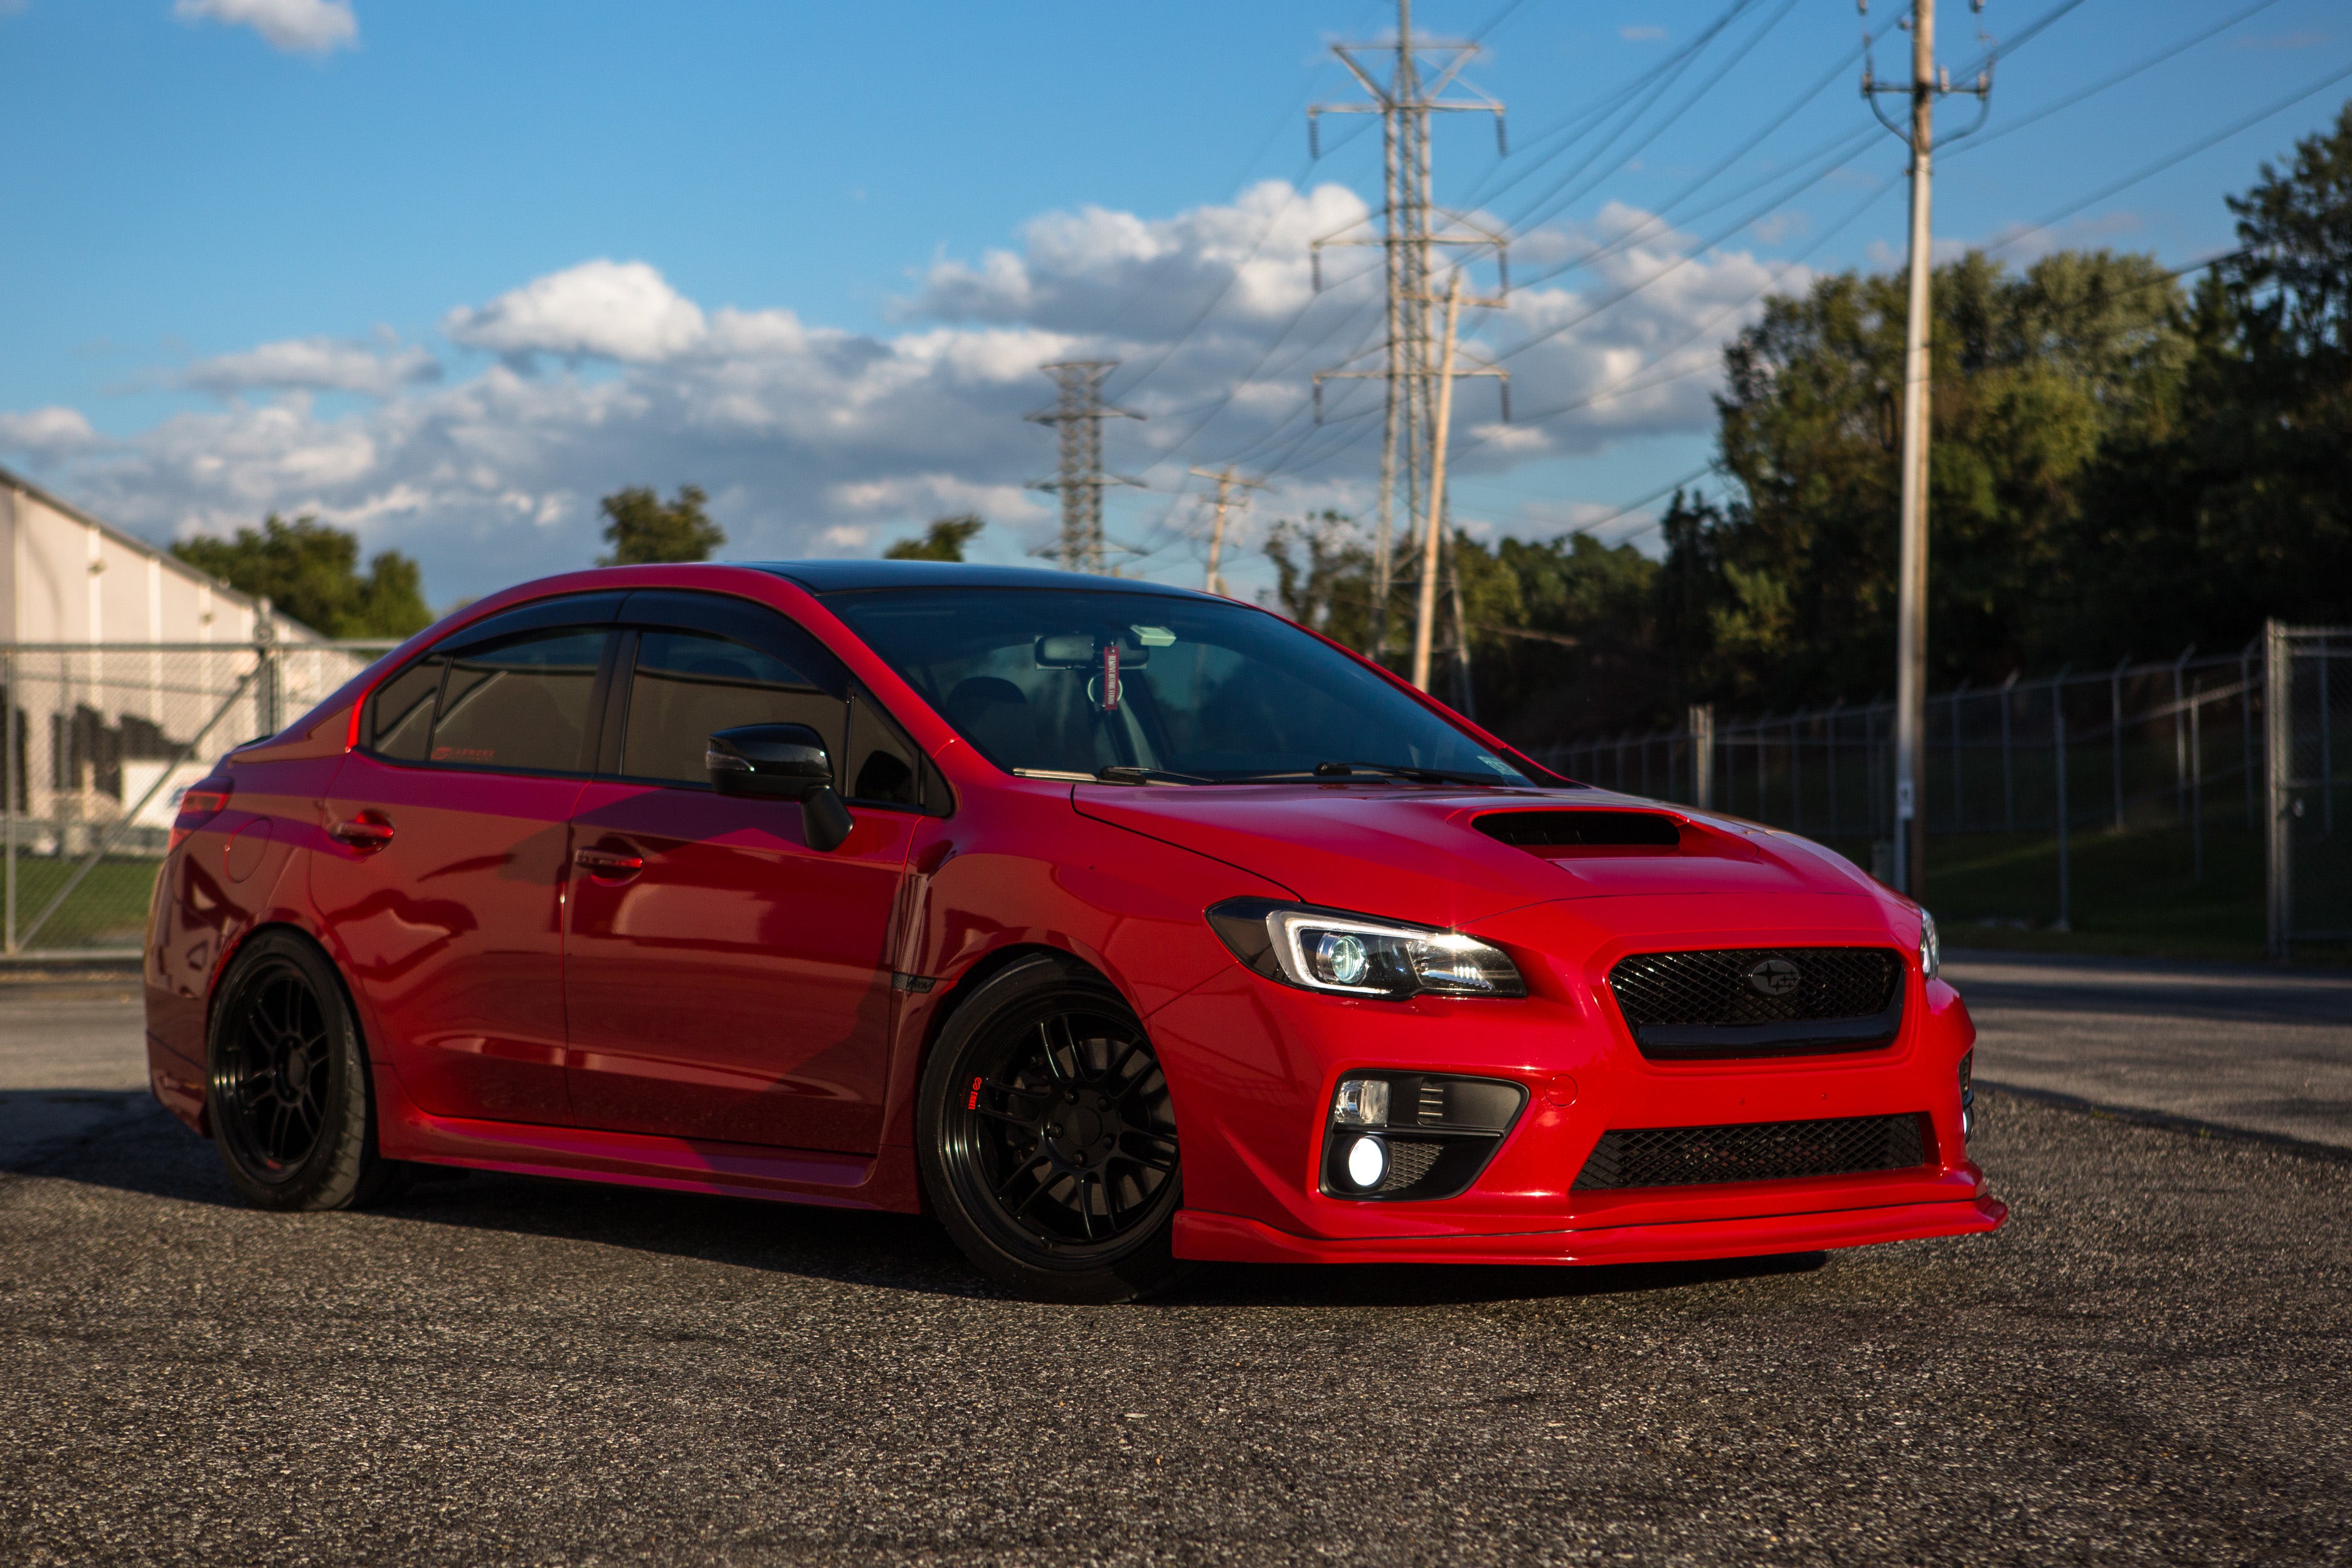
    "You know cars, right?" I'm sure that's a question that all of us gearheads have been asked before. It's typically the wind up for a pitch to help them find the car that's going to suit every one of their specific needs, which usually looks something like a combination of reliable, fun, and gets good gas mileage. Oh yeah and it snows like once a year so all-wheel-drive is a must. Their budget is around $30k. I know what you're thinking, a 2013 BMW 328i xDrive hits the nail on the head, but I know most of us would point this friend to the obvious choice"the WRX.

    Since 1992, the Subaru has made a name for itself by mixing these characteristics into the affordable WRX. Granted, we didn't see this trim until 2000, but it's no surprise why it immediately took off and became a staple in the enthusiast community.

    Continue Reading »
  2. Balancing Act - Mishimoto's 2015-16 WRX PCV Side Catch Can Kit

    Balancing Act - Mishimoto's 2015-16 WRX PCV Side Catch Can Kit

    Life is all about balance. It may be cliché, but it's true, especially when modifying cars. Attention must be paid to balancing power with handling, air with fuel, and most importantly, parts on your car with money in your wallet. That same balancing act applies to our catch can kits. We spend a lot of time balancing the cost of a catch can kit with its benefits.

    MMBCC-CAM4-16K_Install_004
    Our 2016+ Camaro 2.0T catch can kit utilizes two cans to capture the maximum amount of blowby.

    Many engines have a "clean" side of the crankcase ventilation system and a "dirty" side. Some engines produce just as much worrisome blow-by from their clean side as their dirty side. We usually develop a two-can kit for these engines, one for each side

    Continue Reading »
  3. Final Product Design - WRX Race Intake, Part 3

    Final Product Design - WRX Race Intake, Part 3

    Our last update on this intake included dyno testing that yielded some interesting numbers. Now that we're moving closer to the release, let's take a look at the finished product!

    Let's start with the intake pipes.

    IMG_2850
    New 2015 WRX parts

    These intake pipes will be finished in either wrinkle black, wrinkle red or polished, as shown above. The decision is up to you! These production samples came out nicely and look really great in person. Remember we are using full three inch piping with no step downs, which will require a tune on any WRX that has this race intake installed.

    Continue Reading »
  4. A Front-Mount for the 2015 STi, Part 4: Final Prototype Fitting

    A Front-Mount for the 2015 STi, Part 4: Final Prototype Fitting

    Putting together our final prototype was a bit easier for this project compared to other front-mount intercooler (FMIC) kits our team has developed. As mentioned in previous segments, we used the crash beam and intercooler from our 2015 WRX kit. Now we've worked up some functional prototype piping for a final test fit.

    First, let's take a quick look at each portion of the kit.

    Intercooler and Crash Beam

    The intercooler core is the key component in any intercooler kit. This core has provided significant air temperature drops during our testing on the WRX, and we expect the same results with the STi.

    Mishimoto STi intercooler and crash beam
    Mishimoto STi intercooler and crash beam

    Continue Reading »
  5. A Front-Mount for the 2015 STI, Part 3: Hot-Side Intercooler Pipe Fabrication

    A Front-Mount for the 2015 STI, Part 3: Hot-Side Intercooler Pipe Fabrication

    With our cold-side piping complete, it was time to focus on the hot side. This portion of the piping system would require a bit more attention, mainly because we were unable to scavenge any existing pipes from our WRX/STI front-mount intercooler kits (as we did with the cold side). Let's get to it!

    Piping Fabrication

    The hot-side piping will route from the turbocharger compressor outlet, around the driver side of the engine bay, and into the front bumper area to attach to the intercooler.

    Here is a look at the turbocharger connection point.

    2015 STi front-mount intercooler hot-side pipe turbo connection
    2015 STi front-mount intercooler hot-side pipe turbo connection

    A coupler attaches the pipe to the turbocharger.

    Continue Reading »
  6. A Front-Mount for the 2015 STI, Part 2: Cold-Side Intercooler Pipe Fabrication

    A Front-Mount for the 2015 STI, Part 2: Cold-Side Intercooler Pipe Fabrication

    Our first segment of this STI intercooler project involved the test fitting of our WRX crash beam and intercooler core. We were able to verify fitment of both pieces, which allowed our team to move on to piping fabrication. We are starting this kit with the cold-side pipe, which we've decided to place this on the passenger side of the engine bay to reduce the piping length as much as possible. Following this strategy should help reduce lag seen by the driver.

    Pipe Fabrication

    The cold-side pipe is a great place to start because we are able to use a portion of one of our existing kits. Because the 2015 model shares the EJ from the 2008+, we will be reusing the pipe that attaches to the throttle body and incorporates the BPV (bypass valve).

    2015 STI front-mount</body> " width="300" height="180">
    Continue Reading »
  7. 2008+ Subaru WRX/STI Aluminum Coolant Overflow Tank R&D Update!

    2008+ Subaru WRX/STI Aluminum Coolant Overflow Tank R&D Update!

    Interested in picking up our 2008-2014 WRX/STi overflow tank? Check out our discounted pre-sale linked below.

    2008-2014 Subaru WRX aluminum overflow tank pre-sale!

    We last left you with some details of our initial design and a hint of an upcoming pre-sale for this overflow tank. Unfortunately, since that initial test fit we hit a few snags in the design process. Our goal with this product is to provide compatible fitment with all our other 2008+ WRX and STi components. This required numerous stages of test fitting, one of which revealed an issue. With our larger 3-row X-Line aluminum radiator installed, our sight tube on this expansion tank design ended up too close to the belt drive system on our Subaru.

    We decided a revision was necessary. Although the two components were not physically touching, the clearances were just too tight for our comfort. Luckily, our team had an

    Continue Reading »
  8. Power through Deletion. 2015 WRX TGV Delete Kit, Part 4: Product Testing

    Power through Deletion. 2015 WRX TGV Delete Kit, Part 4: Product Testing

    We've got some interesting plans to evaluate the performance benefits of our TGV delete kit. In addition, we want to evaluate any appreciable differences in terms of air temperature between the two materials (aluminum and Delrin) we have selected for our prototypes.

    Test Preparation

    For our first assessment, we will evaluate airflow temperatures in both materials during dyno testing. The goal here is to determine whether the different heat transfer properties of the two materials have an impact on the airflow within the TGV unit. Ideally we would use pre-TGV and post-TGV sensors to evaluate this, but for our initial test a single sensor will be used.

    We started by drilling and tapping each prototype.

    Initial Data

    We put together several plots to help analyze the data from our dyno pulls so we could reach a conclusion regarding appreciable temperature differences. First, a look at our initial runs with each material on

    Continue Reading »
  9. Power through Deletion. 2015 WRX TGV Delete Kit, Part 3: First Prototypes

    Power through Deletion. 2015 WRX TGV Delete Kit, Part 3: First Prototypes

    We're back with another quick update on our TGV delete project for the 2015+ WRX. After designing our initial models and then 3D-printing a prototype for test fitting, we worked up a couple functional prototypes for on-car testing.

    First Prototype Images

    Check out a few images of our functional prototype deletes!

    Mishimoto's 2015 WRX TGV delete prototypes

    Mishimoto's 2015 WRX TGV delete prototypes

    Mishimoto's 2015 WRX TGV delete prototypes

    Mishimoto's 2015 WRX TGV delete
    Continue Reading »
  10. Power Through Deletion. 2015 WRX TGV Delete Kit, Part 2: 3D-Printed Prototype Test Fit

    Power Through Deletion. 2015 WRX TGV Delete Kit, Part 2: 3D-Printed Prototype Test Fit

    3D-Printed Prototypes

    To confirm the dimensions and design of our prototype, we decided to utilize some of our rapid prototyping tools. We fired up our 3D printer and loaded the model. Check out a couple images showing the progress of the print.

    3D-printing 2015 WRX parts
    3D-printing 2015 WRX parts

    3D-printing 2015 WRX parts
    3D-printing 2015 WRX parts

    Once the printing process was complete, we cleaned up the prototypes and installed them on our 2015 WRX to verify fitment.

    Continue Reading »