Breathing Fresh Air - Intake R&D, Part 9: Production
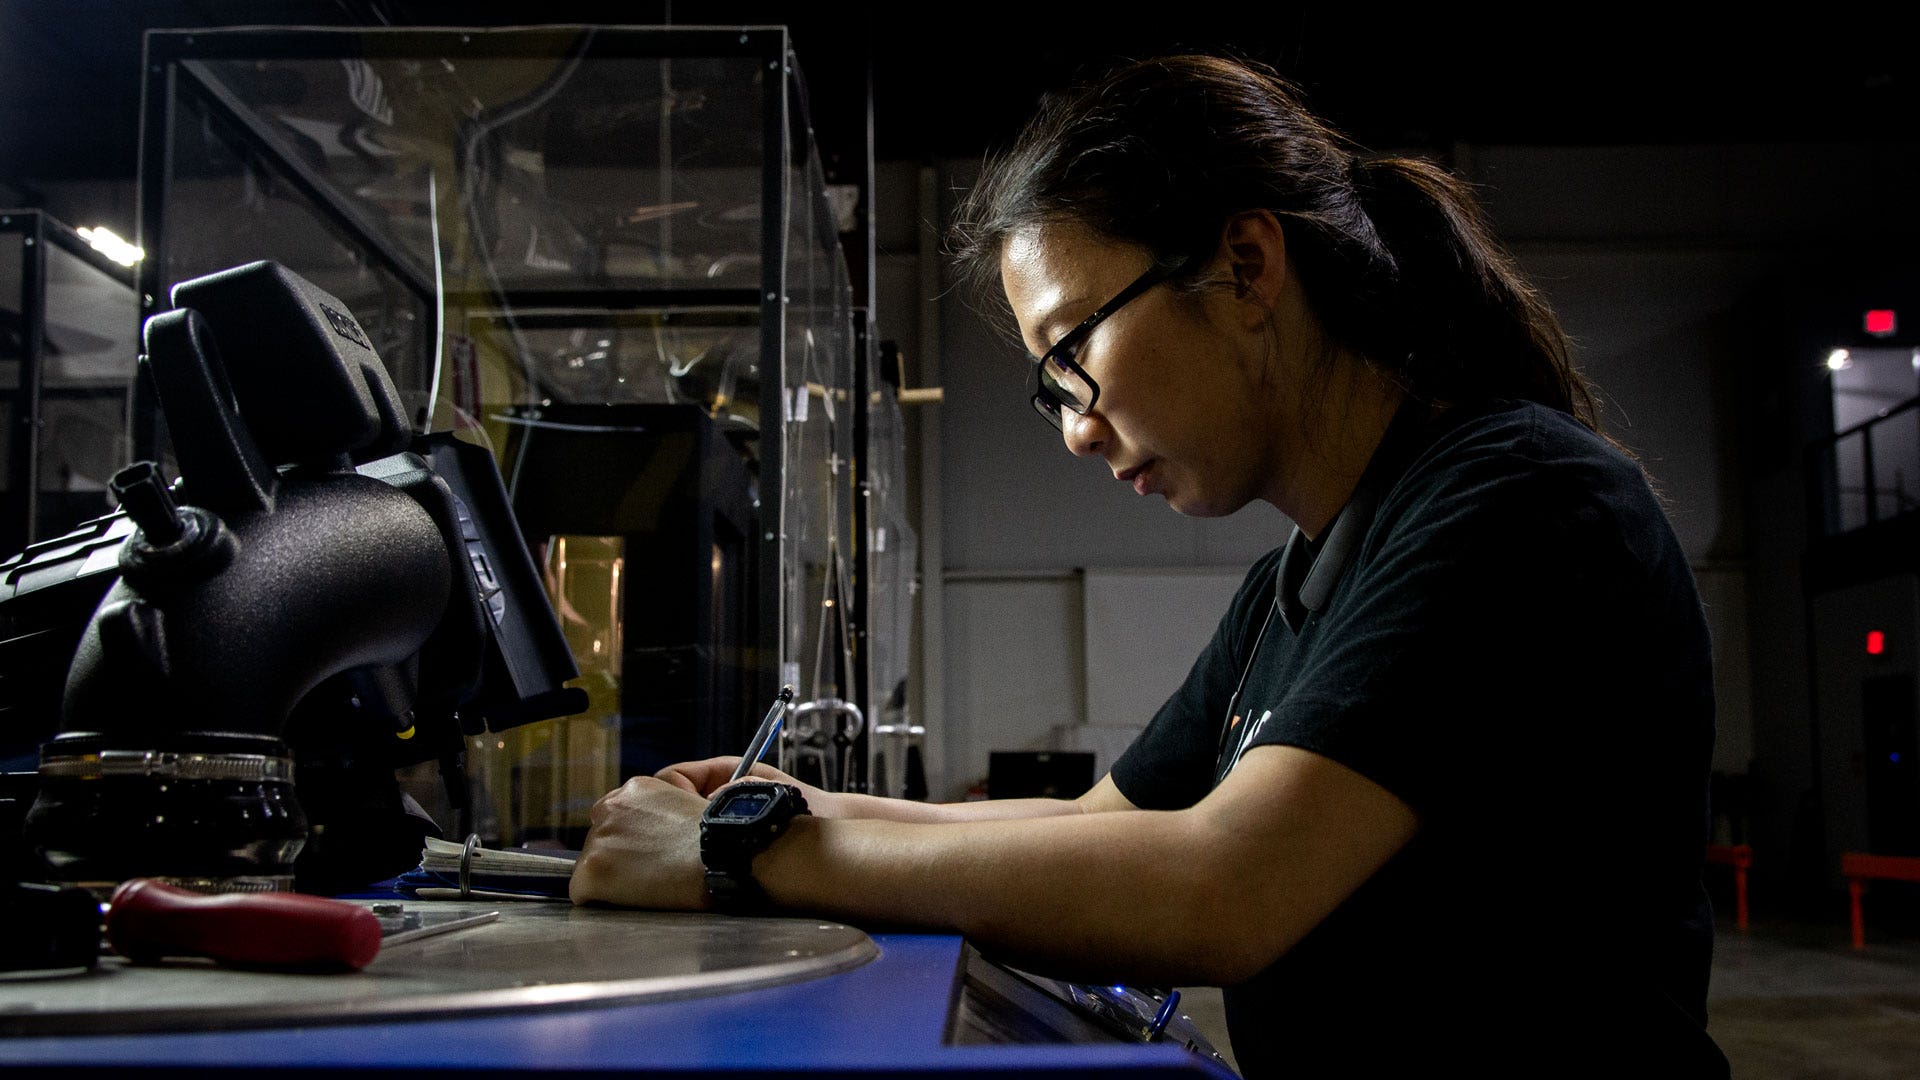
As Ye tightened the last bolt on our intake production sample, we breathed a sigh of relief. Over a year of painstaking R&D came to a close with that bolt.
In all our years designing intakes, few have been as complex or demanding as our 2018+ Jeep Wrangler JL 2.0L intake. We've fought check engine lights, tested more variations than we could have imagined, and learned a lot along the way. But the time is finally here to see the product of our efforts in its final form.
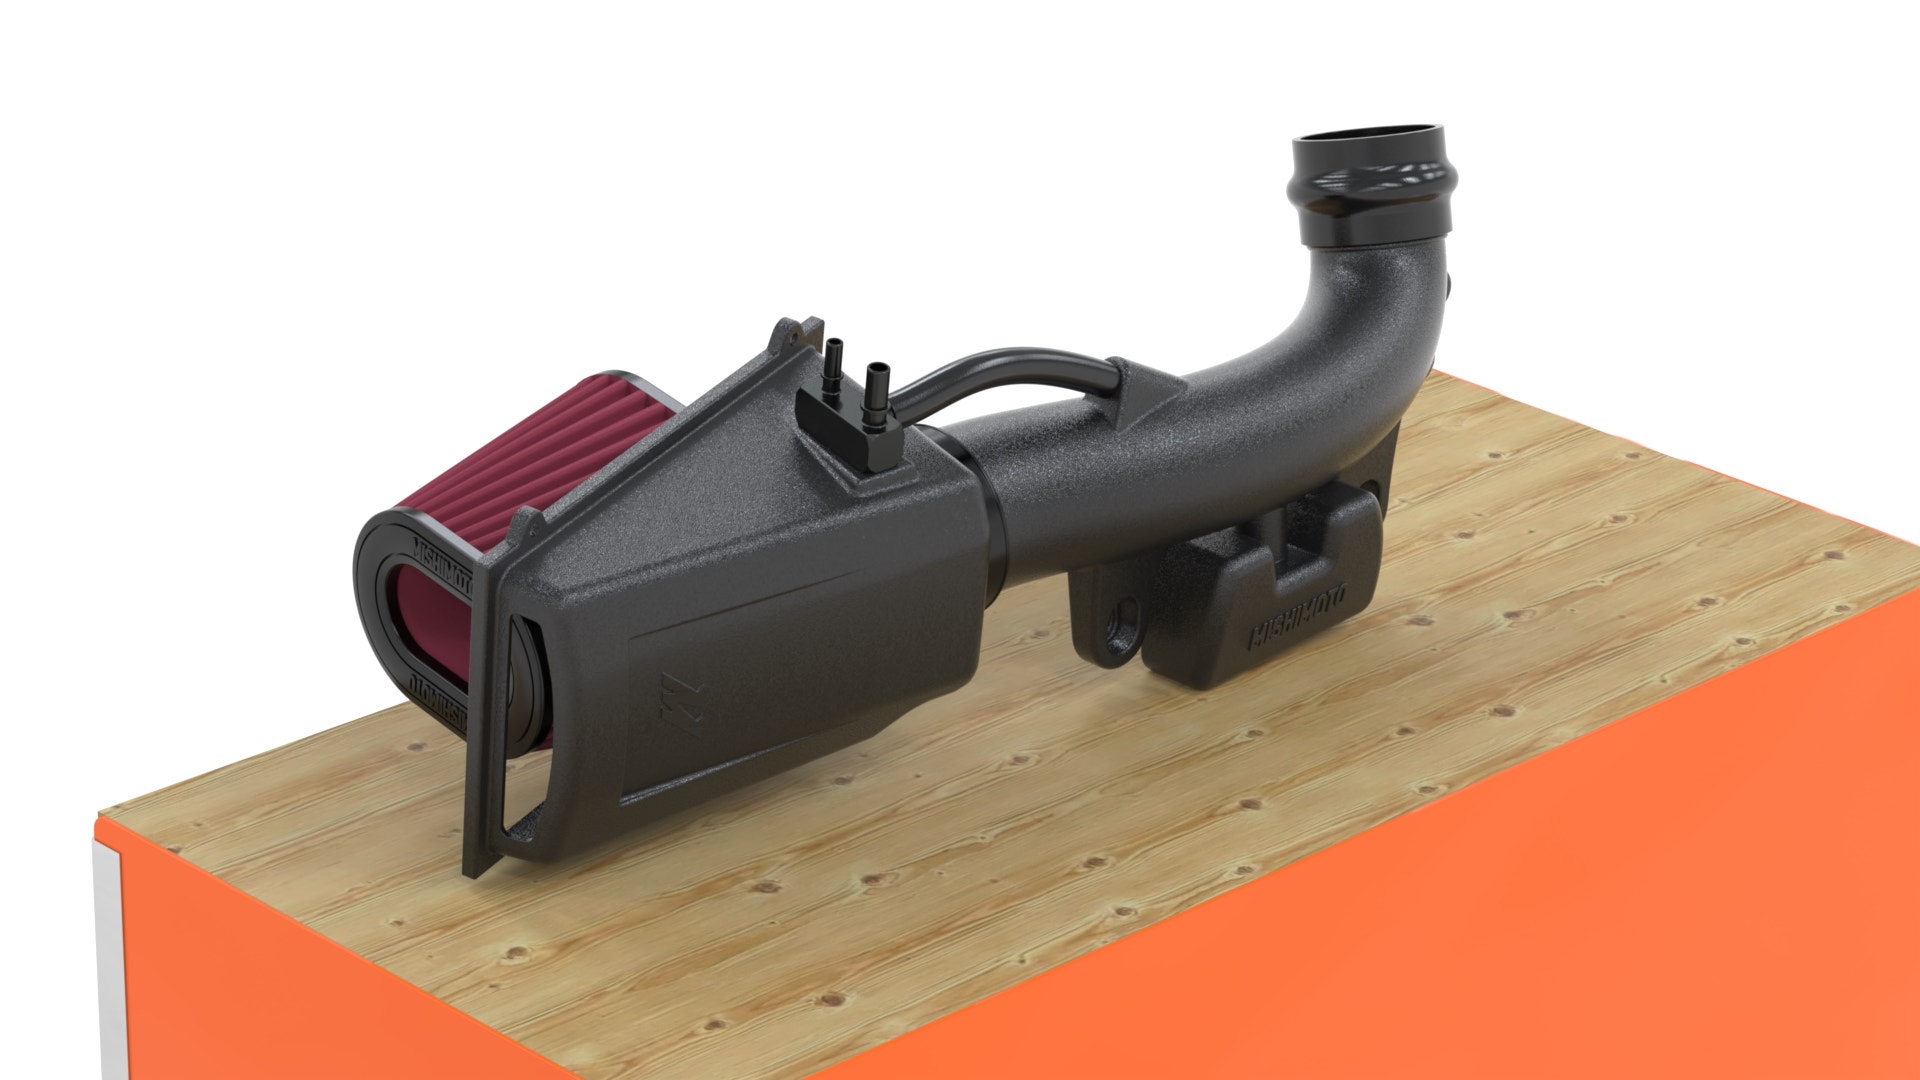
Shortly after we finished our final design from the last post, we began production on a sample to test fit. This test fit is the final (and often the most crucial) step in the R&D process. It tells us if our design will work in the real world with repeatable results. With the exacting standards of the 2.0L Hurricane's monitoring systems, any changes at this step could set the project back months. Ye anxiously unpacked our production sample and prepared it for test fitting. The intake certainly looked good, but we couldn't be sure if it would fit or function until we installed it on our JL.
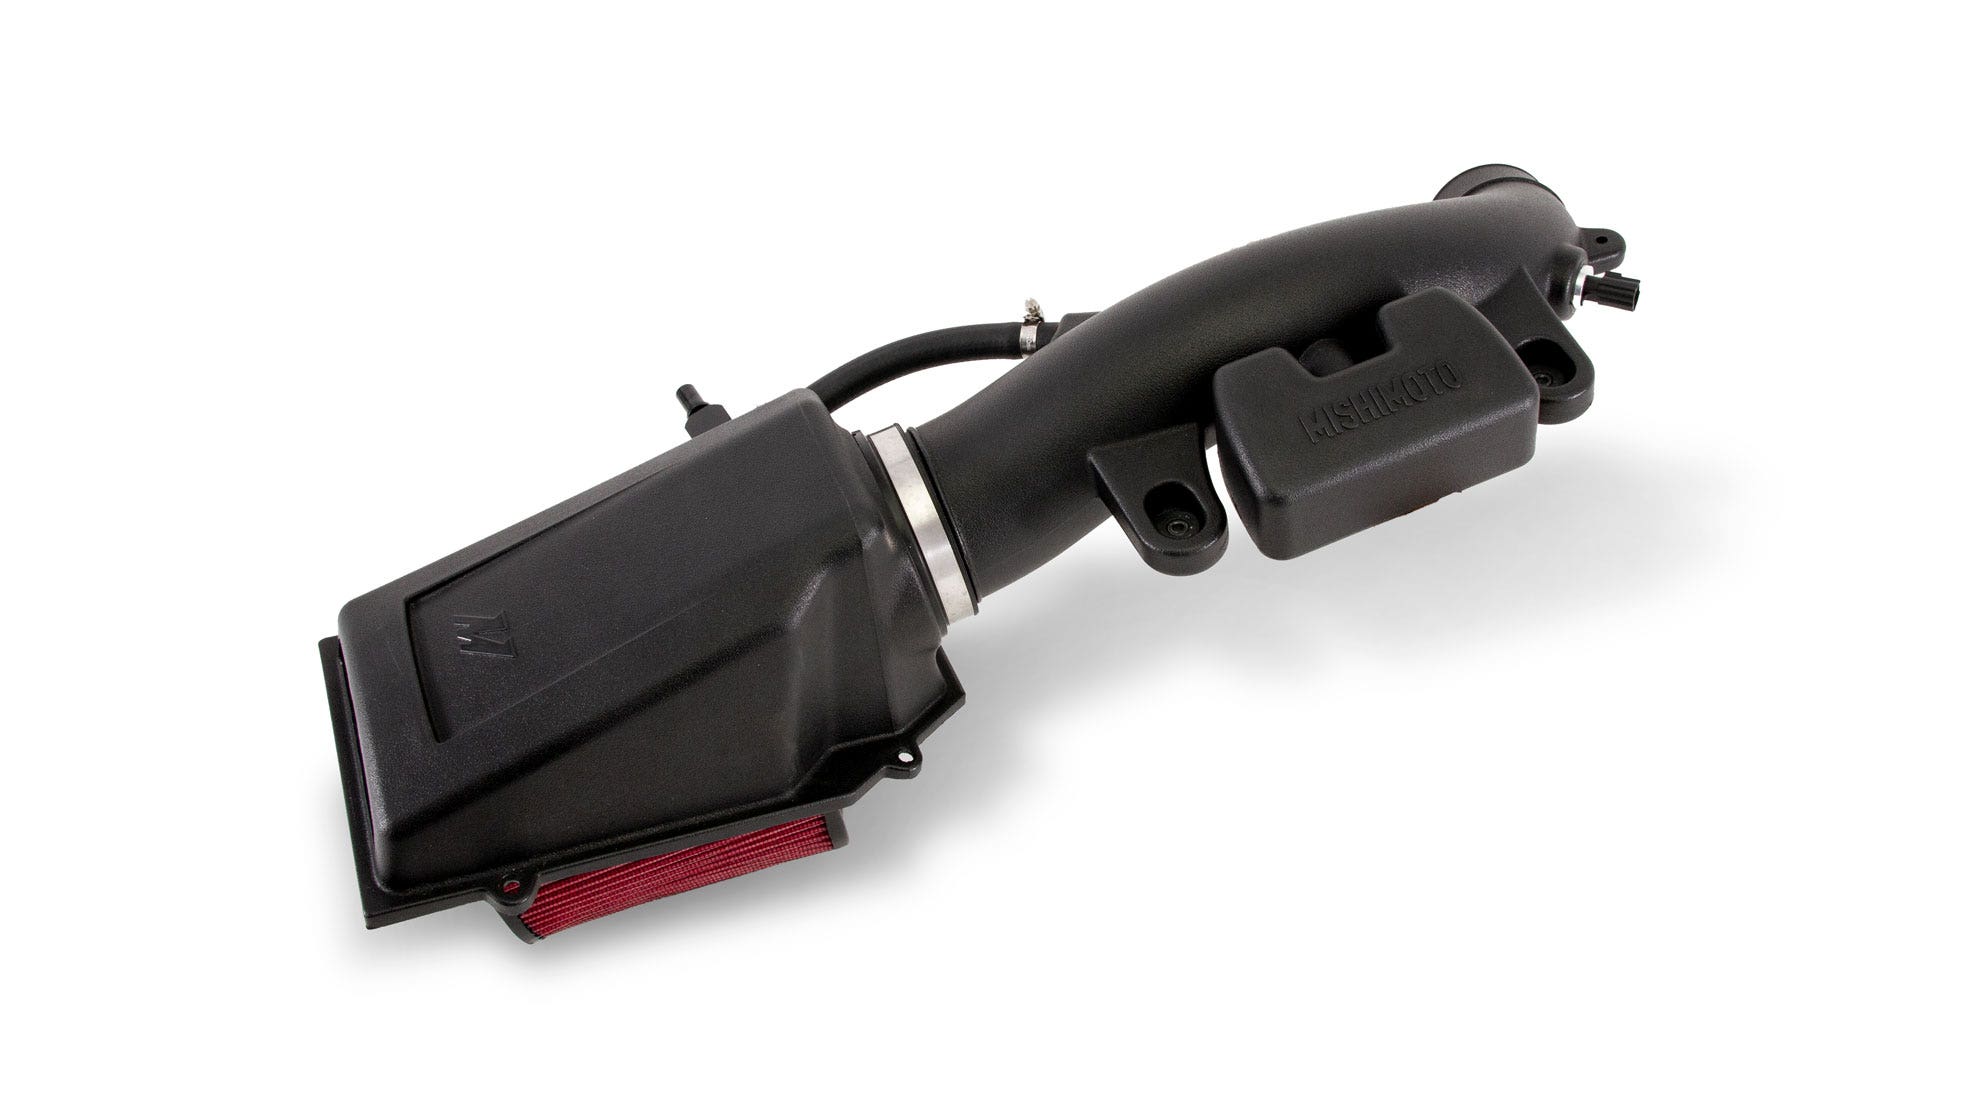
One part of the intake that we were especially concerned with was the EVAP manifold attached to the airbox lid. From the outside, this block looks like a simple vacuum manifold. Two lines go in and one provides them with vacuum from the intake tube. But, much like the resonator, its function is much more complex. Back when we were testing our initial prototype, we had this manifold set up as a simple three-port tube. Shortly after performing our first dyno and road tests, however, we were met with our friend the check engine light. Scanning the ECU revealed a P1CEA - "EVAP Performance" code. We knew the only change to the EVAP system was the vacuum manifold, so we decided to take a closer look.
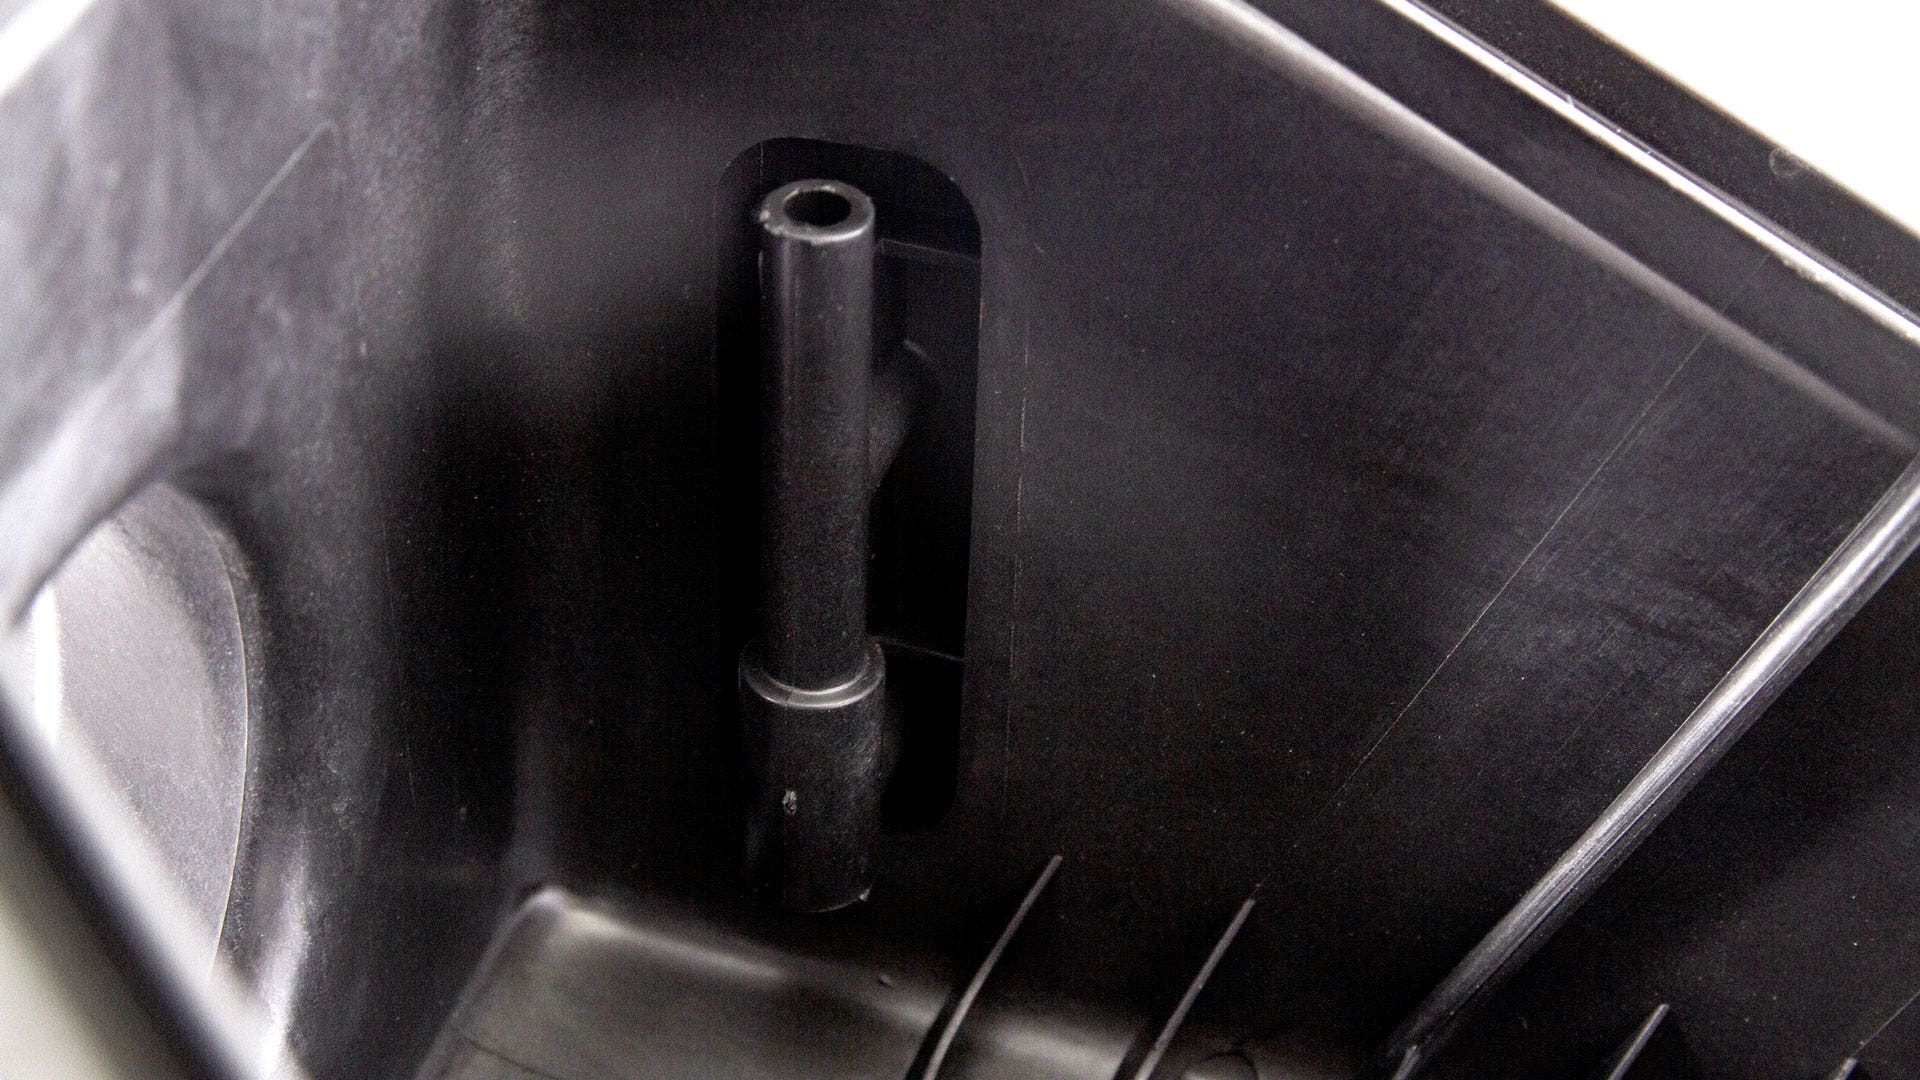
When we removed the manifold from the stock airbox lid, we noticed something peculiar. The tube that provides vacuum to the two lines was stepped"it had a larger diameter at the top than the bottom. This led us to believe that there was something inside affecting airflow. A few slices with a cutoff wheel confirmed those suspicions. Inside the tube was a plastic reducer. The reducer had a bore that was about 1/4" in diameter at the top tapering to about 1/16" at the exit. The bottom of the reducer also sat right above the lower port. It became apparent to us that this manifold was a venturi.
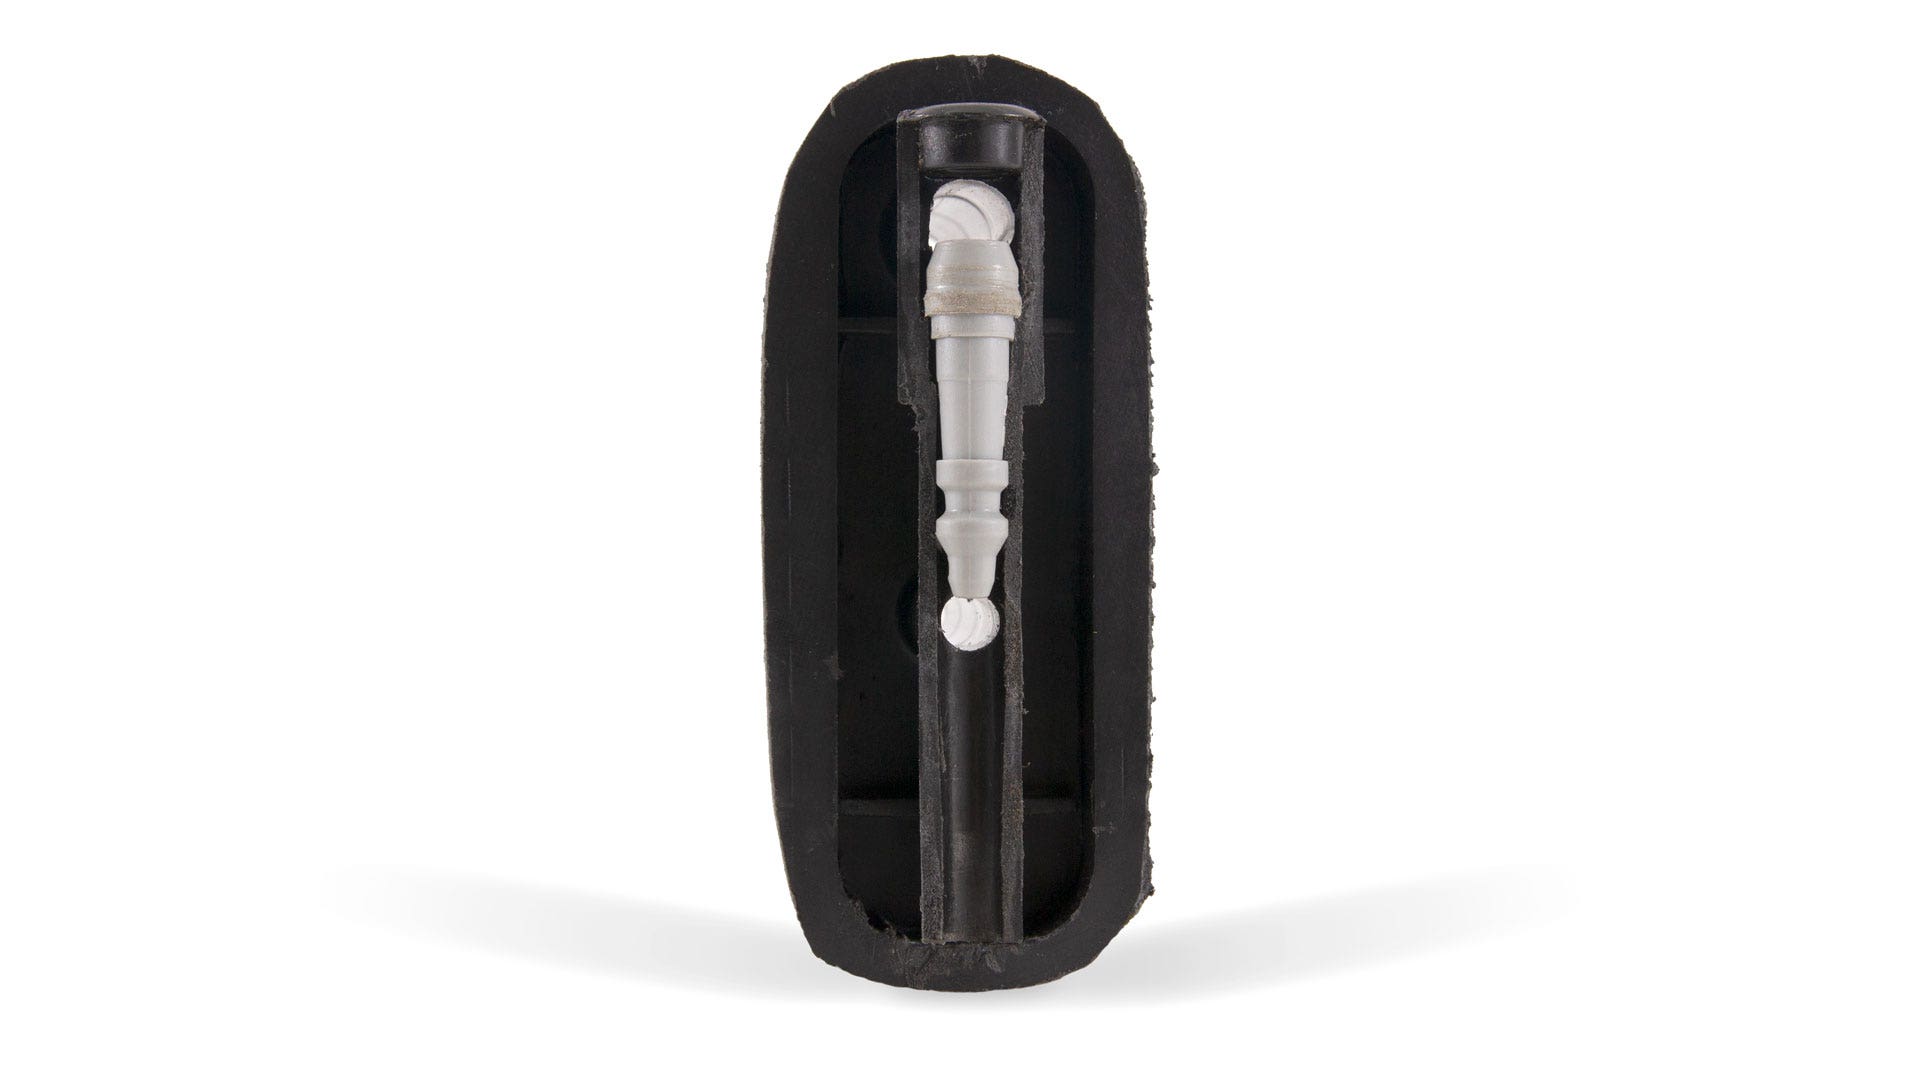
If you've ever worked on a carbureted engine before, or washed your car with a foam cannon, you've worked with a venturi. Put simply, a venturi is a tube that uses differential pressure to draw a vacuum on another chamber or tube. In the case of a carburetor, as air flows through the carb it passes through a narrow section which forces the air to accelerate. At the top of this narrow section, the air pressure is high but as the air is forced to accelerate through the narrow section, its pressure drops. That low pressure pulls fuel through a small hole in the fuel chamber located near the middle of the narrow area. The JL's EVAP manifold works in a similar way.
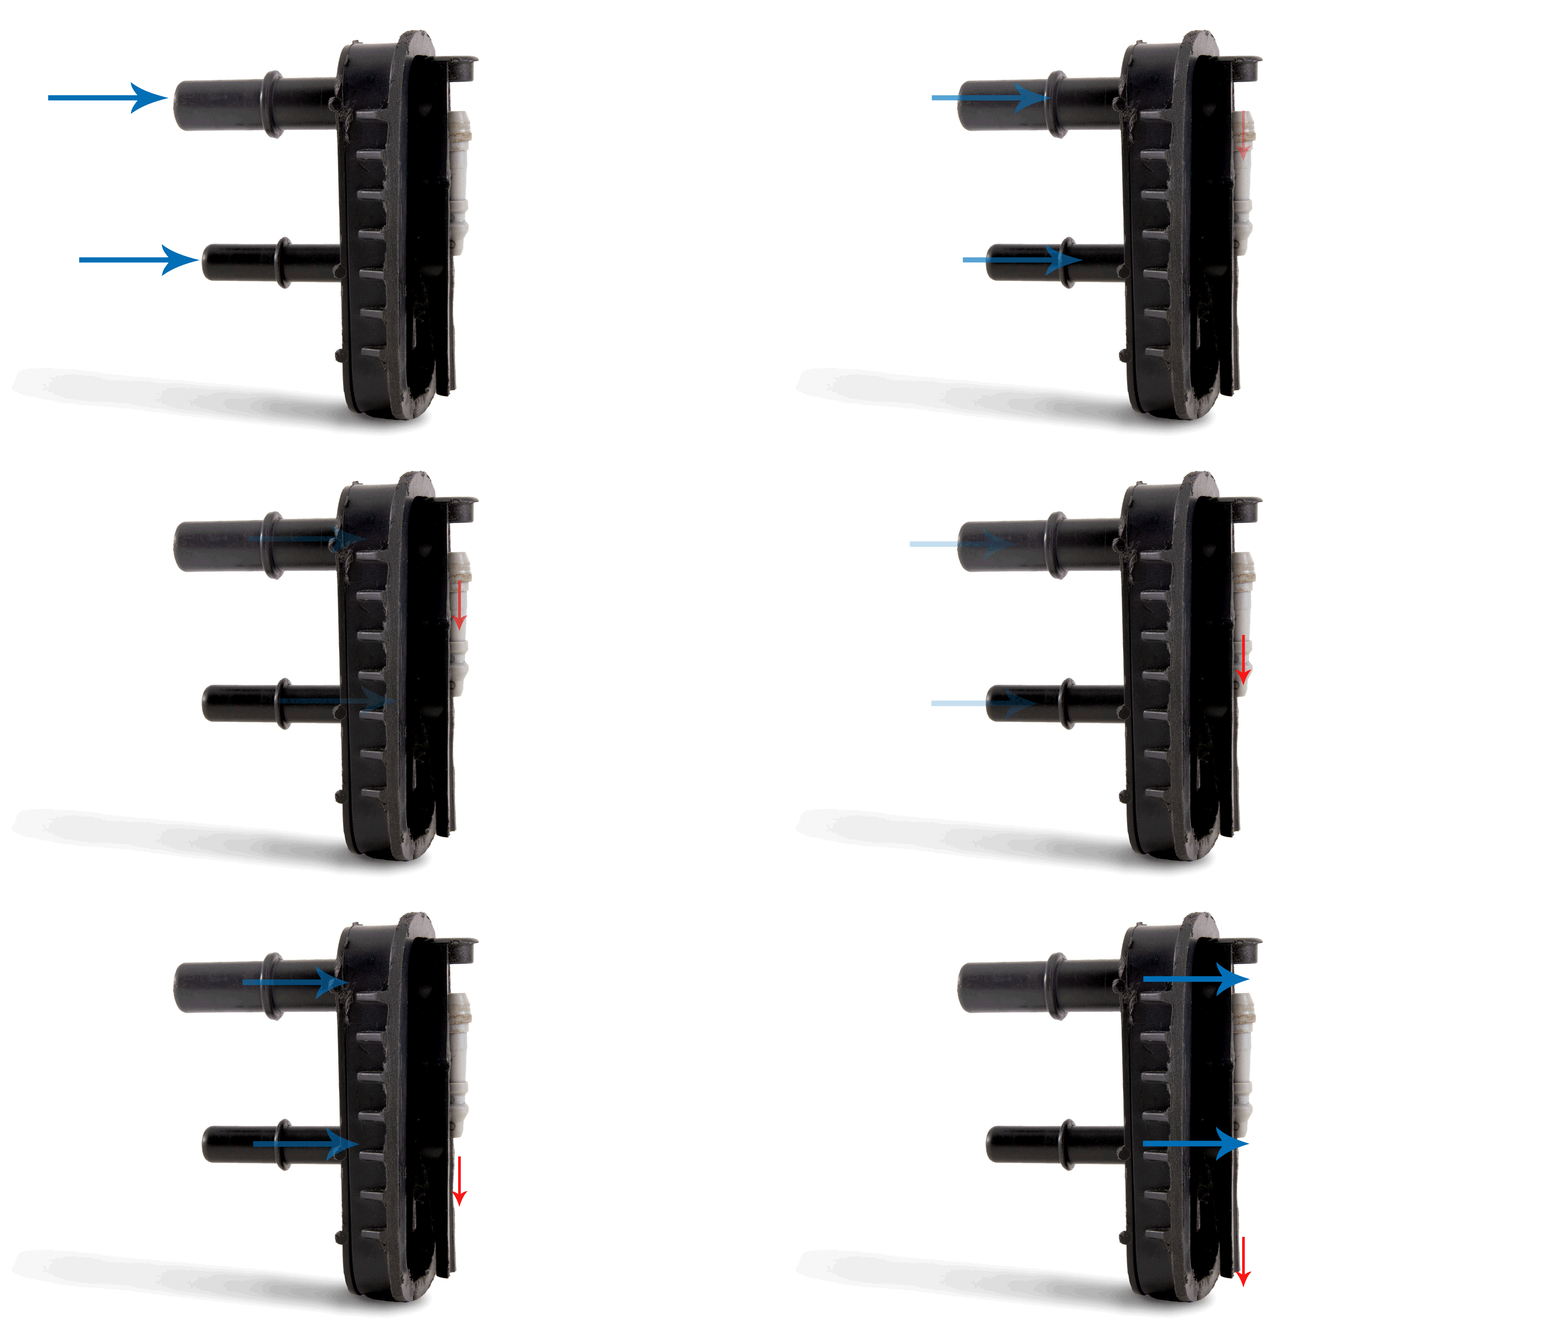
As air is pulled through the gray plastic reducer, it's forced to speed up as it travels through the tapered bore. As the air speeds up, its pressure reduces and it creates a stronger pull on the upper port than what the intake tube alone could produce. The fast-moving air then exits the reducer at the lower port, pulling more vacuum on the lower port as it passes, just like the fuel chamber in the carburetor. All of this equates to a meter amount of flow from the EVAP system that the ECU then monitors. Because our manifold was essentially just a T of tubes, the intake wasn't able to pull enough vacuum on the EVAP system and the ECU read it as low flow. To solve this issue, we devised a venturi of our own. We meticulously flow tested our venturi to make sure it would flow as much as the stock setup.
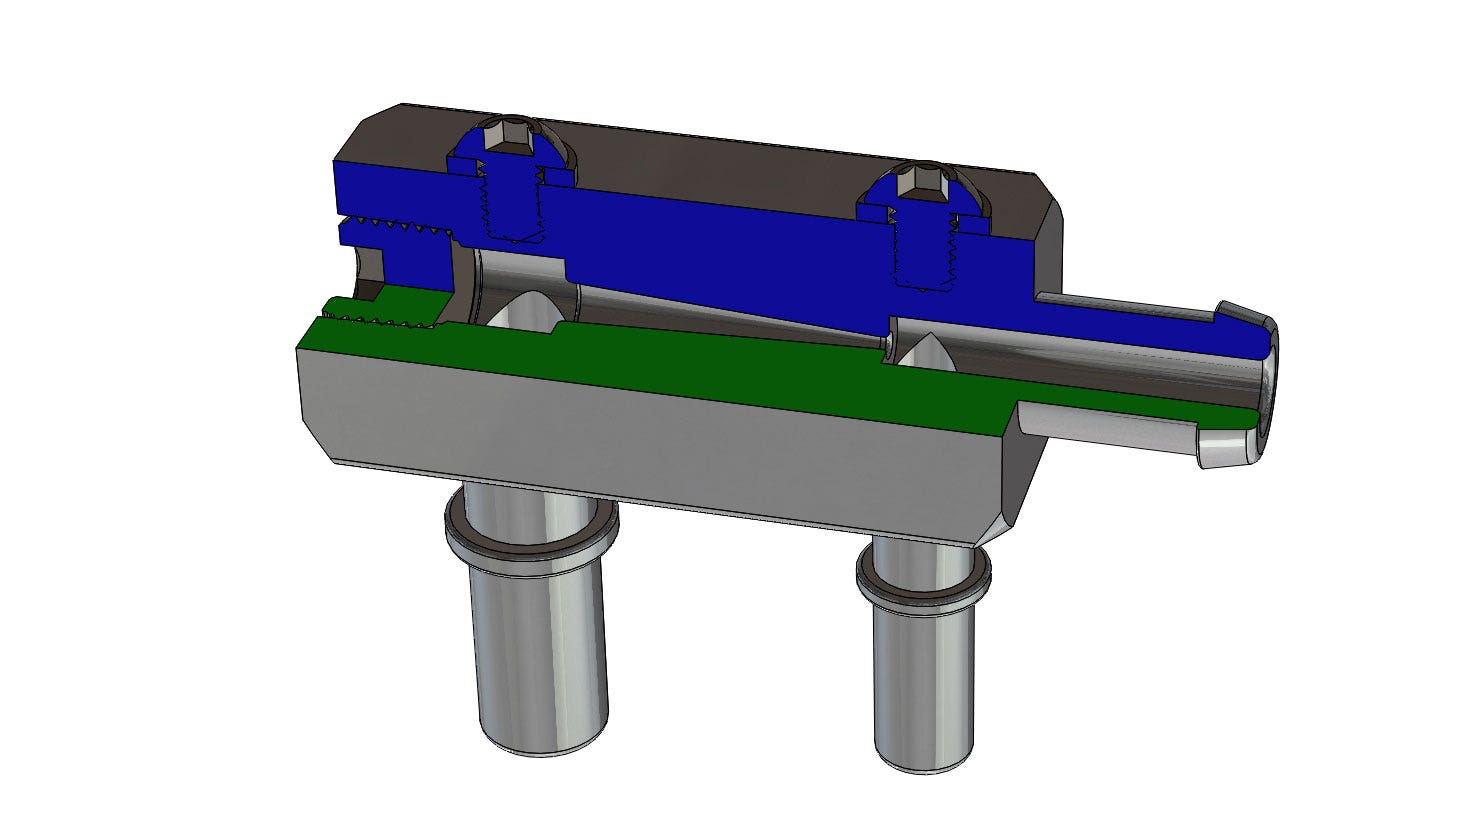
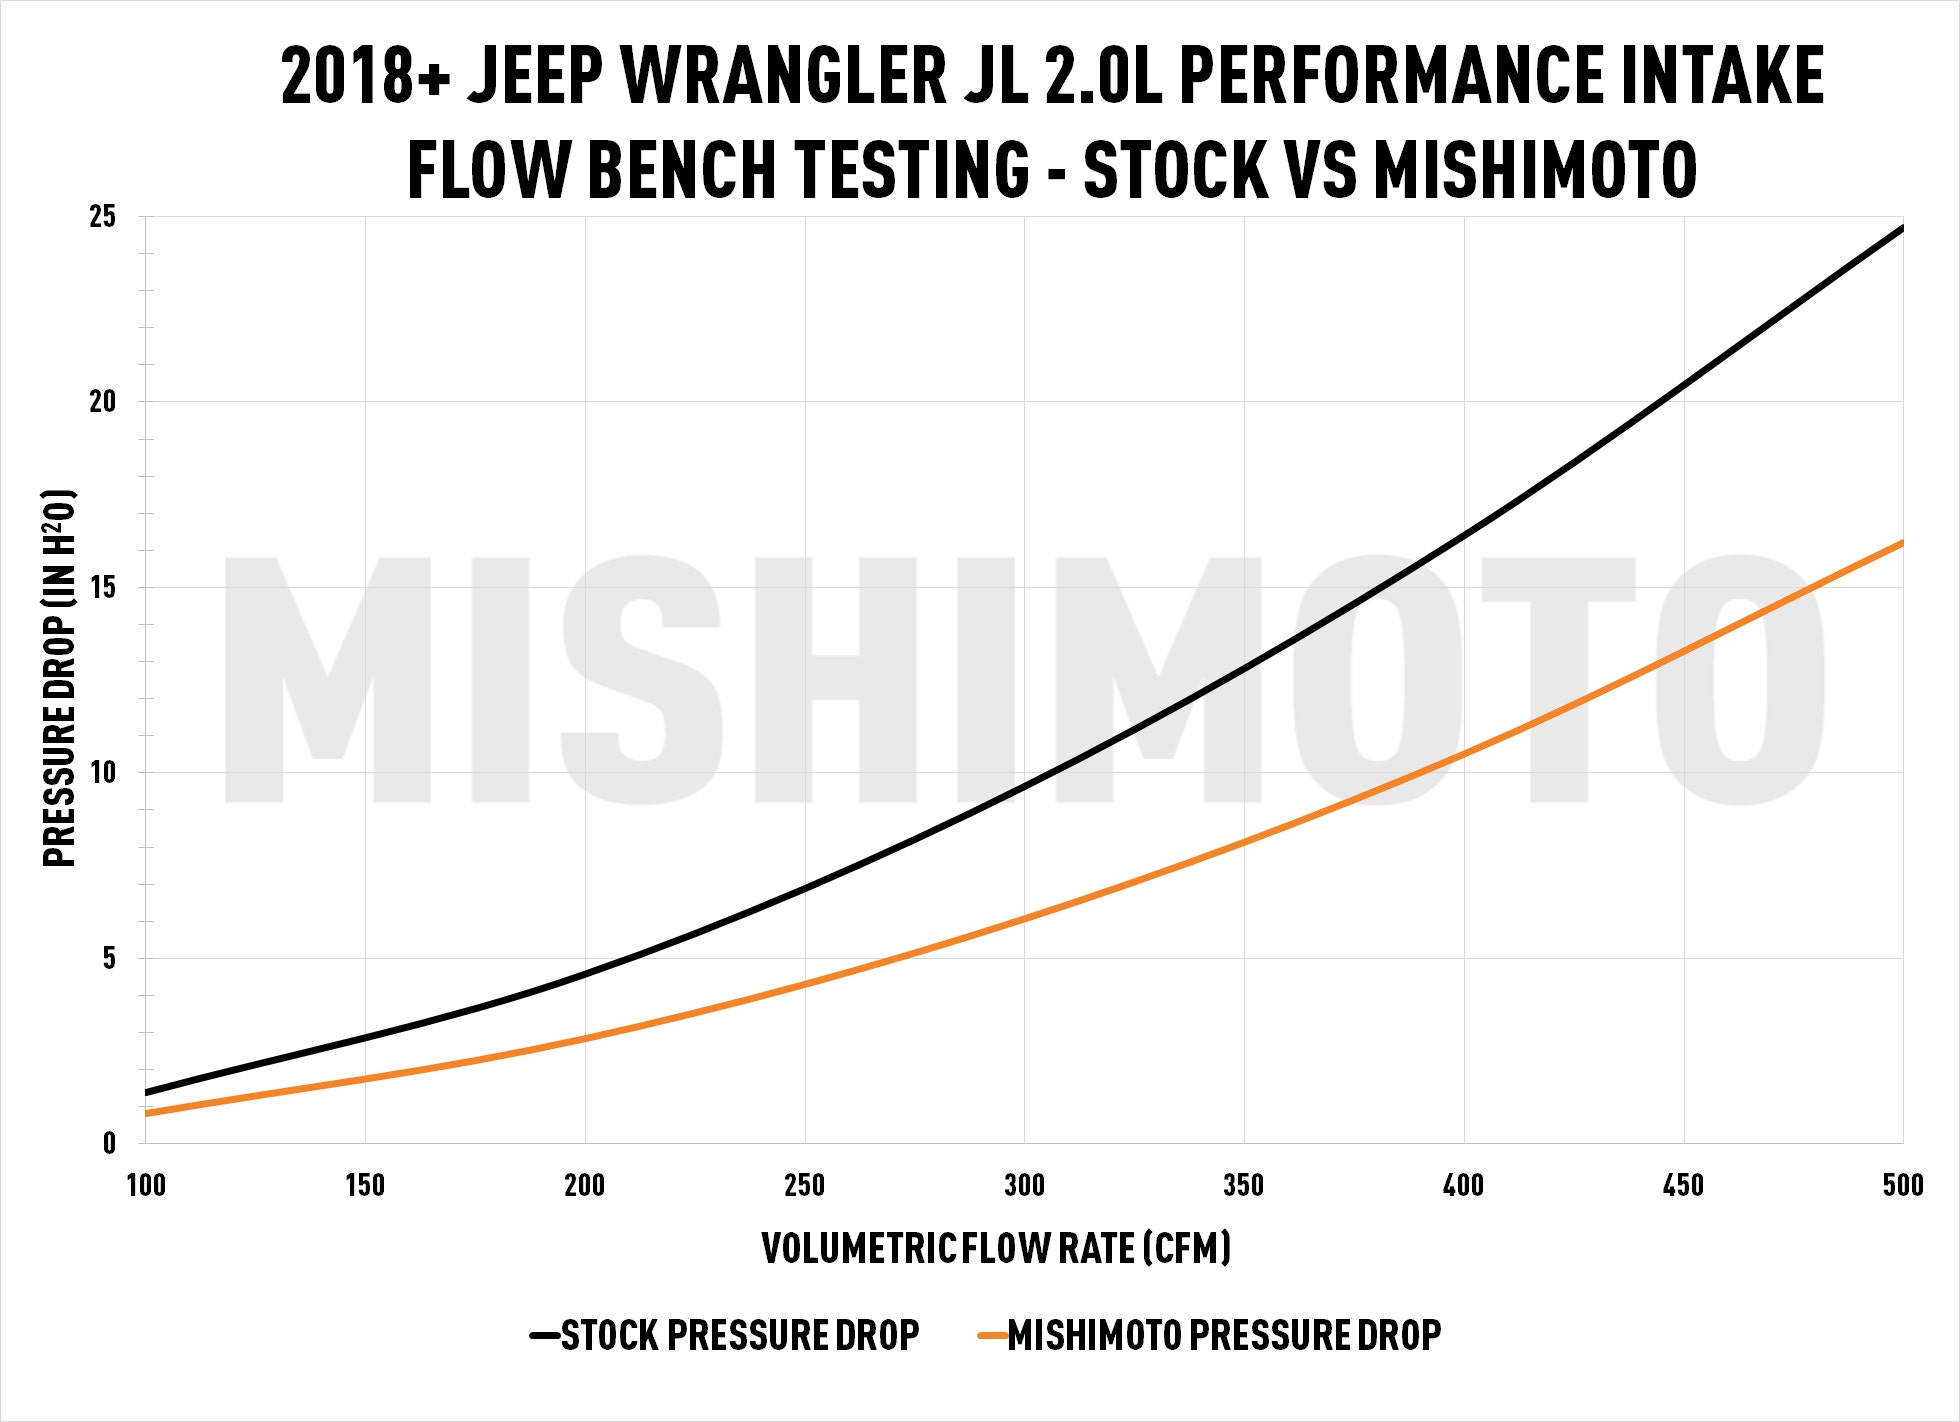
This venturi would be a critical check for our production sample. We couldn't just install the intake and call it done. Even if it fit, we needed to make sure it wouldn't throw an EVAP code again. Before installing the intake, however, we had one last check: a final flow bench. After the results from flow bench testing our JL intercooler pipe 3D printed prototype and cast piece, we were curious if we would pick up any flow going from the 3D printed intake to the final rotomolded plastic piece. Ye clamped our production sample to our flow bench and ran it one more time. Low and behold, the smoother interior of the production sample nearly doubled the flow gains. The 22% increase in flow from our 3D print jumped to 38% with the rotomolded piece.
With the flow bench testing out of the way, it was finally time for the moment we've been waiting over a year for. It was time to test fit our intake. Ye quickly removed the stock intake and began installing ours. The filter fit in the lower airbox. Our upper airbox fit snuggly with the stock lower box. As she tightened down the last bolts on either side our painstakingly designed resonator, Ye breathed a sigh of relief. The intake fit perfectly.
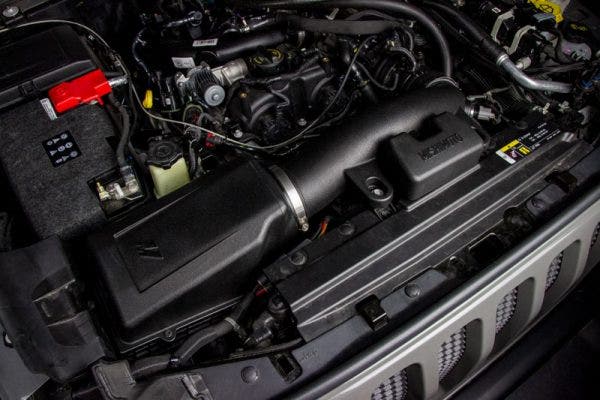
We're happy to report that after over 1,000 miles of driving with the production sample intake and EVAP venturi installed, we are still CEL free. That means our 2018+ Jeep Wrangler JL 2.0L intake R&D is coming to an end, but it's not all over yet. The end of R&D means the beginning of sales, and your chance to let your 2.0L Hurricane engine breathe easier. So, head over to our website to purchase this intake and, as always, let us know what you think.
