GTO Oil Cooler R&D, Part 3: Line Route and Thermostat Inclusion
Any efficient oil cooler setup needs proper regulation if the vehicle is going to see street use. As many know, cold oil can be just as harmful as oil that is overheated. Allowing engine oil to come up to temperature prior to romping on the throttle is a wise move that will extend the life of your GTO LS. Ideally, you would want the oil at operating temperature as soon as the key is turned. This is typically not possible on a first start, but the quicker it arrives at operating temperature the better. This is why we are including a thermostatic option for this kit, and we highly recommend its use in any street car with this kit installed.
Line Route
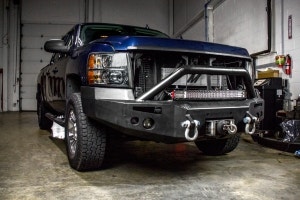
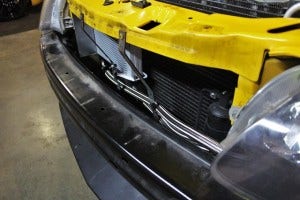
We found the best route for our oil lines would be to run them across to the driver side of the front bumper area, winding around the radiator support, and eventually mating with our adapter on the oil filter housing. This route provides an ideal line angle coming into the adapter, as well as a good location for our thermostat.
Mishimoto GTO oil cooler line route
These lines will be hidden from view once the crash beam is reinstalled on the vehicle.
Mishimoto GTO oil cooler line route
The lines then run around the core support, over the subframe, and into the oil adapter.
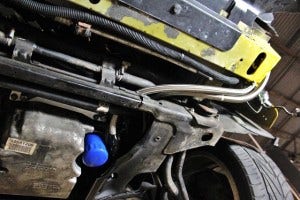
Mishimoto GTO oil cooler line route
A clean, short route like this should work perfectly.
Thermostat Plans
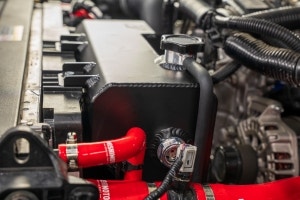
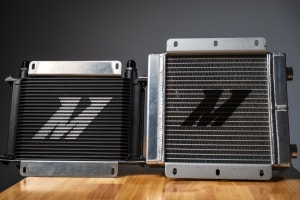
As noted at the start of this segment, a thermostat is incredibly important to any oil cooler kit. Within our typical kits, we use a thermostatic sandwich plate that mounts under the oil filter and restricts oil flow to the cooler until appropriate fluid temperatures are reached. Unfortunately, we will not be able to use a sandwich plate with this particular vehicle. Instead, we'll use our inline oil thermostat system.
The four threaded -10AN fittings are used for the in and out lines heading from the cooler to the engine. The port at the top of the image houses the removable thermostat unit. The front face of the thermostat features an aluminum heat sink for additional cooling.
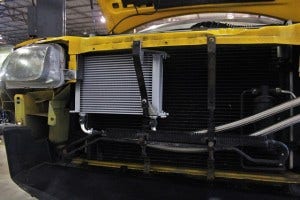
As this piece heats up, wax inside the thermostat expands, which then causes the pin to extend, opening the internal passage for oil flow to the cooler. These thermostats are offered in three different temperatures depending on your needs: 165°F, 185°F, and 200°F. The CFD image below shows oil flow through this piece when the thermostat is closed.
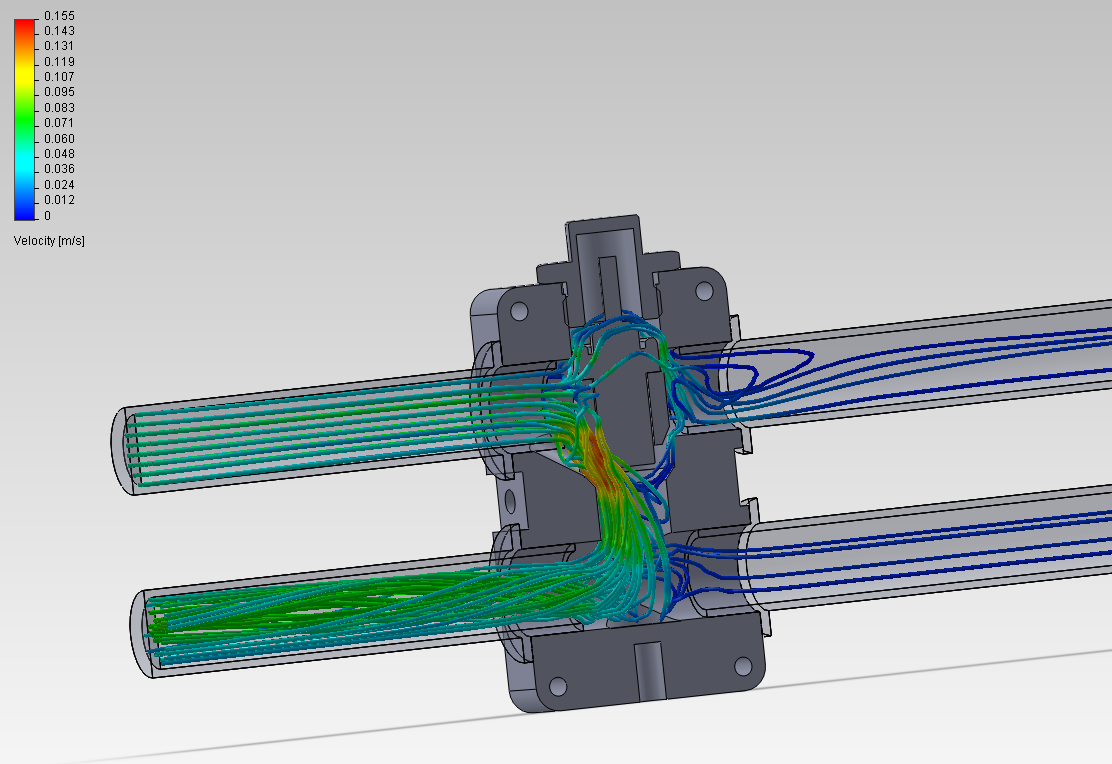 Pontiac GTO parts development
As you can see, a small portion of flow continues to the cooler when closed, but most of the fluid is routed back to the engine until the vehicle warms up.
Thermostat Installation
The placement of this thermostat unit would need to be close to our line route. We found an ideal location behind the bumper, in front of the wheel well on the driver side of the vehicle.
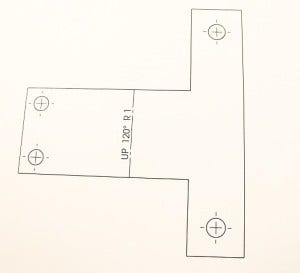
We captured measurements from our mounting points and modeled a design in Solidworks, which was transferred to a template for fabrication.
Pontiac GTO parts development
Check out our finished bracket!
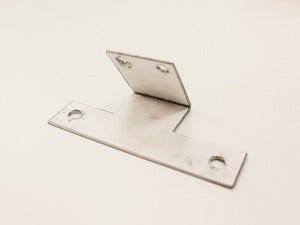
Pontiac GTO parts development
Here's a look at this bracket mounted to the GTO.
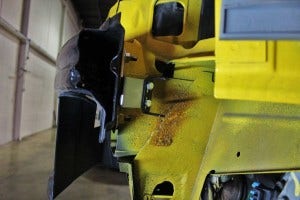
Pontiac GTO parts development
A nice clean install. Next, we mounted the thermostat and started creating lines that would fit with this placement.

GTO oil cooler in-line thermostat mounted
Clearances checked out with the headlamp, so there are no lines rubbing with this piece in place.

GTO oil cooler inline thermostat mounted
Our underbody line routing remains essentially the same in both the thermostatic and non-thermostatic setups.
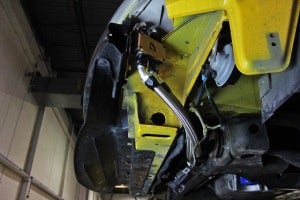
GTO oil cooler inline thermostat mounted
Coming Up
Now that we have a complete and functional kit, we need to verify the performance and efficiency of our cooler and its location. We are confident this heat exchanger will see sufficient airflow, so it will be interesting to see the oil temperature data from our testing. Check back next time for a look at the testing process and our initial results.
Thanks for reading!
-John