GTO Oil Cooler R&D, Part 2: Oil Cooler Bracket Fabrication
In our last post, we selected an ideal location to mount our cooler, so now we need to develop and fabricate a set of brackets to rigidly mount our large 25-row heat exchanger. For this task, we have a full fabrication shop and many bright minds at our disposal.
GTO Oil Cooler Mounting Bracket Fabrication
We opted to utilize the upper grille ducts shown in our last post, which should provide ample airflow to the heat exchanger. With more airflow hitting the core, we should see impressive heat transfer.
We began this project by capturing measurements and dimensions from the points where we want to mount within the front grille area. Once complete, we drew up some rough plans for the bracket shape and modeled them in Solidworks. These models were then flattened and printed out in template form.
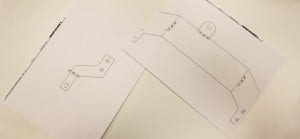
Pontiac GTO parts templates
Using our shear, bandsaw, and brake, our initial prototype brackets were quickly completed for test fitting.
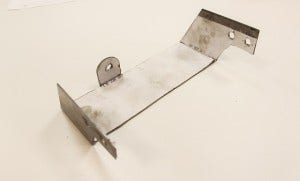
Prototype bracket
For optimal rigidity, we typically support a minimum of three points on the heat exchanger with a mounting bracket. The bracket shown above will handle two points, and our second bracket shown below secures the third.
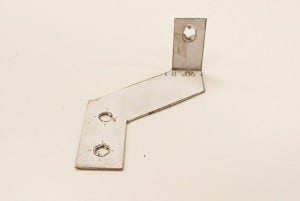
Prototype bracket
After some test fitting, minor adjustments were needed on the larger bracket.

Pontiac GTO parts fabrication
Check out a couple shots of our first set of prototype brackets installed.
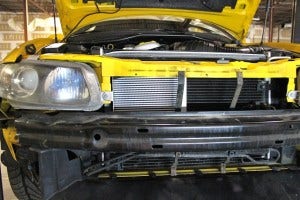
Prototype brackets installed
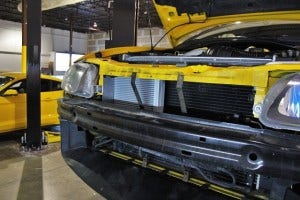
Prototype Pontiac GTO parts installed
And a close up of the two brackets in use.
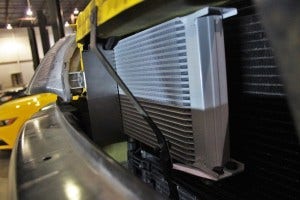
Prototype brackets installed
Design Change
After reviewing our initial prototype brackets, we determined a change was needed for the passenger-side piece. Our first design was bulky, heavy, and a bit unsightly. Although not a huge concern for this vehicle, we want to cut down on added weight as much as possible.
Using dimensions from our first bracket set, the passenger-side bracket was redesigned to use just one point on the cooler. We then added a second bracket for support on the driver side. Check out a 3D model of our new plan.
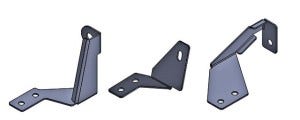
Final prototype GTO oil cooler brackets
Another round of metal fabrication ensued, resulting in some pretty awesome final prototypes.
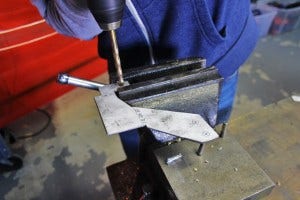
Pontiac GTO parts fabrication
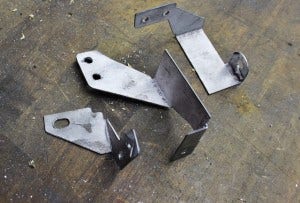
Pontiac GTO parts fabrication
We bolted our 25-row cooler into place for some final evaluation and adjustments. We've removed the front crash beam to clearly show how the brackets mount.
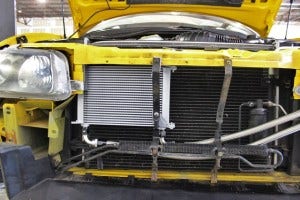
Final GTO oil cooler brackets installed
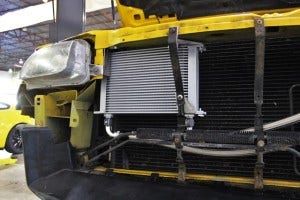
Final GTO oil cooler brackets installed
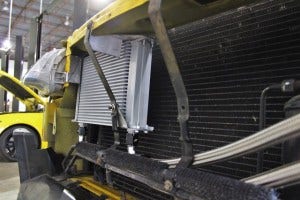
Final GTO oil cooler brackets installed
Coming Up
At this stage we have selected our oil cooler location, fabricated the final oil cooler brackets, and put the oil line adapter in place. Next we will be discussing an oil thermostat inclusion and our location for that component. On-road testing is also on the horizon for this project!
Thanks for reading!
-John
