Heritage Revamped - Baffled Oil Catch Can Kit R&D, Part 2 - Prototyping
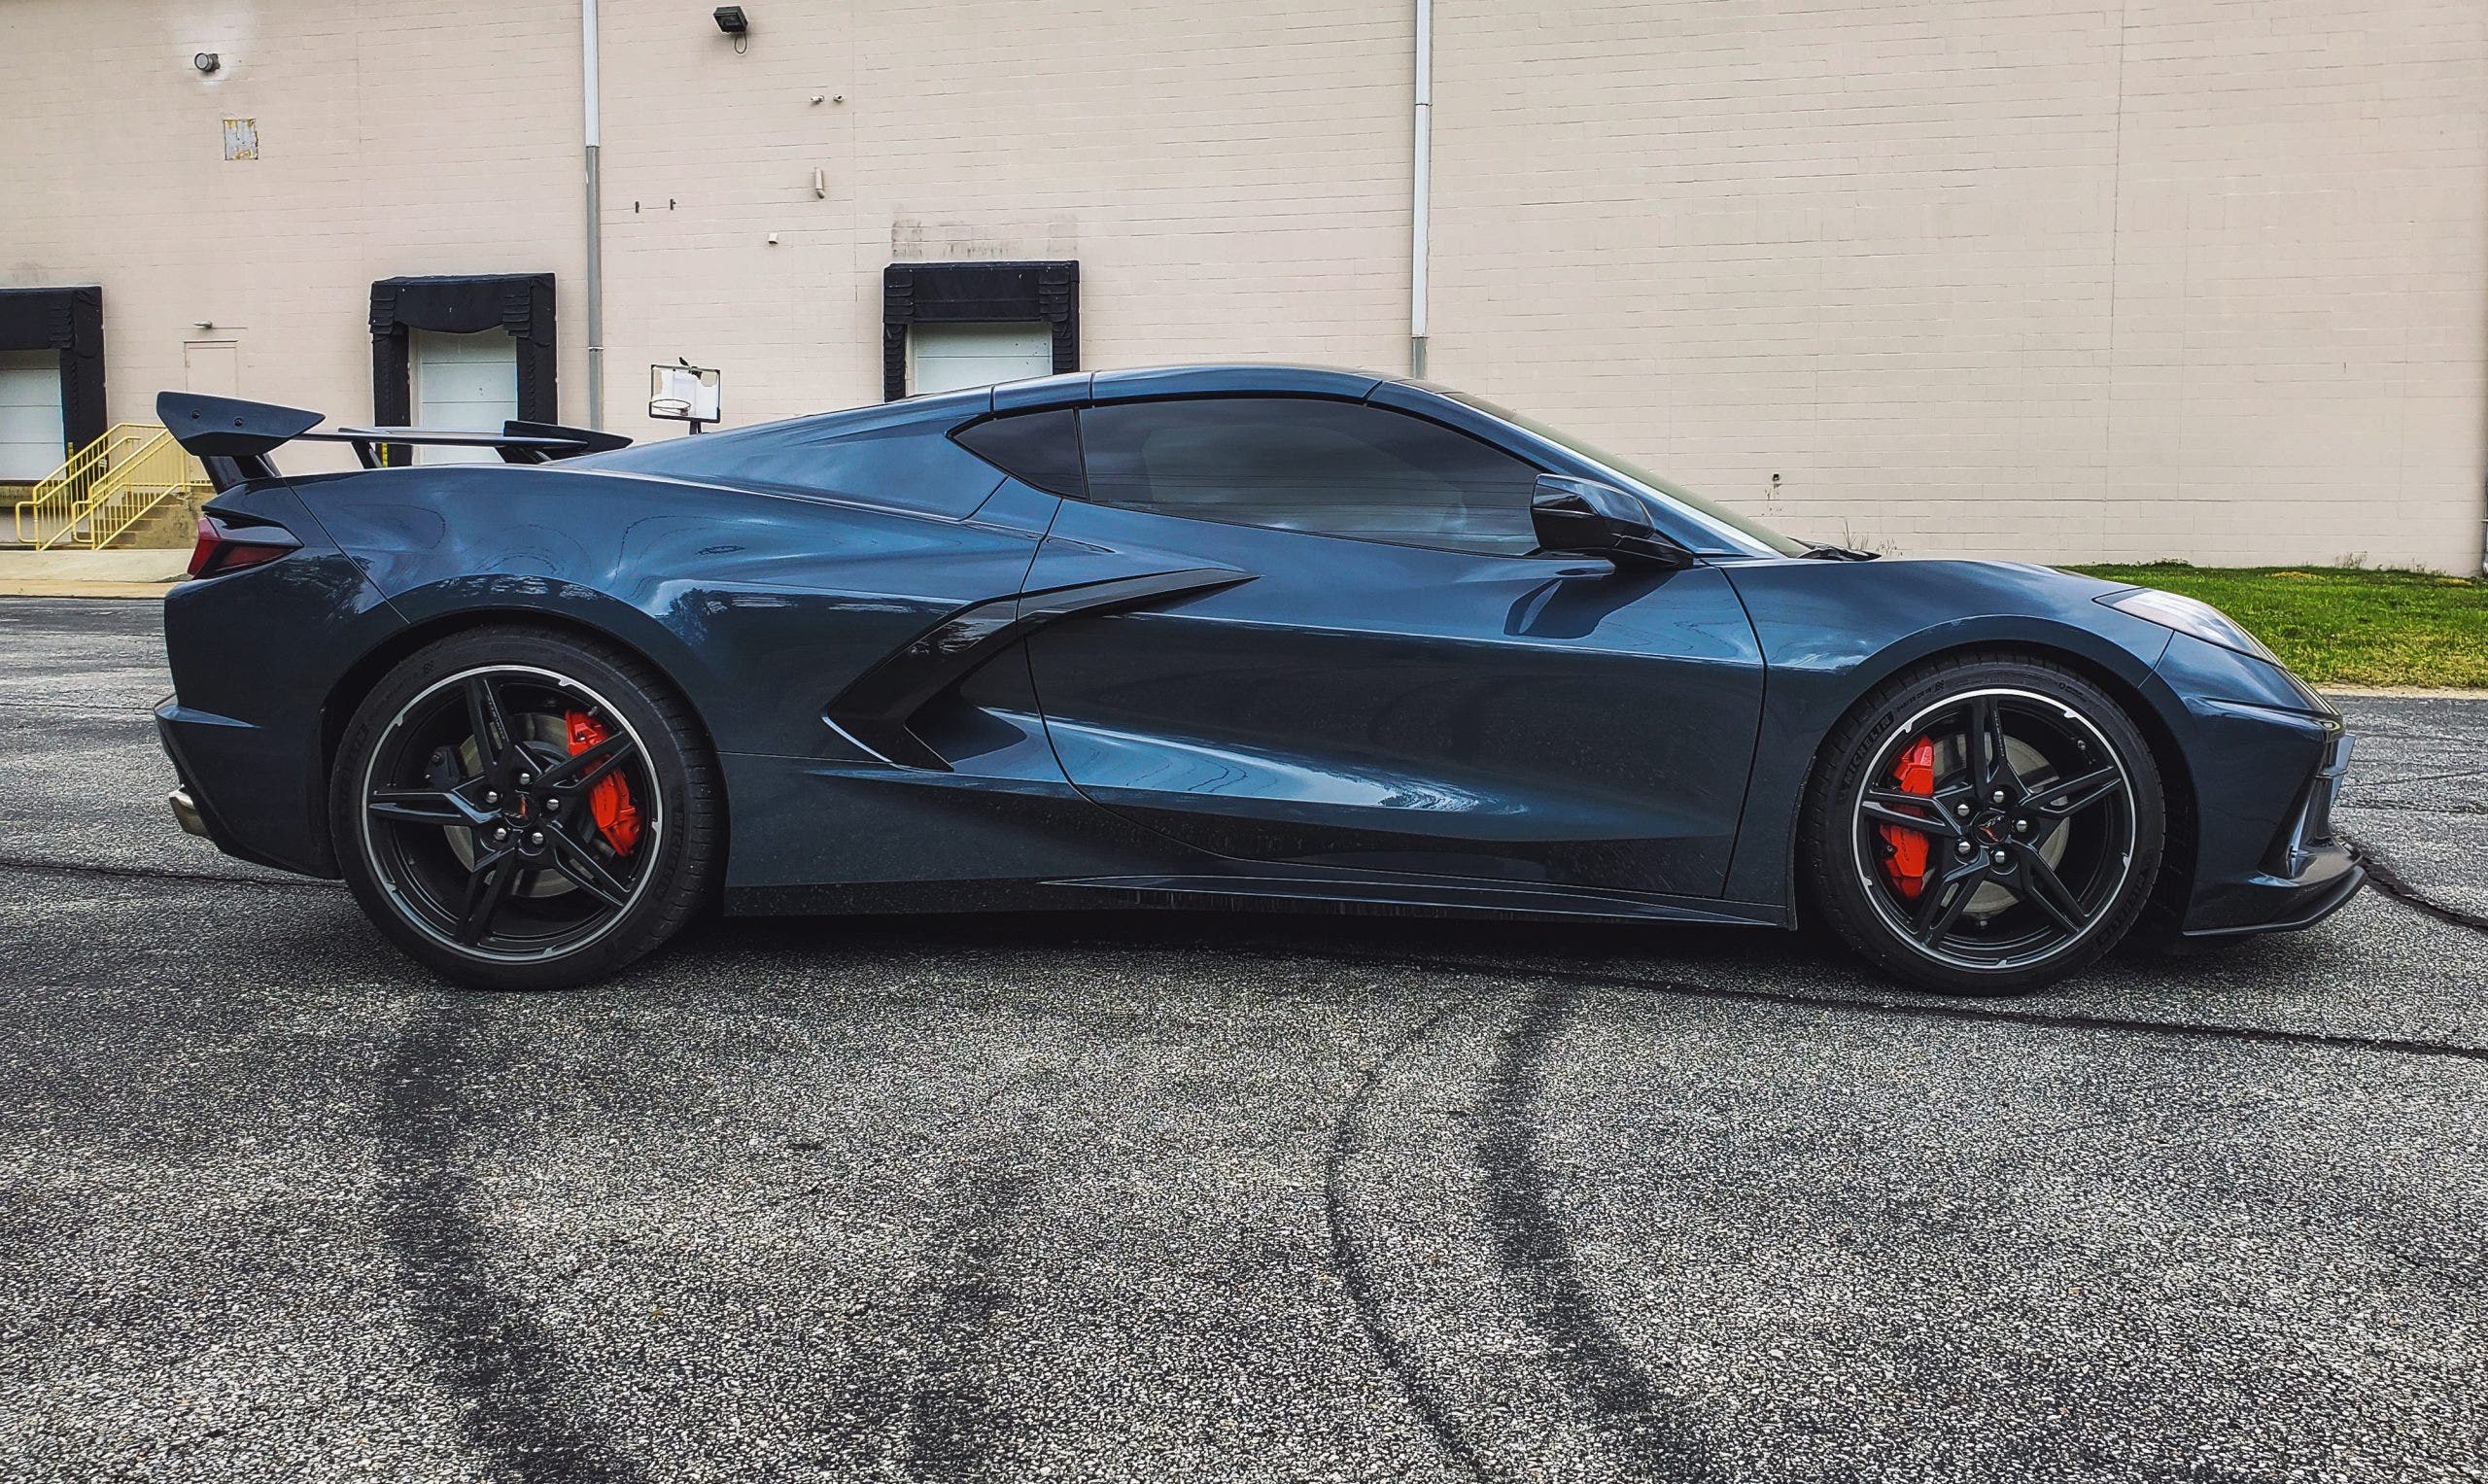
Heritage isn't something that pops up overnight. It's a long, arduous process that can take decades to develop fully. Specifically speaking, it takes time to be proven in the automotive world and compile a pedigree as lengthy as the Corvette. Since the 1950s, Chevy has put in the work and continues to push the 'Vette's limits, pushing it into near supercar territory. All that hard work, however, could be snubbed by some carbon crusted intake valves. So, while the Corvette works on proving itself in the mid-engine realm, we'll continue to prove ourselves by protecting its engine with a catch can. We started with a prototype.
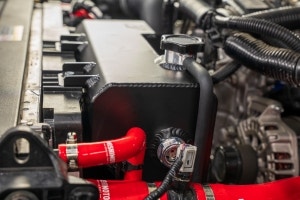
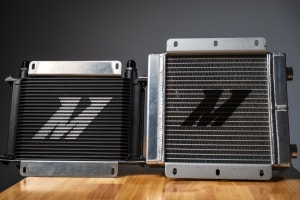
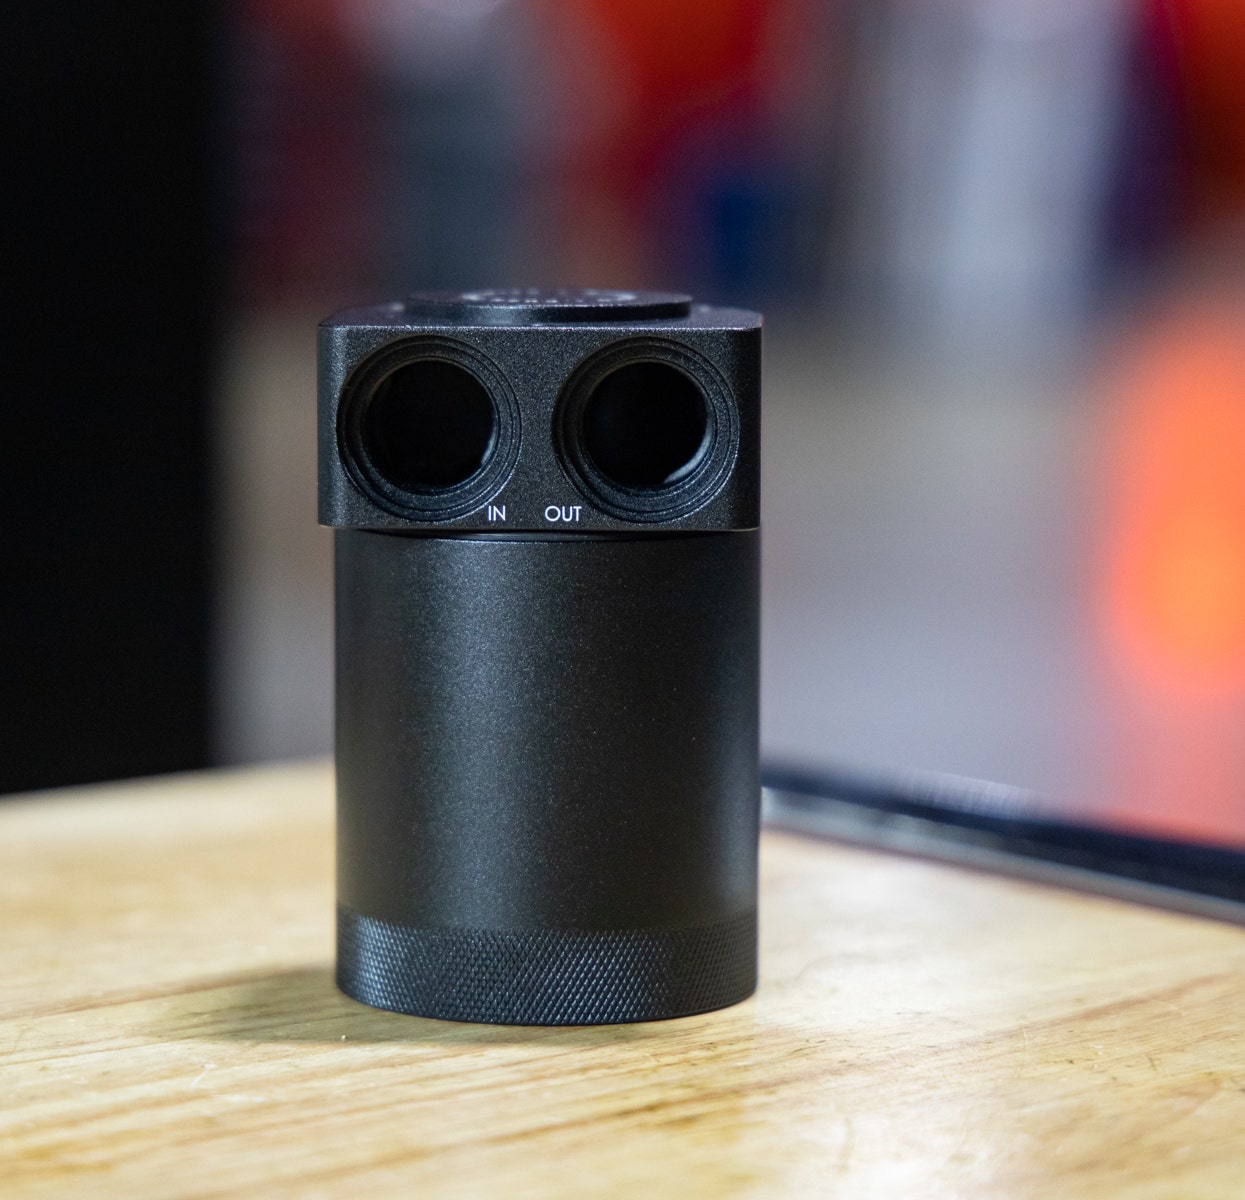
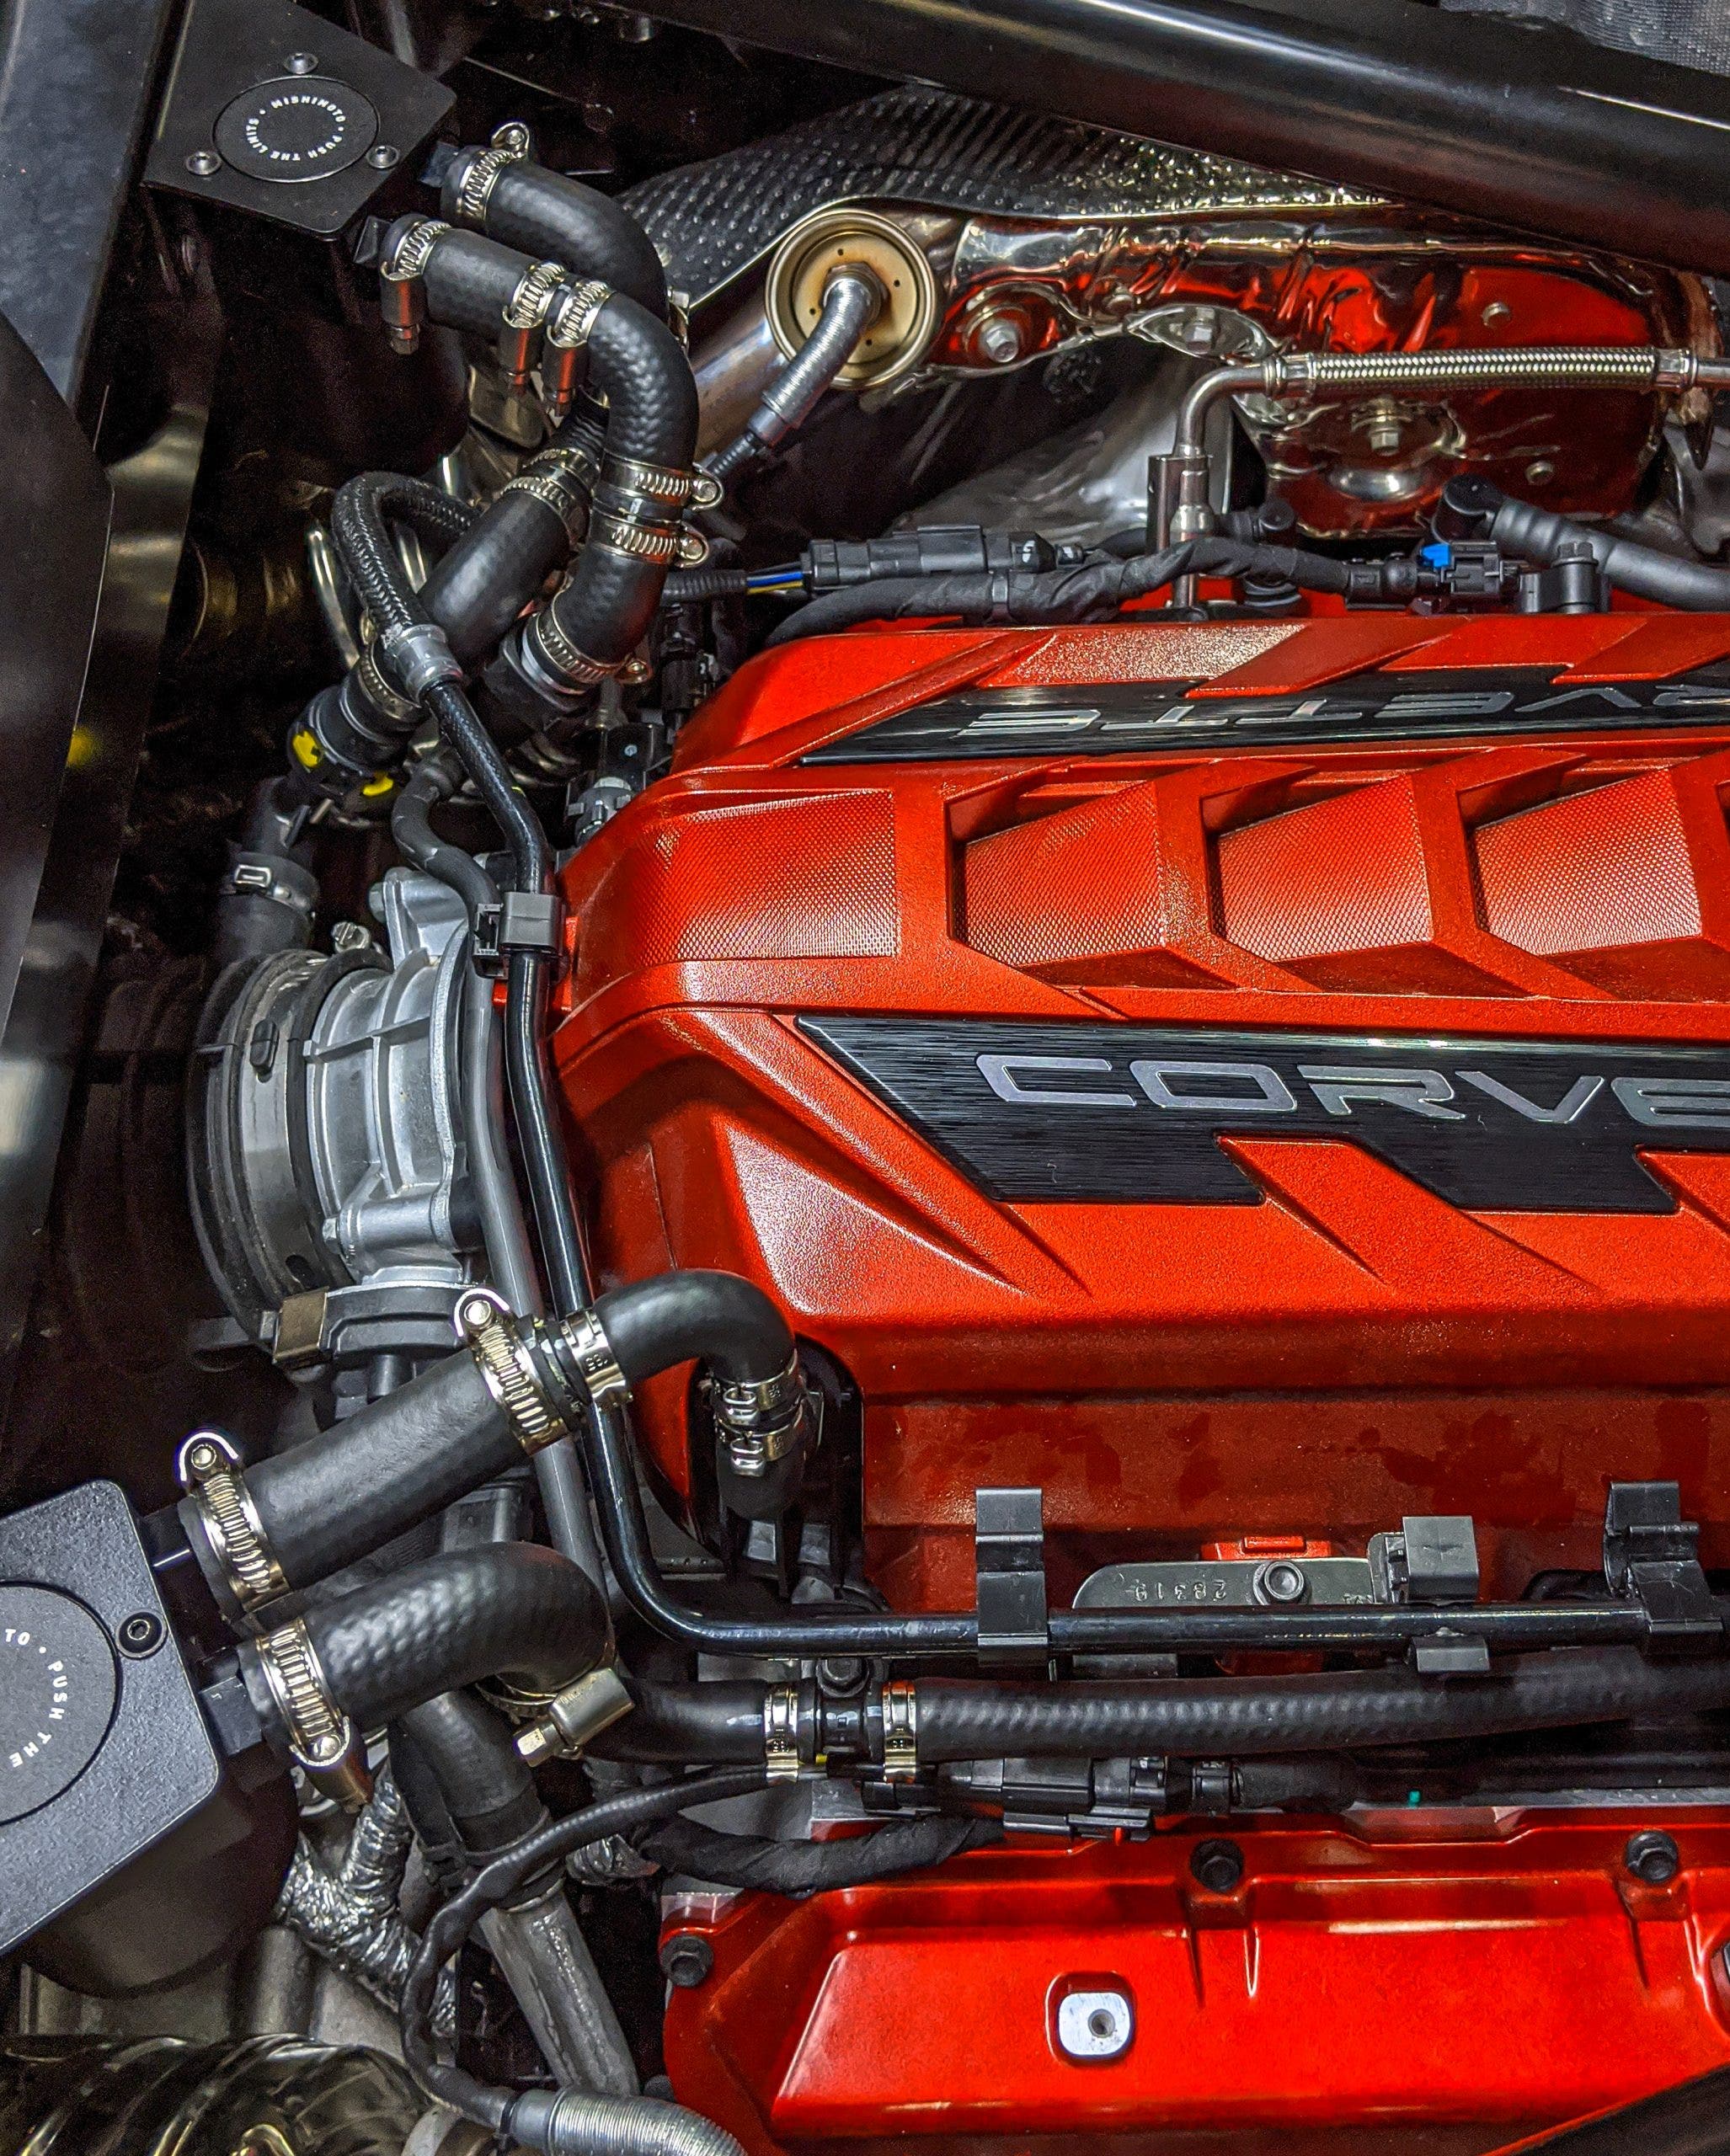
The first step in the process is determining the catch can placement and which systems we plan to tap. As we alluded to in the last post, we're opting for a dual can setup, running our cans in line with both the PCV and CCV systems to ensure that we're covering all angles. With that settled, the next step is the mounting location. Typically, this ends up being the hardest part of the project due to the lack of space in most modern engine bays. However, even after the mid-engine migration, Chevy held up their time-honored tradition of sparsely occupied engine bays, leaving our engineering team with plenty of options. Ultimately, we chose to utilize the rear firewall for our mounting location. Not only does this put our cans on display through the rear glass, but it also places our catch cans in close proximity to the lines that we need to tap.
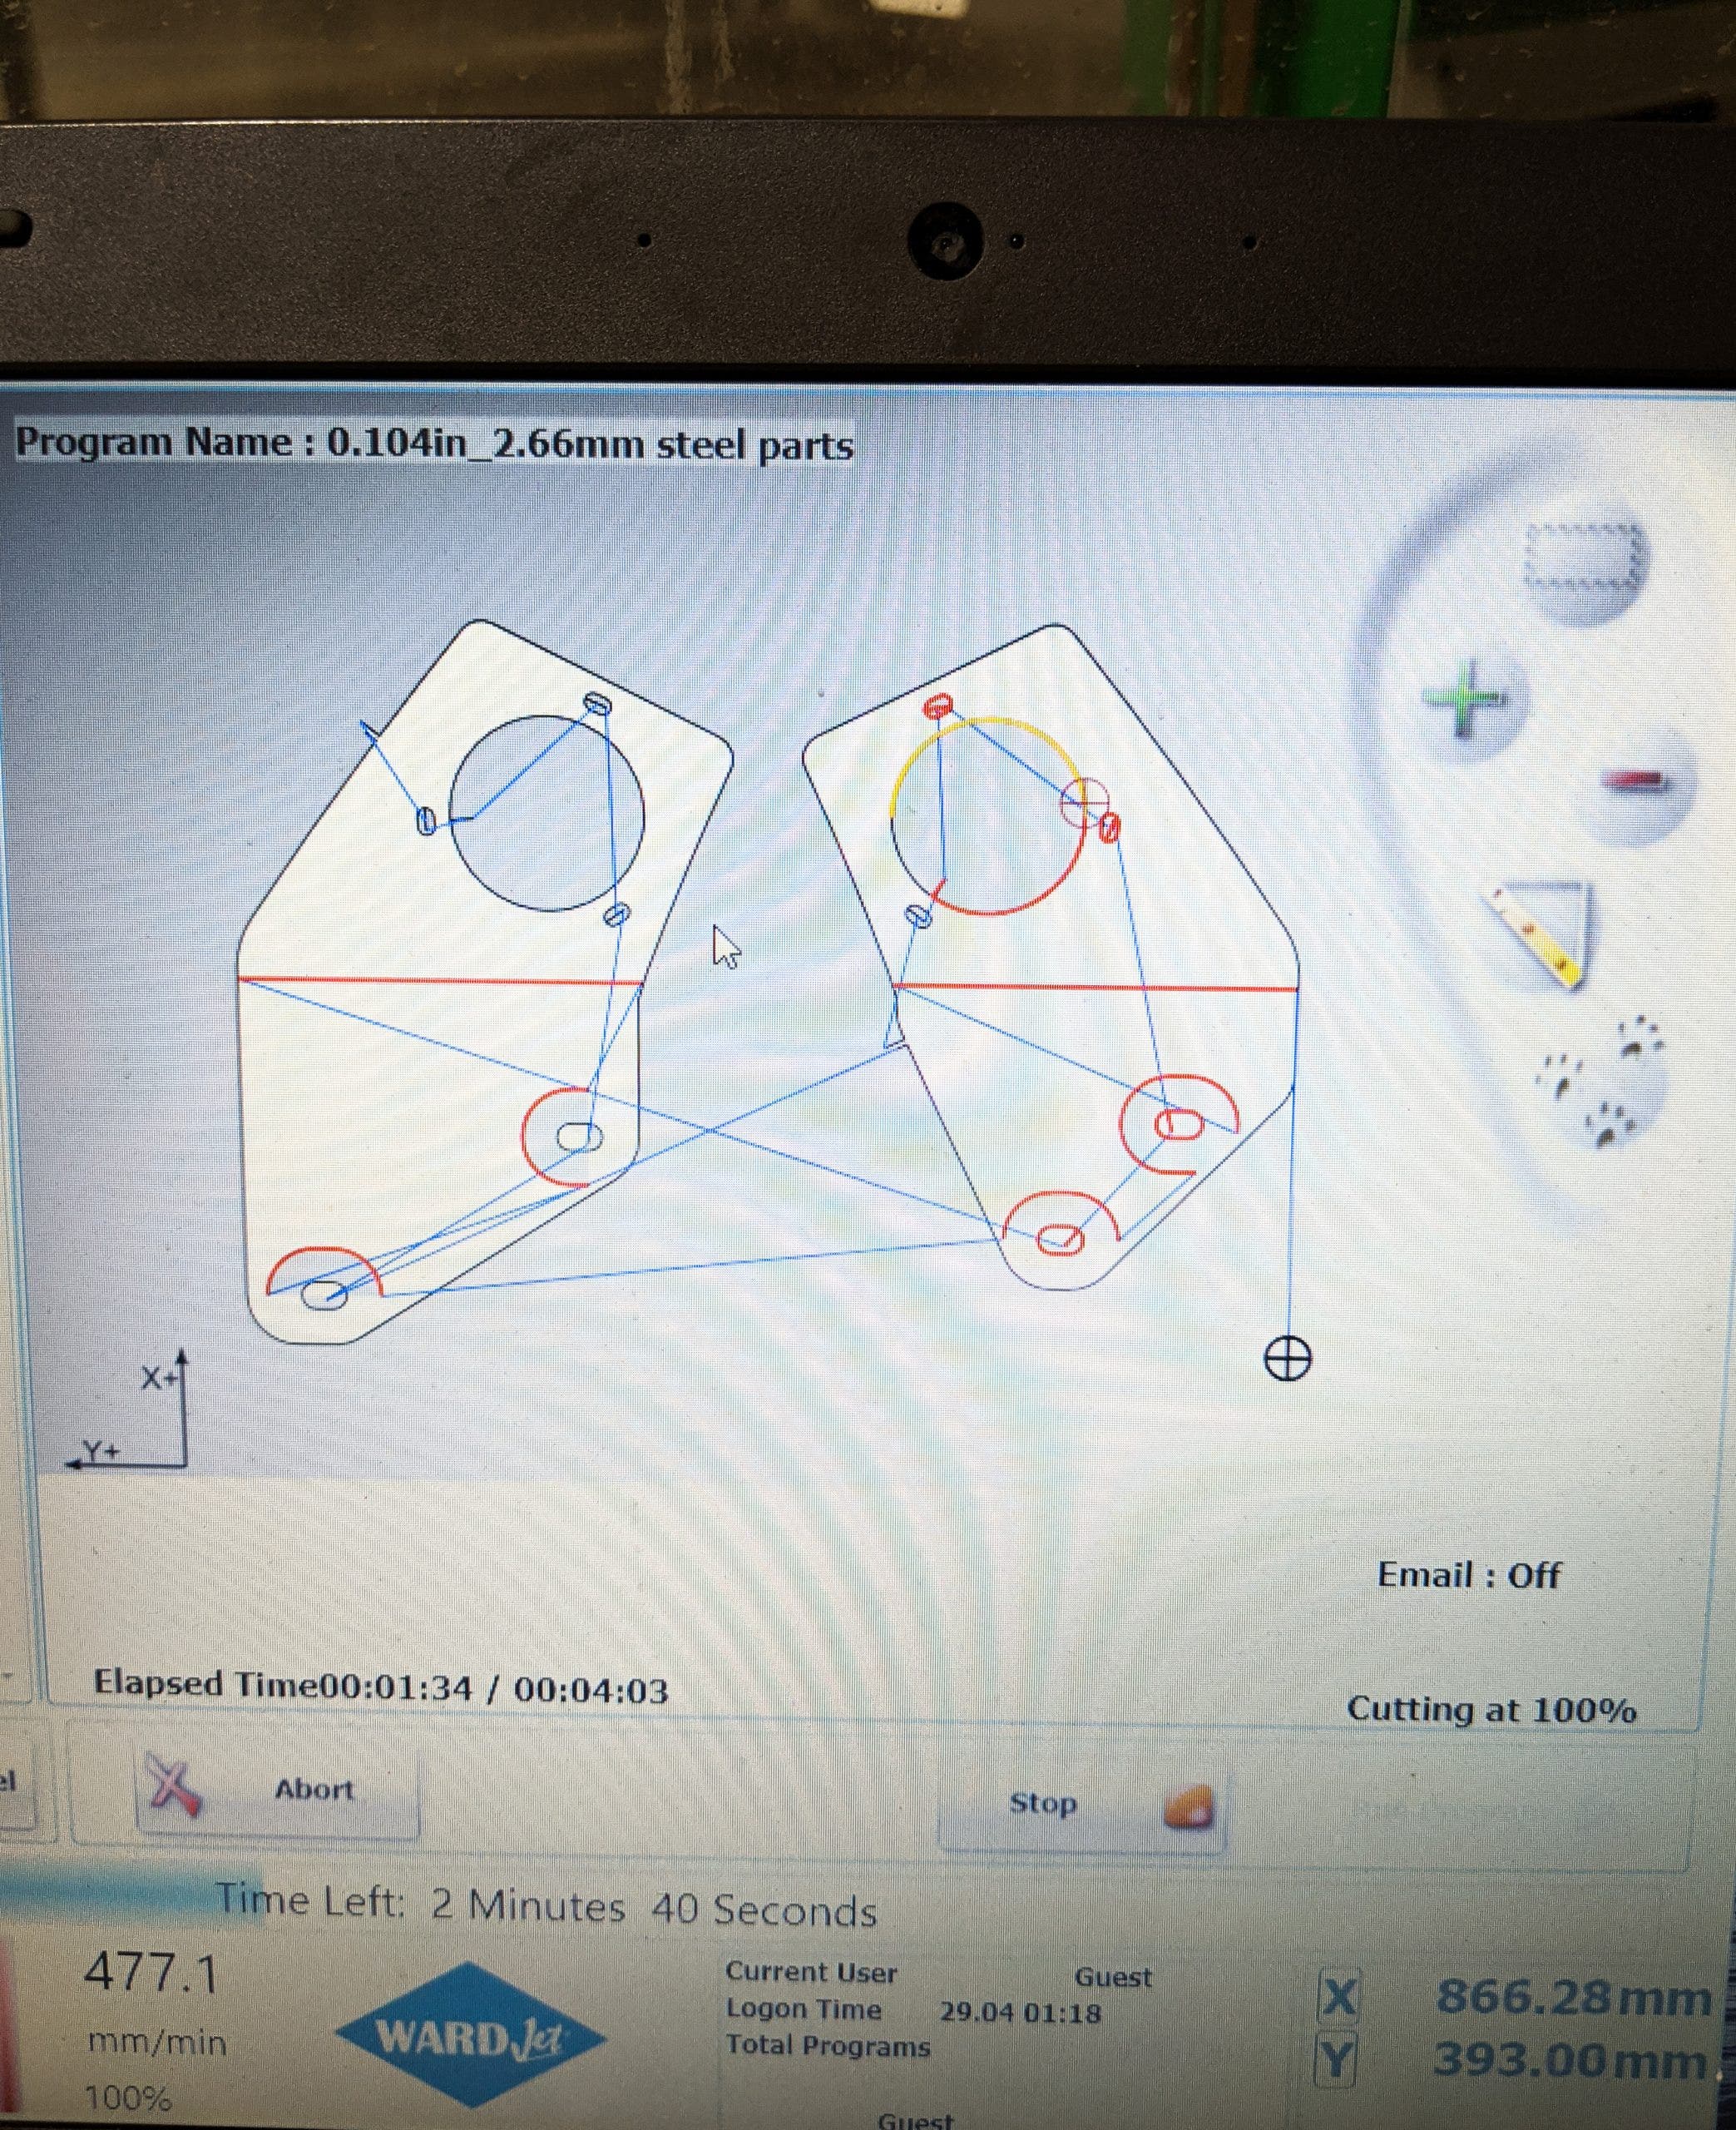
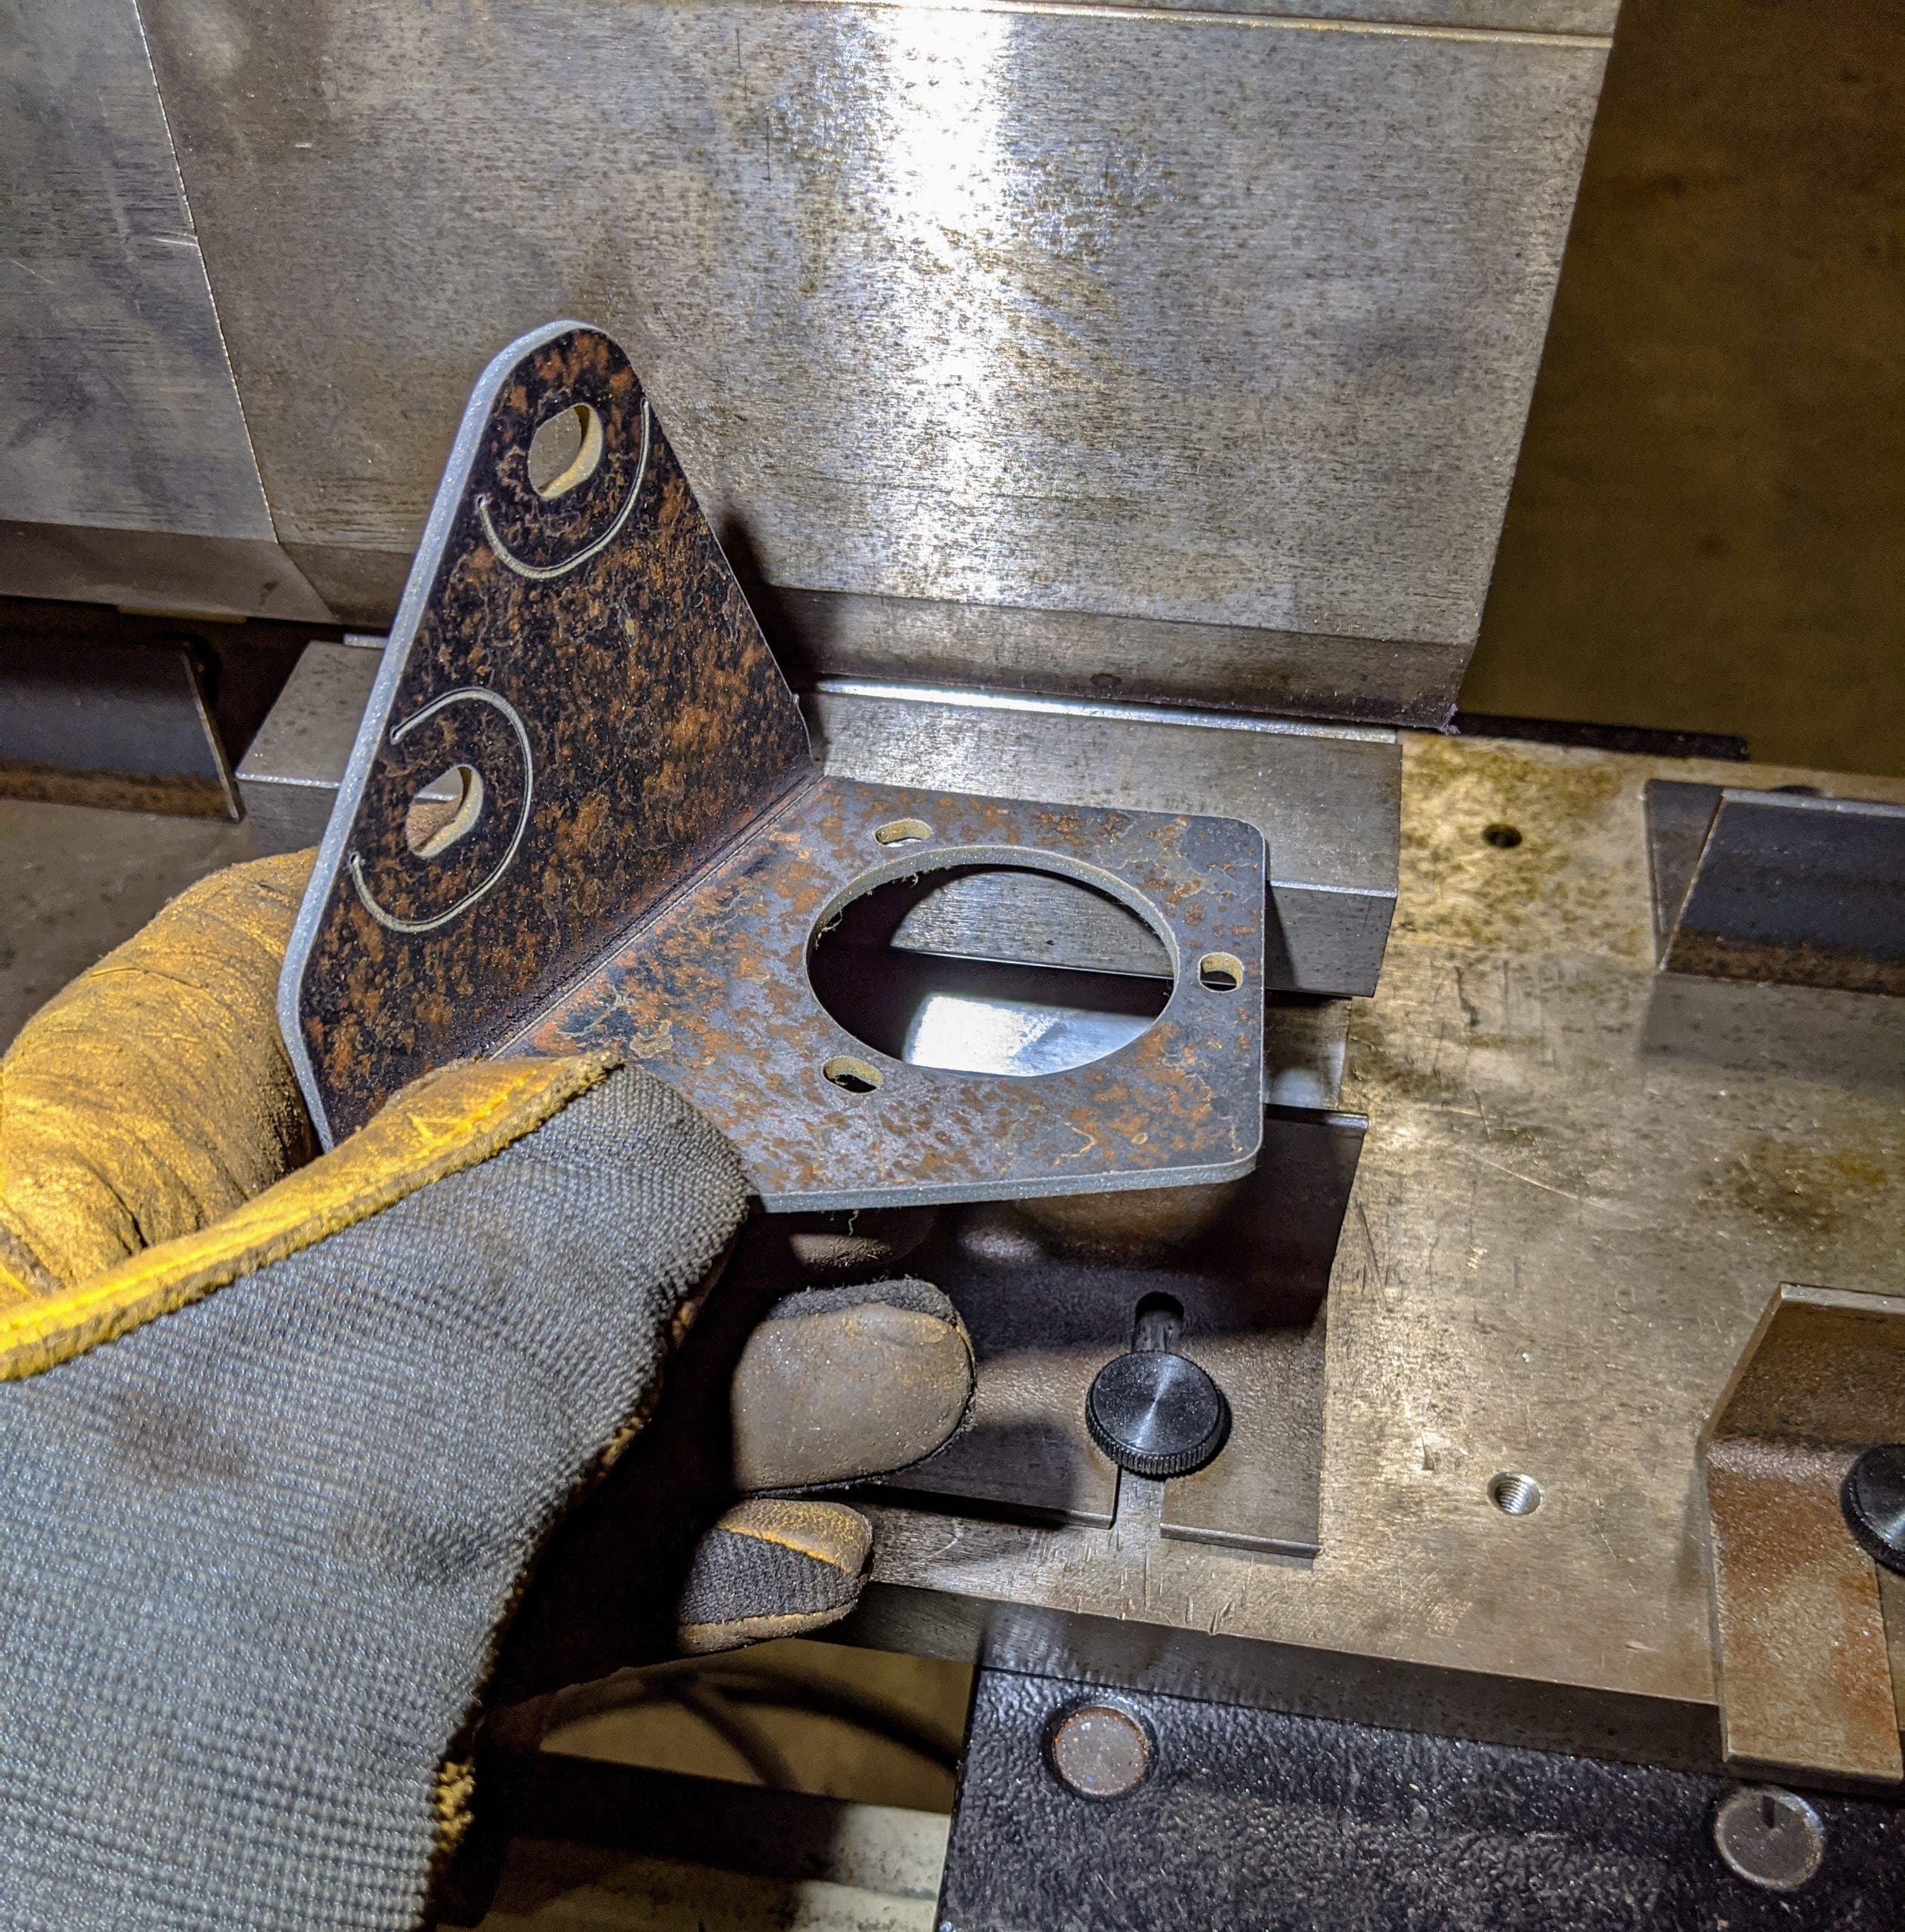
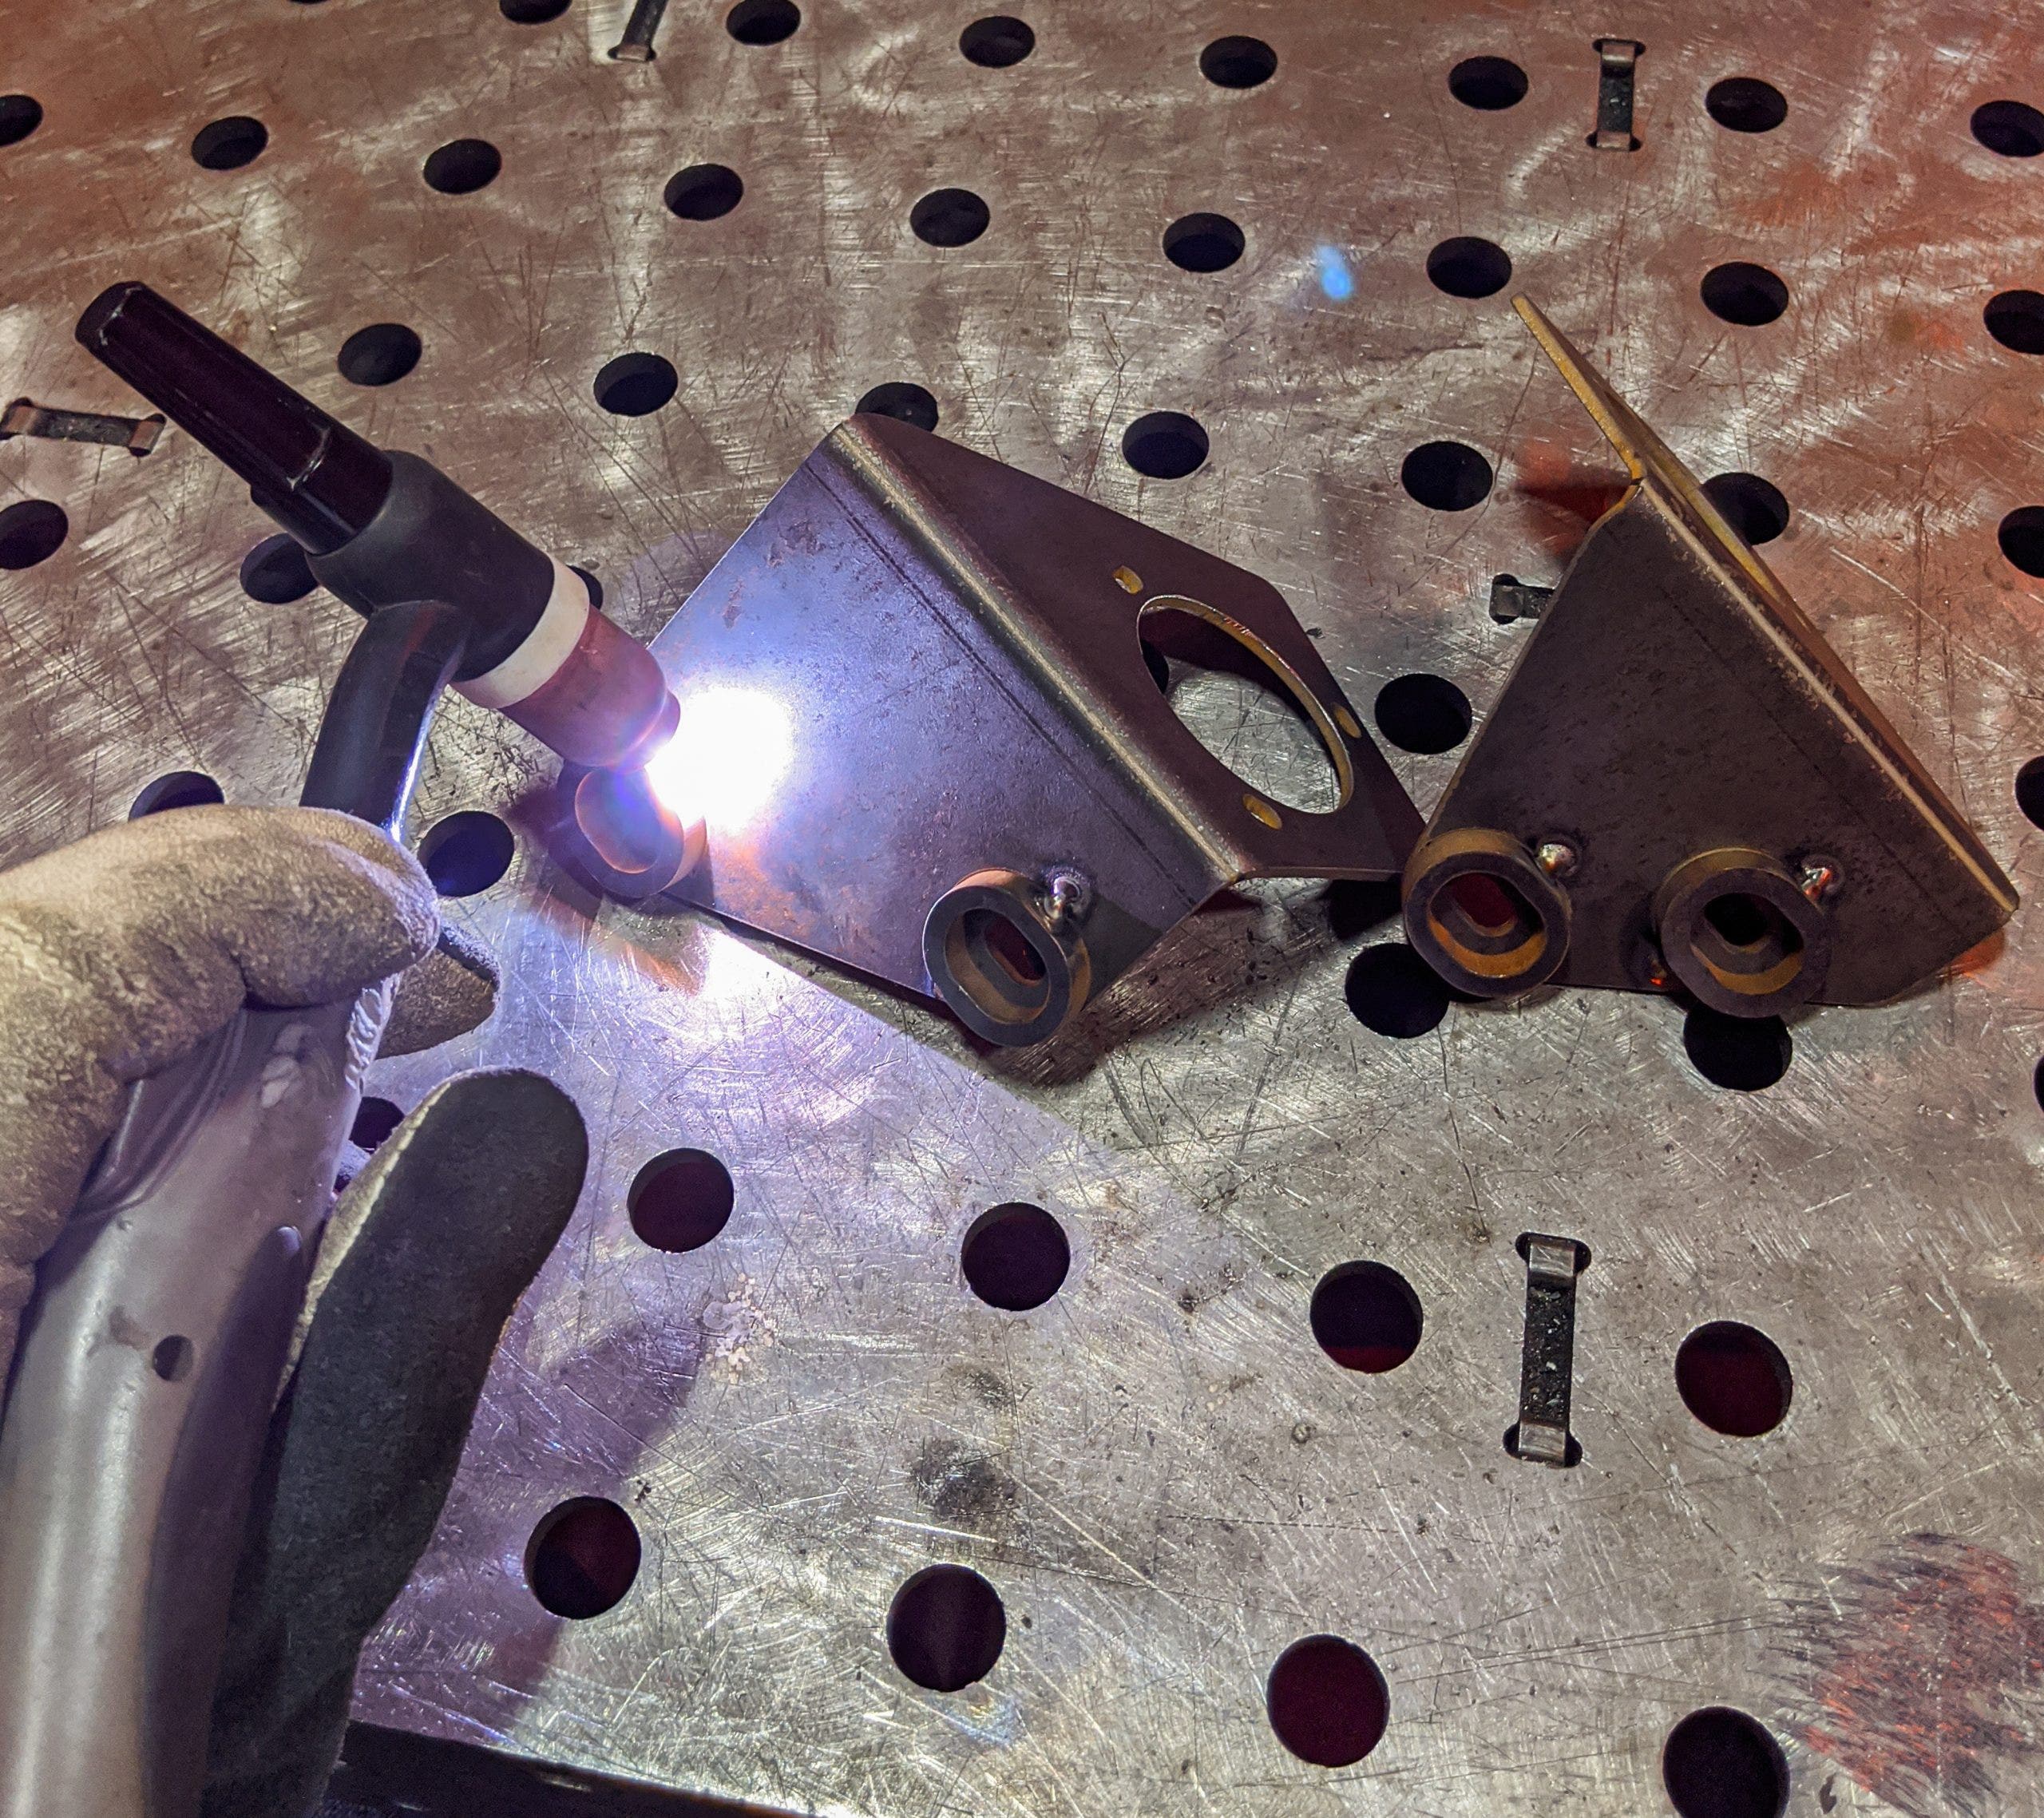
With the plan in place, our fabrication expert, Mike, got to work building the prototype kit from scratch. By creating a one-off kit from the start, we can perform testing with the kit as if it were a full production model. From fitment to road testing, we'll have a kit that will serve these functions in a matter of hours. Here's what the fabrication process looks like from Mike's point of view.

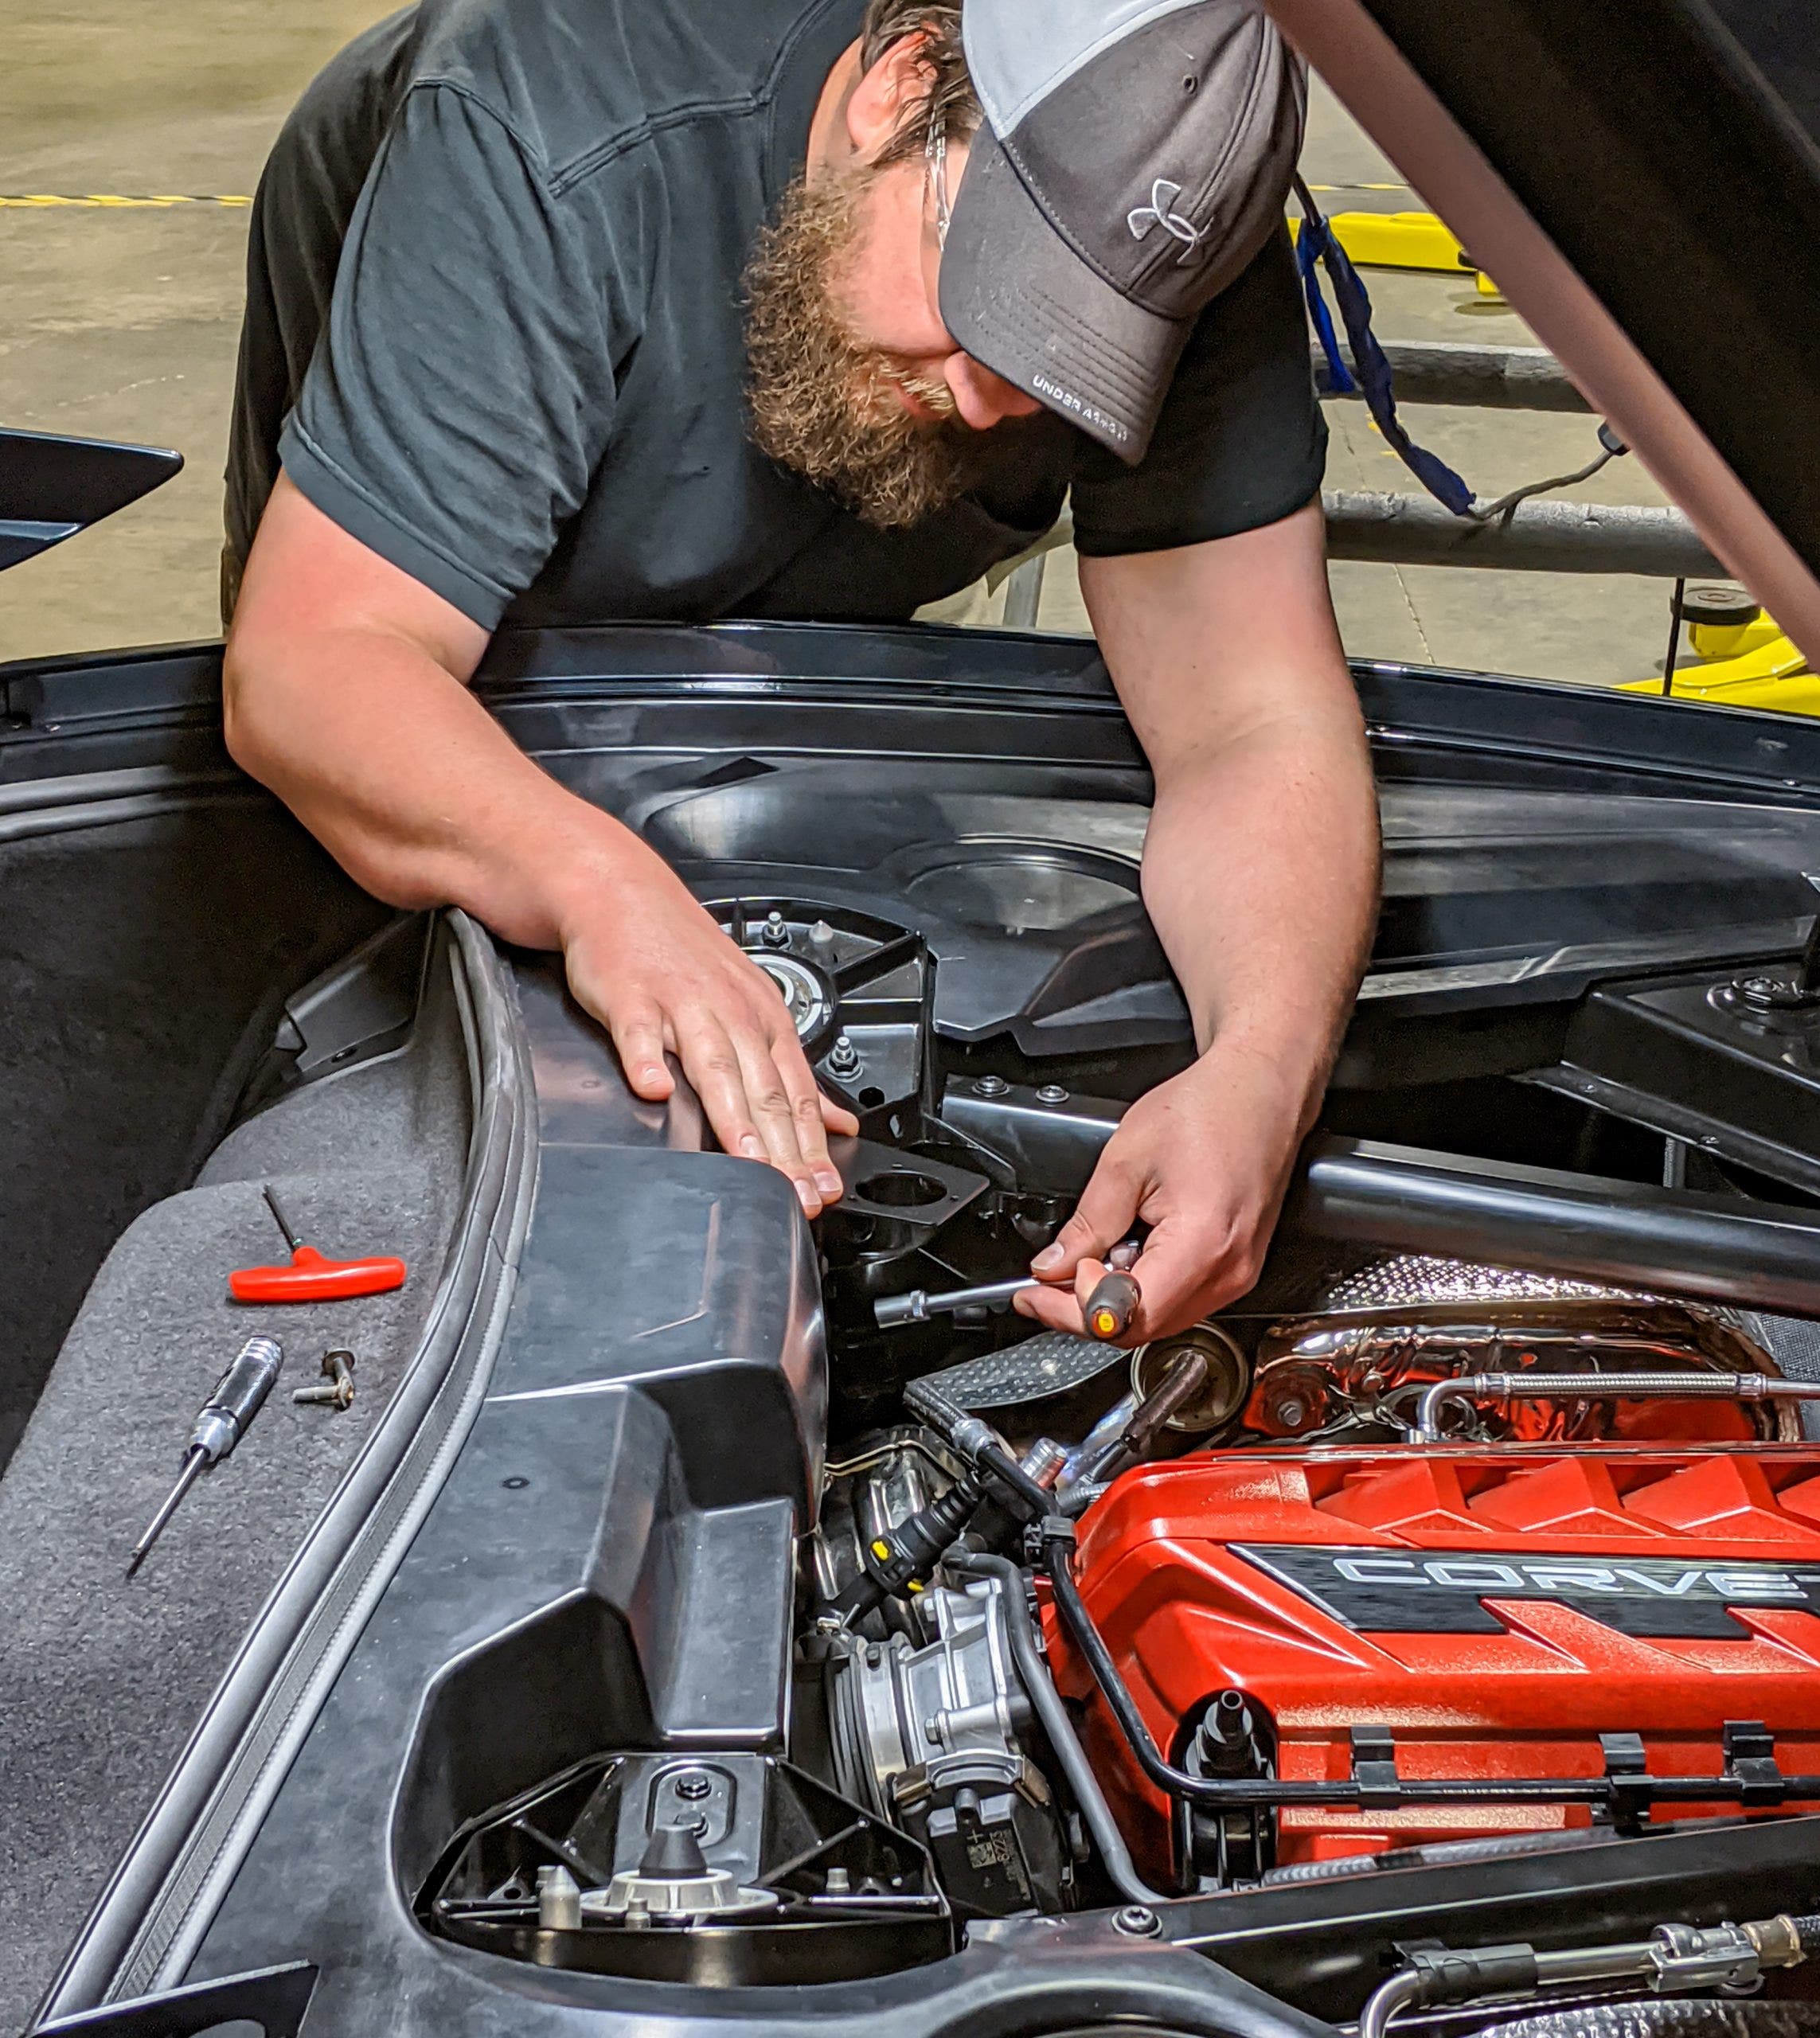
With the prototype kit and fitment test completed, it's time for our standard road test. We send all of our catch cans out for a 1000-mile benchmark test. We chose this distance for two reasons. First, this provides a gauge of how much blow-by we expect to capture, determining an average service interval. Second, this test helps us weed out potential check engine lights that could arise with the cans installed. Our cans are designed to maintain the same flow characteristics in the system, but some ECUs are more sensitive than others. Make sure to stay tuned for our test results and a first look at the full production kit coming soon.
Thanks for Reading!
-Nick