No One Likes a Leaking Cap - Washer Fluid Reservoir R&D, Part 2: Improving on OEM
When we began work on our 2016+ Miata washer fluid reservoir, our primary goal was to improve the aesthetics; we designed the tank to look killer, make your engine bay a little cleaner, and we also reduced the volume of the reservoir, saving a few pounds versus stock if you're comparing a full Mishimoto tank to a full stock tank.
One of the major benefits of sharing our R&D process among enthusiast communities is the opportunity to learn even more about what we can do to make the best possible product. Once I revealed our reservoir to the forums, I was quickly made aware that there is an annoying flaw with the stock tank: a leaking cap!
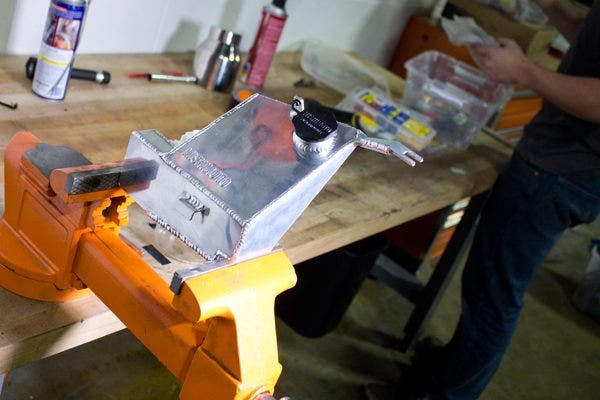
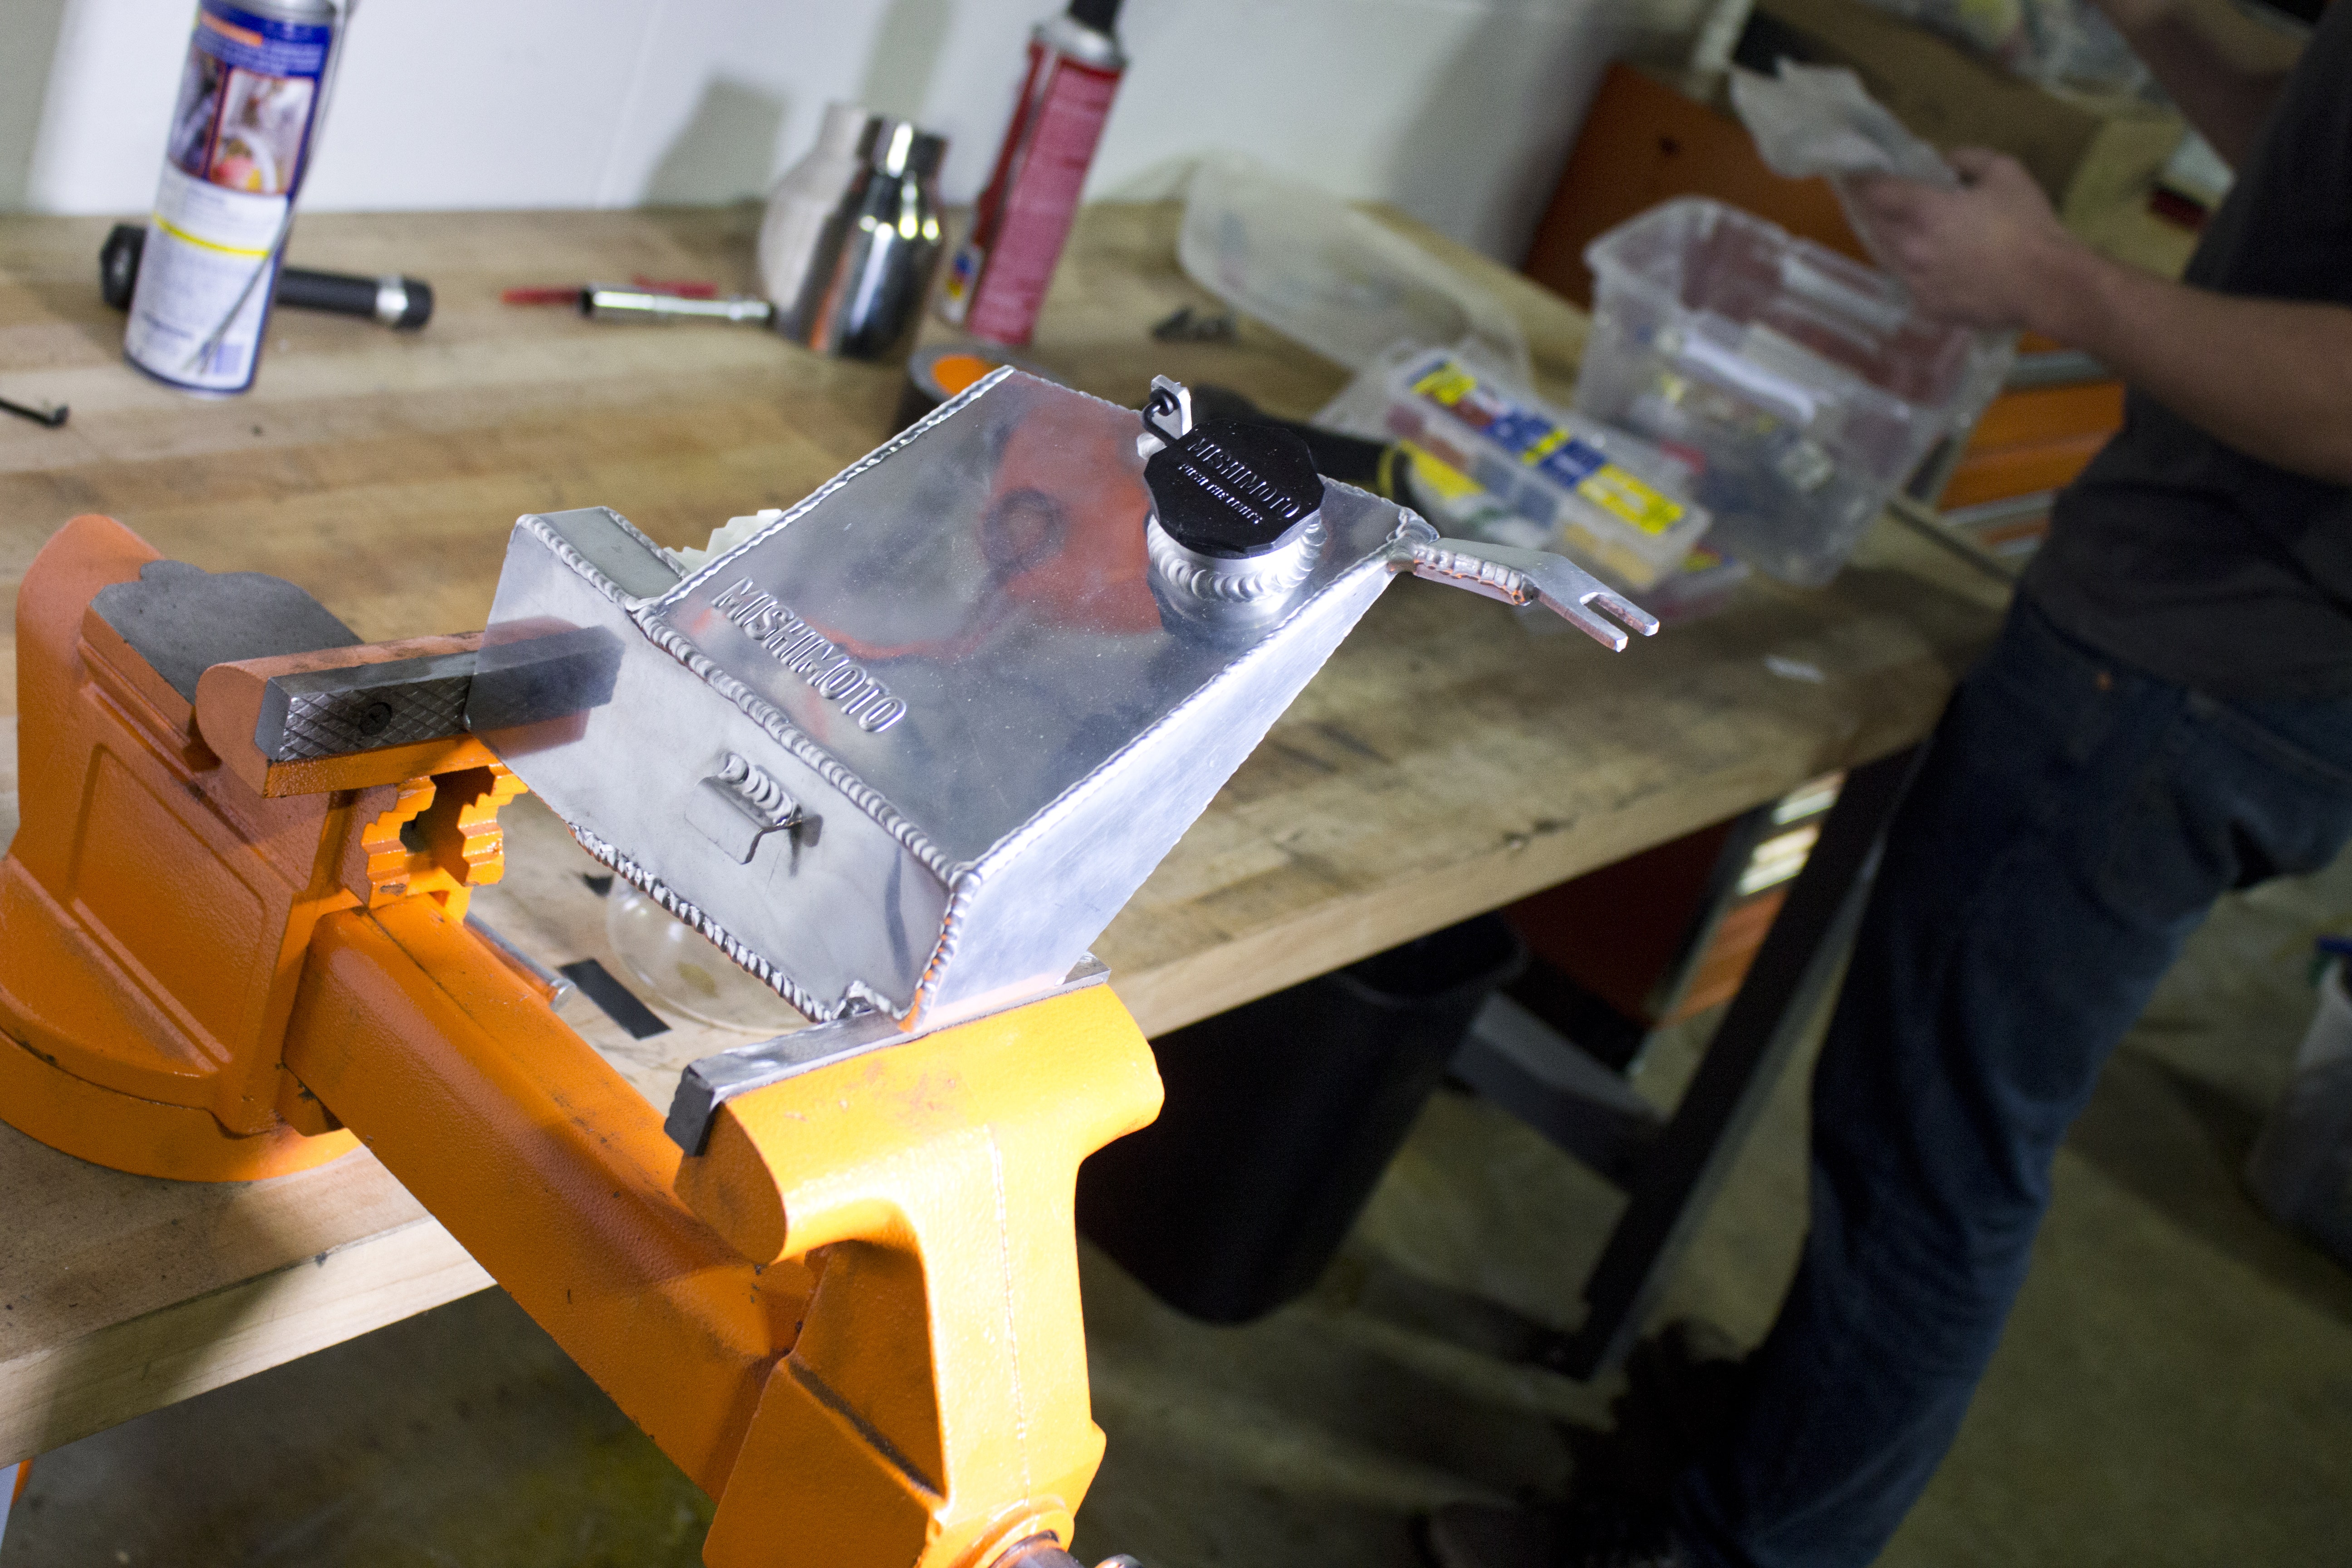
Preparing our new solution for testing
We want to ensure that our products provide as much benefit as possible to our customers and your beloved vehicles, so when we realized this pesky problem was so important to the community, we brought the tank back to the drawing board to make sure we fully satisfy your needs. In fact, we've already got our solution figured out! But before I explain it, let's take a quick look at the problem.
The Affliction
Some of you employed very colorful Smurf-related imagery in describing this problem - one that's quite evident with only a quick glance under the hood. Washer fluid. EVERYWHERE. And for those of us in colder climates that require anti-freeze, it's BLUE! It looks like a Smurf" well, I'll leave that to the forums.

Special thanks to BigBoyND, a member of Miata.net who graciously allowed us to use his photo
So, what exactly is going on here, and how can we mitigate it?
The Diagnosis
The root cause of blue splatter under your hood pertains to the physics of fluid transfer - that's right people, science is the problem here, but science is also the solution (if only that were more apparent to some folks!). But we'll get to that in a second.
Let's imagine a scenario: You're lapping around Lime Rock on an open track day and gaining fast on a local insect who, though he's on track to set his personal record, fails to yield to quicker traffic. SPLAT. So, you press a button to cue the nozzles and wipe Mr. Ayrton Se-gnat off your windshield.
When you activate the windshield sprayer, a pump near your reservoir expels washer fluid to your nozzles, displacing fluid from the tank and creating a vacuum condition within. Left uncorrected, this causes your fluid pump, which would have to fight against the low-pressure draw inside the tank, to work overtime. Eventually, something would have to give - the pump motor, a seal, etc. Pumps don't like to work overtime, and if you try to ask them to, they will often quit on the spot! Damn unions.
To keep the tank's internal pressure on par with the atmospheric pressure outside the tank, a small slit is incorporated into the stock cap, allowing air to enter the tank and equalize pressure as fluid leaves to be squirted on to your windshield.
However, that slit is also the source of our aesthetic woes. It lets air in, but it also lets rebellious washer fluid out.
The Prognosis
Even though our reservoir is aluminum and snazzy-looking, it is not exempt from also requiring pressure equalization. We initially accomplished this with a small hole on the top corner on the back of the tank.

The equalization hole in the Mishimoto reservoir
Science-y pressure problem: Solved.
Aesthetic fluid problem: Solved sorta?
Our tank would likely still have leaked on the back, which may or may not have been visible. But given how annoying this leaking cap can be, we wanted to actually SOLVE the problem - not just move it to the back where you can't see it.
So, we've decided to go the extra mile and do better than taking the easy way out with a band-aid solution. And how did we do that?
Well, we used a different kind of "band-aid solution".

Our solution to the leaking tank problem
The Cure (the band-aid, not the band)
What if there was a material that is permeable to air but impermeable to water? As it turns out, there is, and it comes packaged as a handy little sticker that happens to be the perfect size for covering up our equalization hole. See? Re-defining the "band-aid solution".
But we wanted to ensure that the performance and flow of this membrane was adequate to equalize the tank without being overly taxing on the pump motor. The stock cap's slit is highly restrictive, so we knew that the motor would most likely be able to handle just about anything we threw at it (our EQ hole is much larger than the stock slit). But, just to be sure, Steve ran it through its paces with some testing.
First, Steve mounted the reservoir in a vice at his workstation.

We paid our friends at the local Mazda dealership a visit to pick up a washer fluid pump. Once we had that in hand, Steve mounted that in its appropriate location on the tank.
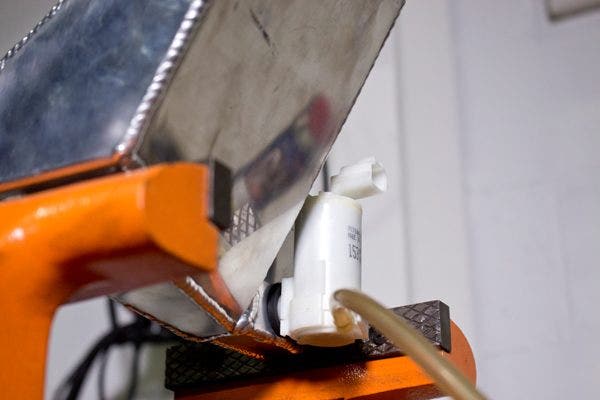
With the pump in place, Steve secured a line from the pump to a glass beaker. The line was taped to the receptacle to prevent any unwanted splashing.
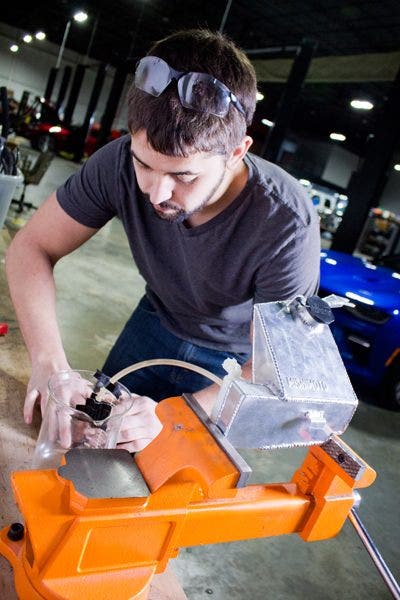
After placing the beaker above the water level in the tank, Steve connected a power supply to the pump - this would ensure that we could hold the pump at a steady state using constant voltage. Essentially, we were going to prevent the pump from overworking itself, and this would allow us to measure the volume of fluid pumped in a specific amount of time, all else equal.
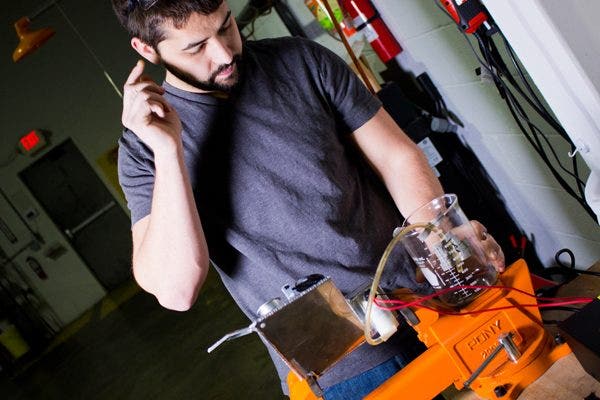
With this information, it would be easy to determine whether the equalization would be adequate even with our new filter in place. Well, consider this problem solved! As I mentioned initially, we were very confident in this design because the slit in the stock tank is so restrictive, and the pump was designed to work under those conditions.
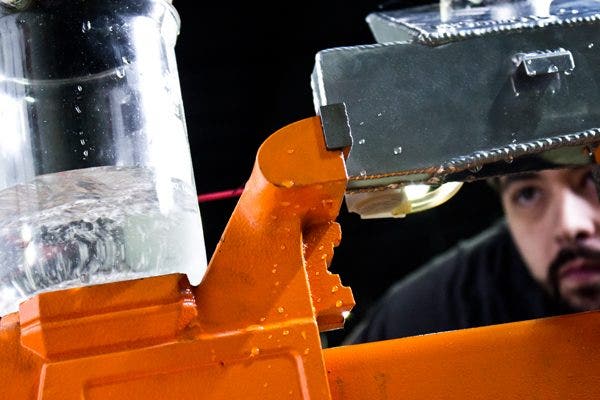
Here's the mad scientist himself, carefully evaluating his experiment.
Pre-Sale and Release
Next will be product release! As we speak, we are implementing this change in all our existing inventory, and any reservoir shipped from this point forward will include this filter. For those of you who have already received a tank, we will supply you with a kit to retrofit your tank at home.
Thanks for following along, and a special thanks to all of you and your feedback that led to a better product!
The pre-sale is still going, so take advantage of that discount while you still can.
