Cooling the Camaro - Radiator R&D, Part 3: Prototype Photos
Hey everyone! I know it's been a little while since our last post, but that's because we've been so busy working on this 2016 Camaro SS radiator and our numerous other active projects. However, I come bearing good news!
You may remember from our second 2016 Camaro radiator post that I mentioned we would be back in the next installment with 3D-printed prototypes. Things change, however, and I'm happy to say that we've made some quick progress on this radiator, so I'm going to do one better than promised and cut straight to ACTUAL prototypes.
That's right folks, what you are about to see is the real deal!
Photos
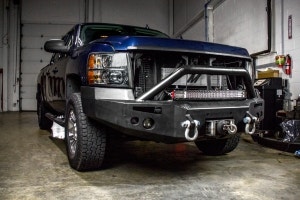
This radiator has some interesting complexities in its design, largely due to the extensively engineered and very impressive cooling system on this car. To learn more about the radiator's role and how it functions in the context of the auxiliary cooling system, check out our auxiliary Camaro radiator post.
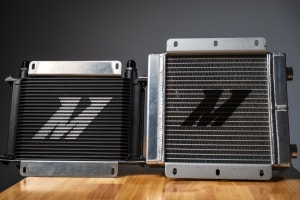
Let's get to the good stuff! Here's the radiator from the front.

2016 Camaro SS radiator
From the back, you can get a better idea of all of the brackets, hardware, and fittings that needed to be incorporated into the design. There are more connections made behind this radiator than on Tinder in an entire month. These connections are more meaningful, of course, and will certainly last longer. That's because they work to distribute coolant to the auxiliary radiator system and cool the transmission; no small task!

The back of the 2016 Camaro SS radiator; so many connections - maybe one will be a match!
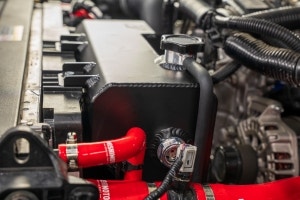
As mentioned, another system that needed to be integrated was the in-tank transmission cooler. We incorporated quick-release fittings for these outlets to maximize compatibility with the stock system. Here are some close-ups of the top and bottom fittings for this system. Steve's hard work engineering this radiator certainly paid off.

Mmmm, those welds.

The posts on the bottom left and right (not pictured) corners align the radiator within the stock mounting brackets.
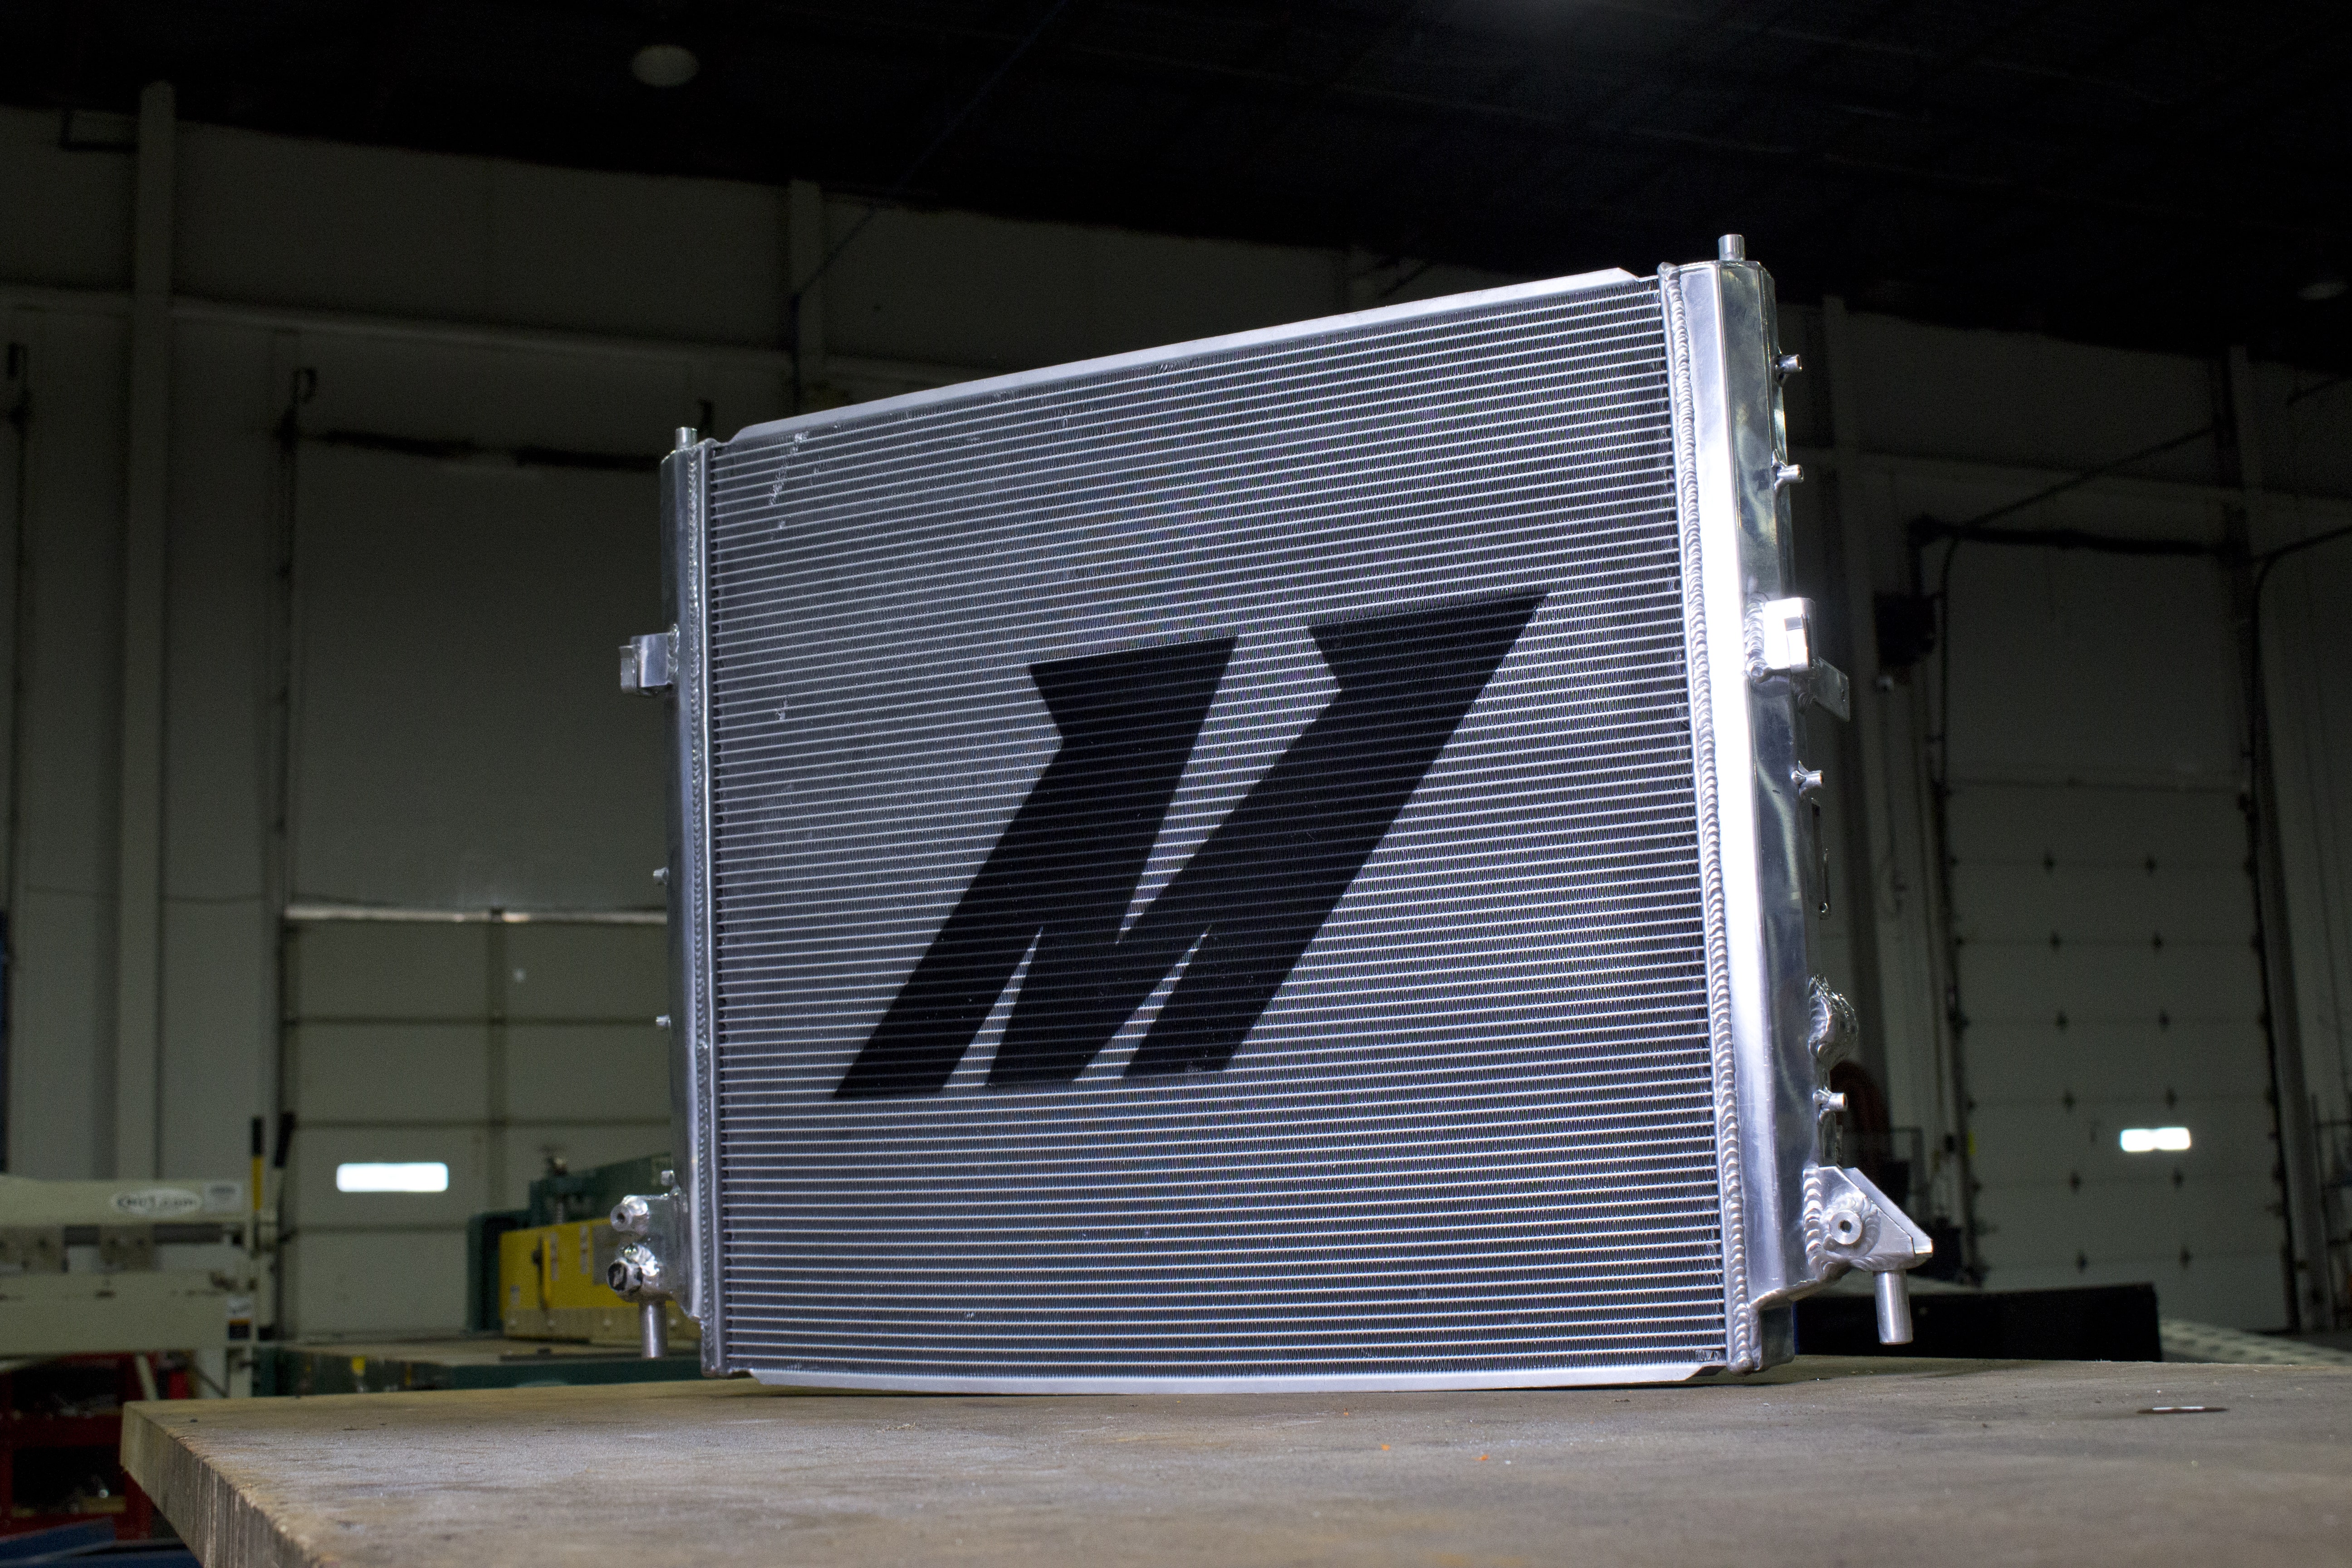
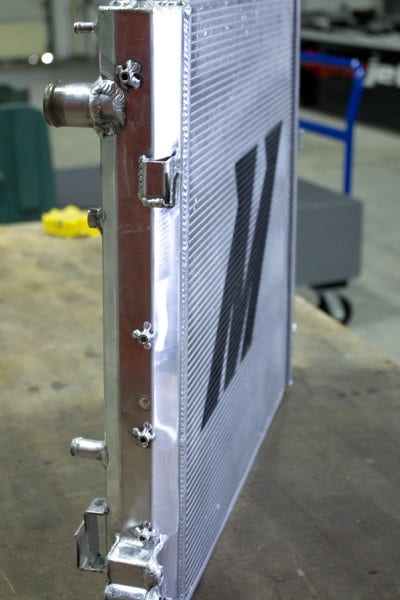
Lastly, take a look at the passenger side of the radiator. This angle gives you a good look at the welds and bends that comprise the sides of the radiator's end tanks. A nice looking radiator indeed!
Coming Soon
Next up, we're going to throw this thing in the good ol' SS and see how it looks. Of course, this part is about both form AND function, so we'll be doing some testing too. Stay tuned for all of this and more in the coming weeks!
Thanks for reading!
-Gardiner