Turn up the Volume - Cat-Back Exhaust R&D, Part 1: Initial Fabrication
As many of you are aware, here at Mishimoto we have been going Fiesta crazy developing various Fiesta ST parts such as;
- Performance Aluminum Radiator
- Oil Cooler Kit
- Performance Air Intake
- Direct-Fit Baffled Oil catch can
- Downpipe and Intercooler/Piping coming soon!
Up next is something that the team here has been very eager to start development on, the Fiesta ST Cat-Back Exhaust! We are excited to let you in on the details of the development of our first prototype. As with any exhaust project, we are shooting for improvement in flow over stock as well as a great overall tone that is drone-free. Check out the details and let us know how we did!
Stock Component
To begin, we gave the Fiesta ST's stock exhaust setup an once-over to see what we were working with. While it is not terrible, we do see some room for improvements. As you may have noticed, the stock exhaust has two mufflers. One rather large with small dual tips exiting the back of the Fiesta, and the other farther forward closest to the downpipe. Check out some photos of the stock exhaust.
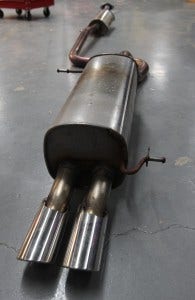
Stock Fiesta ST Exhaust
The first step was to remove the stock exhaust, which was quite a chore thanks to the gargantuan block-shaped rear muffler. This required disconnecting the suspension from the rear torsion beam axle (as you can see in some later shots) to avoid cutting the exhaust.

Stock Fiesta ST Exhaust
After we finished wrestling with this beast, we measured our trophy and began to piece together our version of the Fiesta ST exhaust.
Fitting the Prototype
To ensure excellent fitment we began with the most important components of the exhaust: the flange that connects our exhaust to the flex pipe of the Fiesta, and the muffler placement tucked into the rear portion of the car.
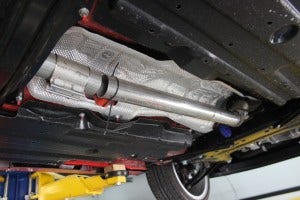
Fitting the front portion of the Fiesta ST Exhaust
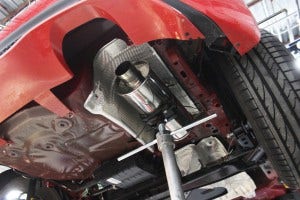
Fitting the single rear muffler of the Fiesta ST Exhaust
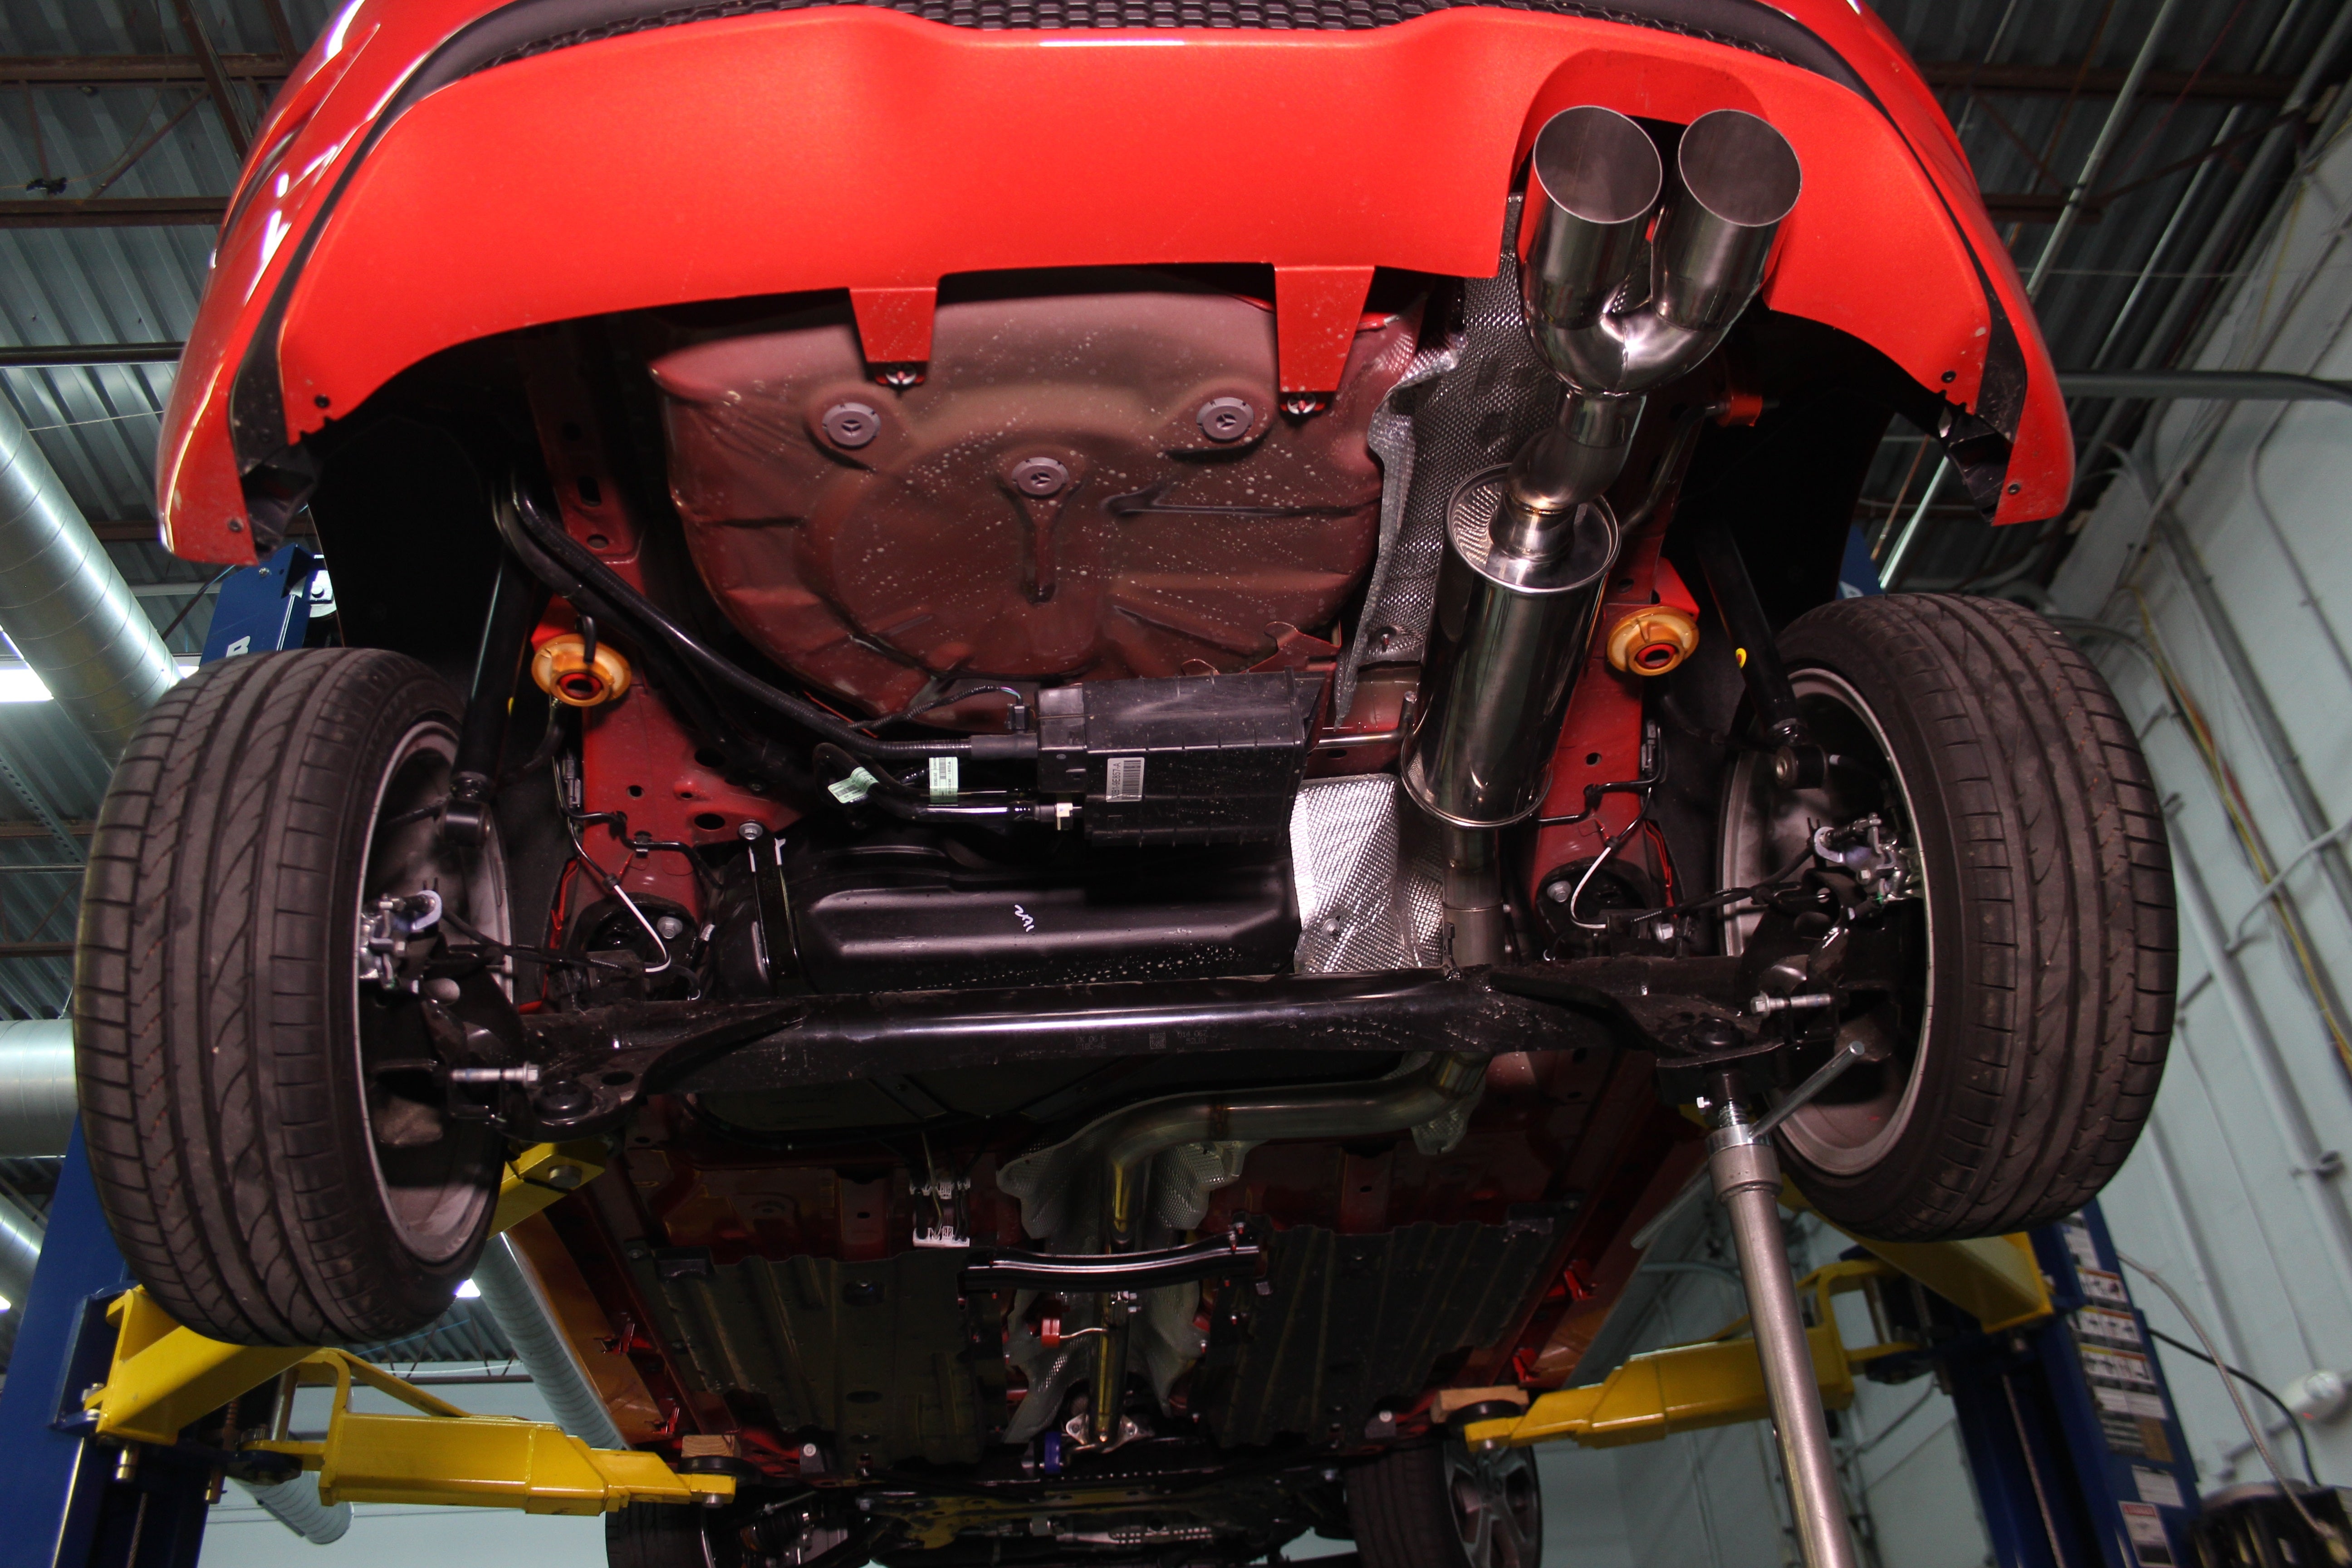
From there we snaked the exhaust using various bends along the belly of the Fiesta ST. Based on the path of this exhaust and ease of installation, we decided to use a three-piece design for the prototype. Our first prototype will feature a single-exit muffler set-up that is much smaller than the stock unit. Further testing after our first prototype is complete will let us know whether this design is a home run or if it is back to the drawing board for the Fiesta ST exhaust.
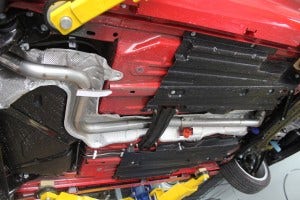
Fiesta ST Exhaust pieced together
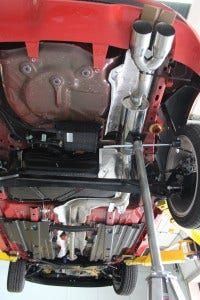
Rear view of the Fiesta ST Exhaust test-fitted
Once we were certain of the fitment, the exhaust was dismantled and tack-welded back together so the three pieces could be test-fitted again.
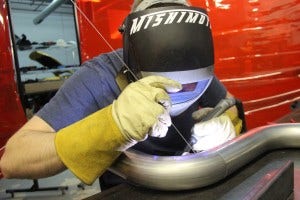
Tack-welding a portion of the Fiesta ST Exhaust
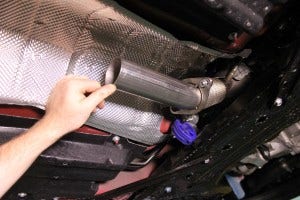
Angle of the exhaust in relation to other Fiesta ST parts
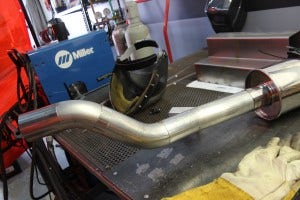
Rear portion of the Fiesta ST Exhaust tack-welded together
We wanted to make sure that these excellent looking exhaust tips could be seen peeking out of the bumper but ensure that they do not protrude too far.
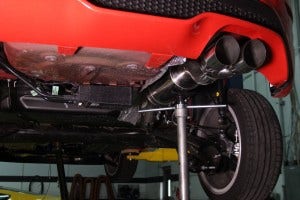
Fiesta ST Exhaust exiting the bumper
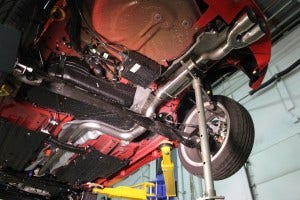
Entire Fiesta ST Exhaust assembled
After the second test fit, it was time to fabricate exhaust hangers that were cut and bent from stock steel. Our exhaust will utilize the stock hanger location for ease of installation. The hangers were test-fitted with couplers and then tacked to their final spots on the exhaust.
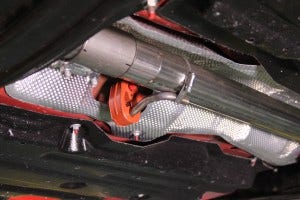
Test-fitting hangers for the Fiesta ST exhaust
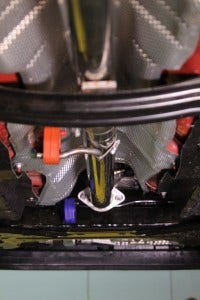
Underneath view of Fiesta ST Exhaust for hanger fitment
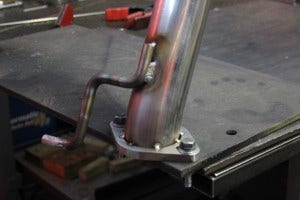
Welding some Fiesta ST parts together
Creating the Finalized Prototype
Finally, after all the fitting and cutting and fitting again, it was time to weld together the prototype for more extensive testing. It is important that all of the welds are complete, as any leak in the exhaust piping could skew our sound and performance results. We have just the man for the job.
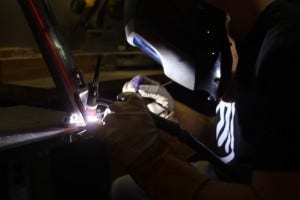
Welding of Fiesta ST parts
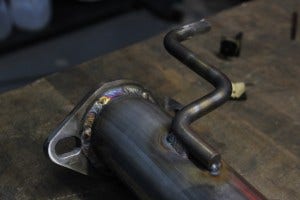
The weld on the exhaust flange
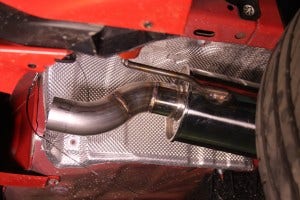
Final welds on the rear portion of the Fiesta ST Exhaust
Here are some shots of the final prototype welded together and installed on the Fiesta ST. We think the dual tips look pretty mean! Check them out below.
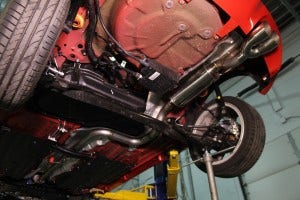
Final fitment of the Fiesta ST exhaust
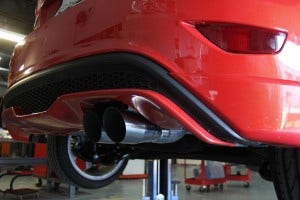
Fiesta ST exhaust tips exiting the bumper
Coming up!
This poor Fiesta has been under the knife for weeks. Most of its face was removed (as you may have seen in the Fiesta ST Performance Aluminum Radiator thread), the cowl was removed so we could get a better look at the downpipe, and the rear torsion beam axle was dropped for exhaust fitment. I am happy to report that our Fiesta ST is nearly back together in preparation for some exhaust testing!
