The EcoBoost Intake Project, Part 2: Prototype Piping
Interested in purchasing our Mustang EcoBoost intake system? Check out more details on our product page linked below!
Mishimoto Ford Mustang EcoBoost Performance Air Intake
With the stock unit out of the way we could begin developing our intake piping. We would be starting at the turbocharger and working outward to an airbox near the stock location.
Using the dimensions from the stock unit, we developed a 3D model of an inlet hose that would be constructed from a silicone material. After completing the model, we produced a unit using our 3D printer.
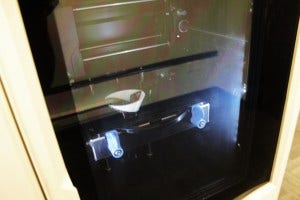
Printing 3D model of intake inlet tube
Because this piece is larger than the bay of our 3D printer, it was constructed from three sections that were glued together. Check out the final design!

3D model of intake inlet tube
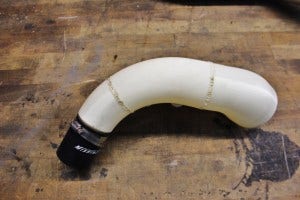
3D model of intake inlet tube
This unit has a shape that is similar to the factory unit. We also incorporated both the BPV and the CCV ports, which allow for connection to the OEM pieces. This unit will install just like the factory piping.
This component would be constructed from wire-reinforced silicone. The internal steel wire is in place to prevent collapse under vacuum and suction. Our CCV and BPV ports will be CNC-machined aluminum pieces that will be molded into the silicone hose, creating a leak-free seal. Additionally, using silicone for this inlet portion will allow engine twisting under load.
Next, we installed this component to check fitment so we could begin mocking up the rest of the piping.

Inlet prototype installed
We then began fabricating the piping that would lead to an airbox location on the driver side of the engine bay.

Intake pipe fabrication
Check out the progress of mocking this unit into place.

Intake pipe mockup

Intake pipe mockup

Intake pipe mockup
The only addition still needed for this pipe was an IAT (intake air temperature) sensor bung that would function with the stock sensor. We were pleased with the pipe and routing, so we placed this unit on our CMM (coordinate measuring machine) table to collect dimensions for a 3D model of the pipe we created for this kit.

Intake pipe on CMM table
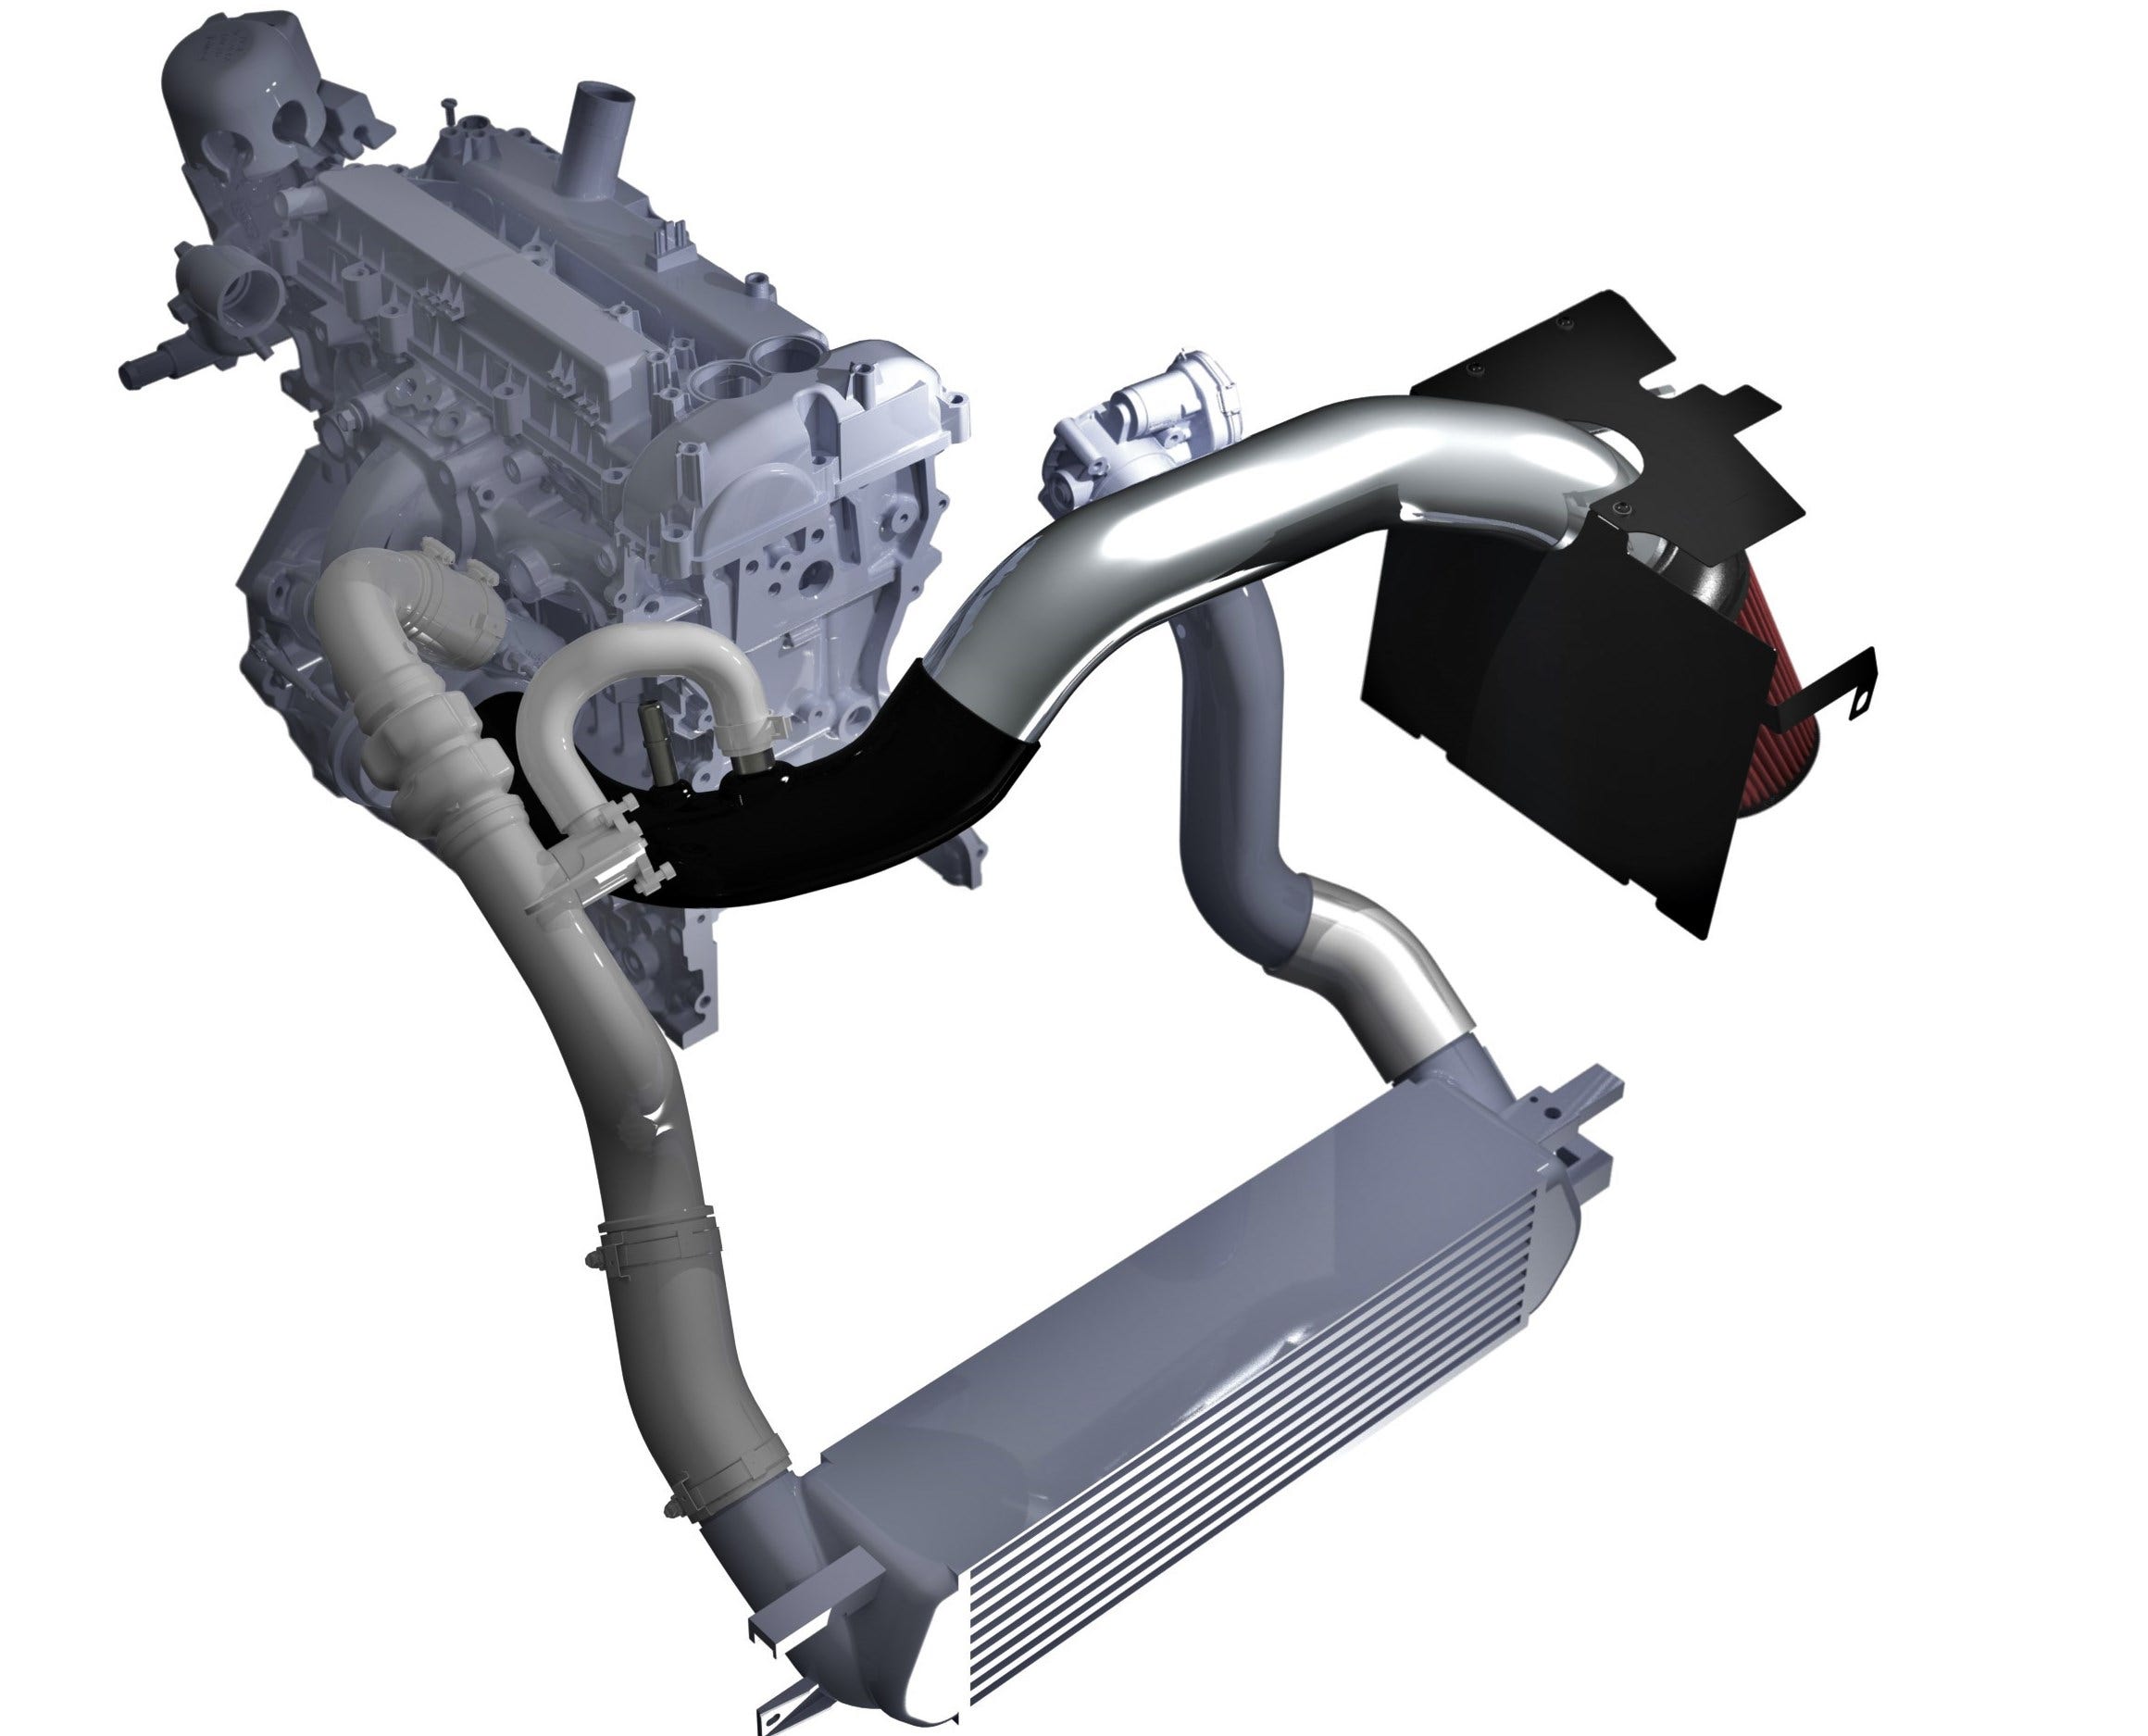
Now, all we had left was to create the airbox we envisioned at the start of this project. Check back with us next time for a look at how we designed it! For now, we leave you with a teaser rendering of this setup.
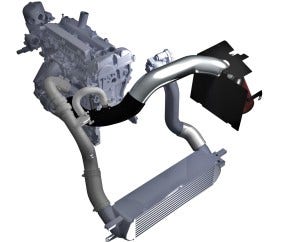
Mishimoto intake rendering
Thanks!


